charmed Liebling
  • home
  • pattern shop
    • wallet patterns
    • bag patterns
    • laptop and messenger bag pattern
  • items for sale
    • custom orders
  • free tutorials
  • contact
  • about

A new/old winter skirt

2/13/2014

2 Comments

 
charmed Liebling winter skirt
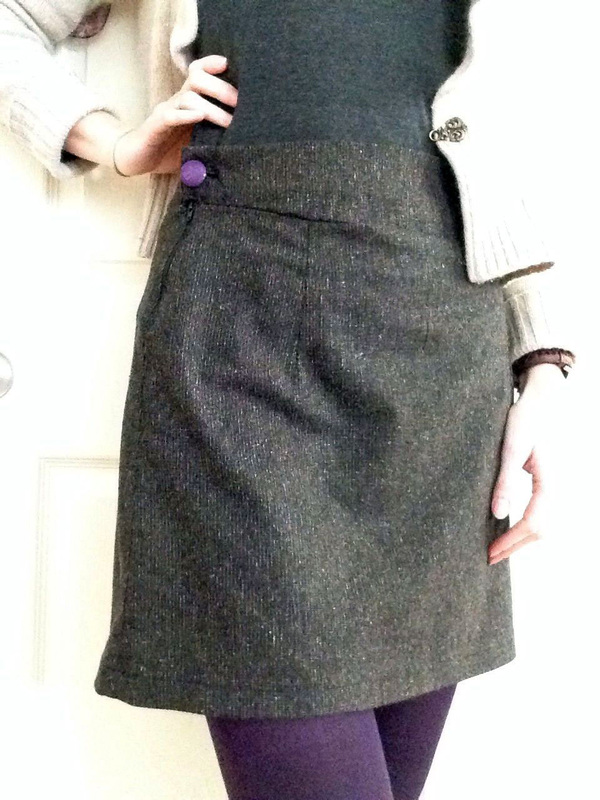
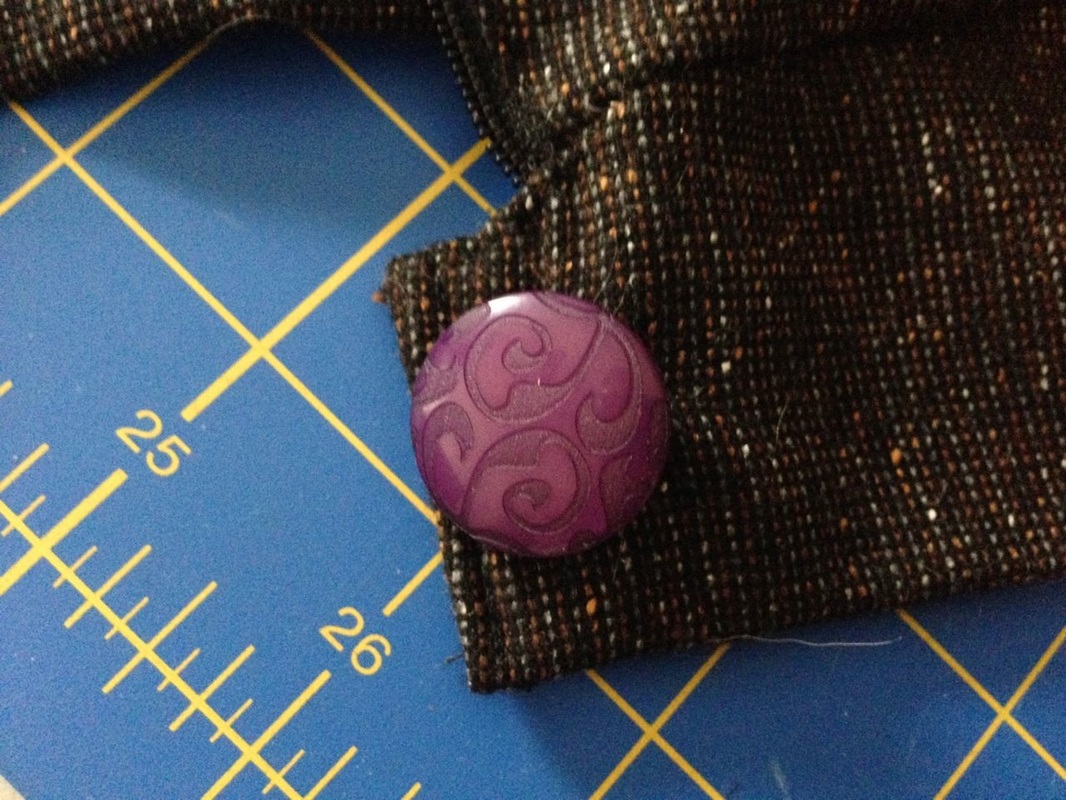
purple button and purple tights :)
charmed Liebling UFO bag
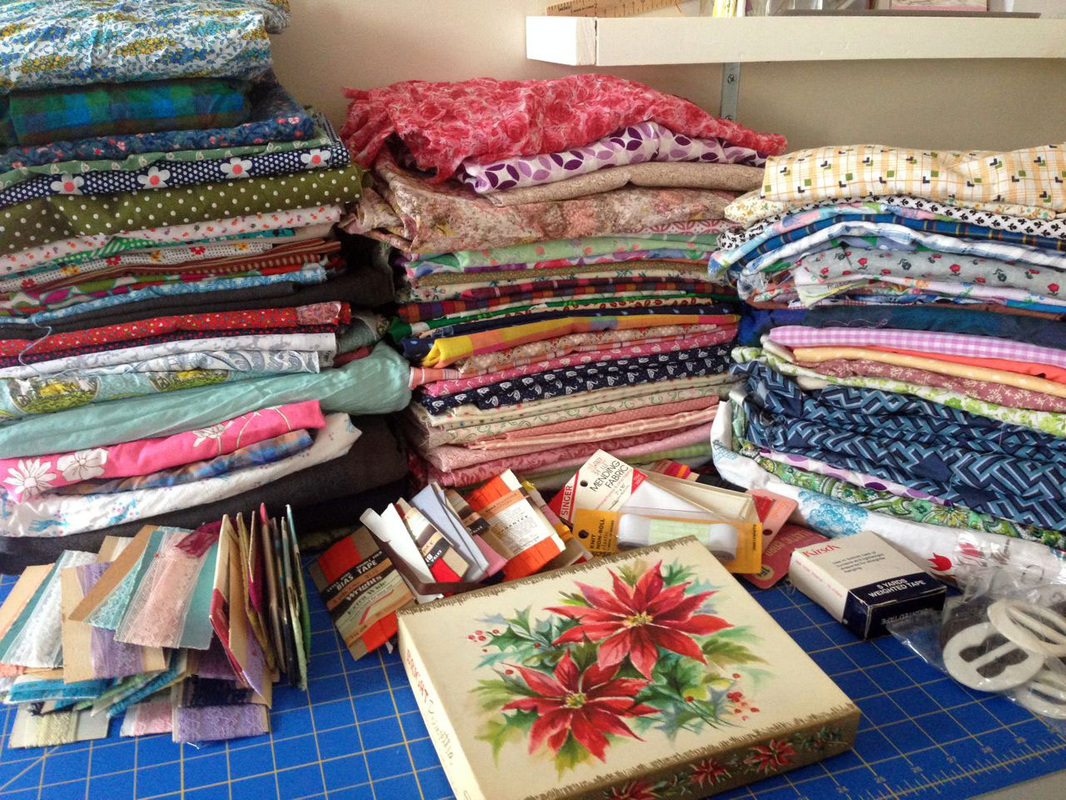
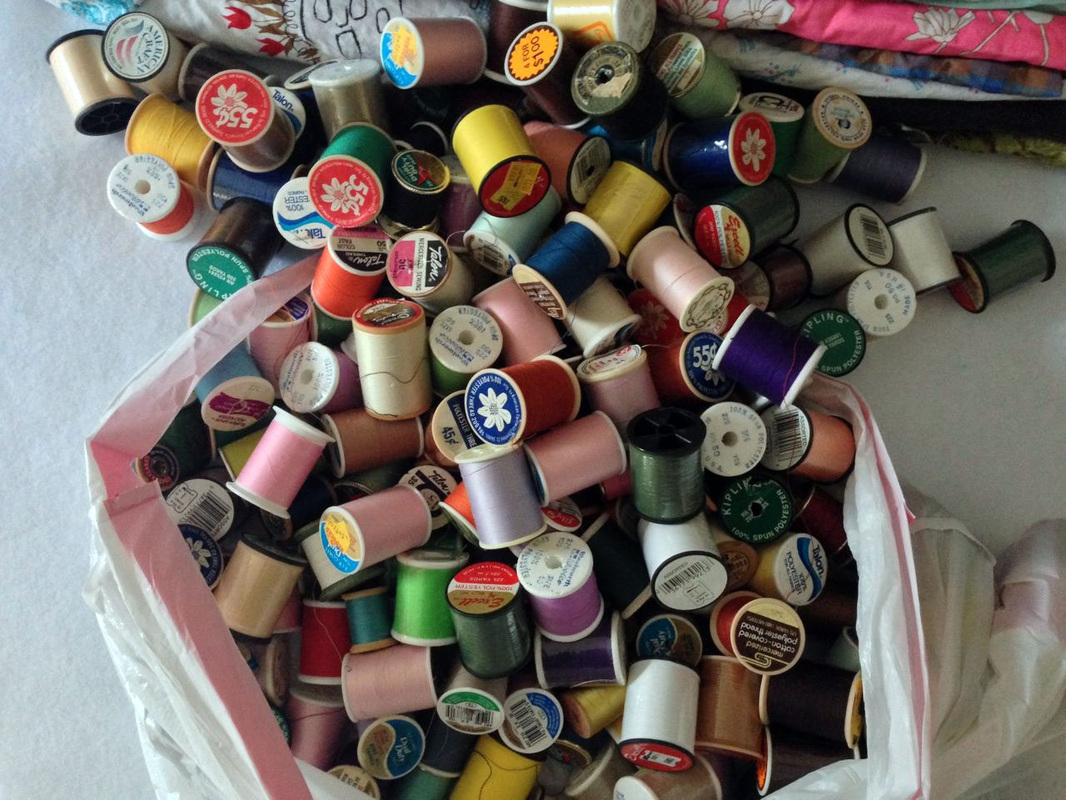
The infamous UFO bag...
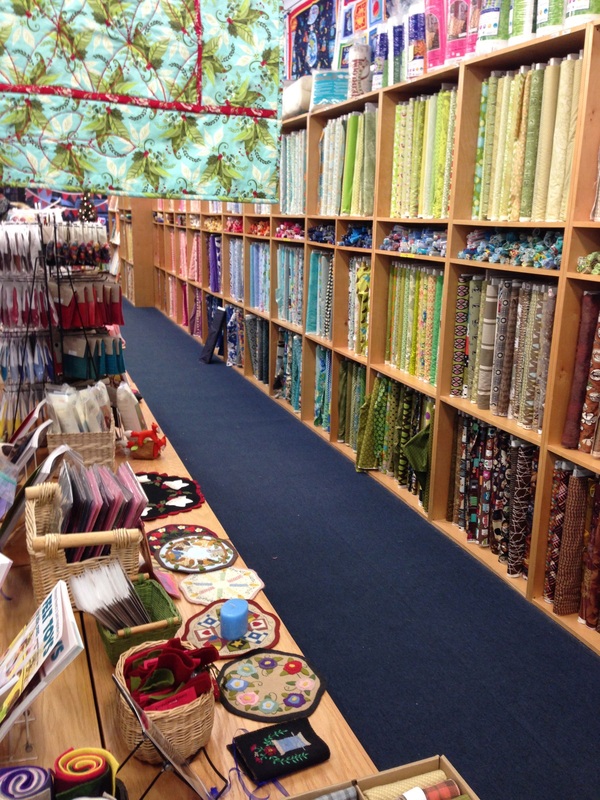
It doesn't happen too often but every now and then I take a look into this big green Pfaff bag which my sewing machine came in when I bought it in 2007. This bag has had one purpose ever since: keep all my UFOs - aka unfinished (sewing-)objects - out of my sight.
I am not lying when I am telling you that the last time I checked out what's in there was years ago, maybe even before the bag left Germany... who knows?

BUT! I am even more proud of myself that I took one of those UFOs and finally finished it. Yay to myself!! This project is a skirt that I started back in the days when I was more comfortable in jeans. It took me a while to figure out which kind of skirt (short and fitted) I like and this project definitely came from another era :)
Bild


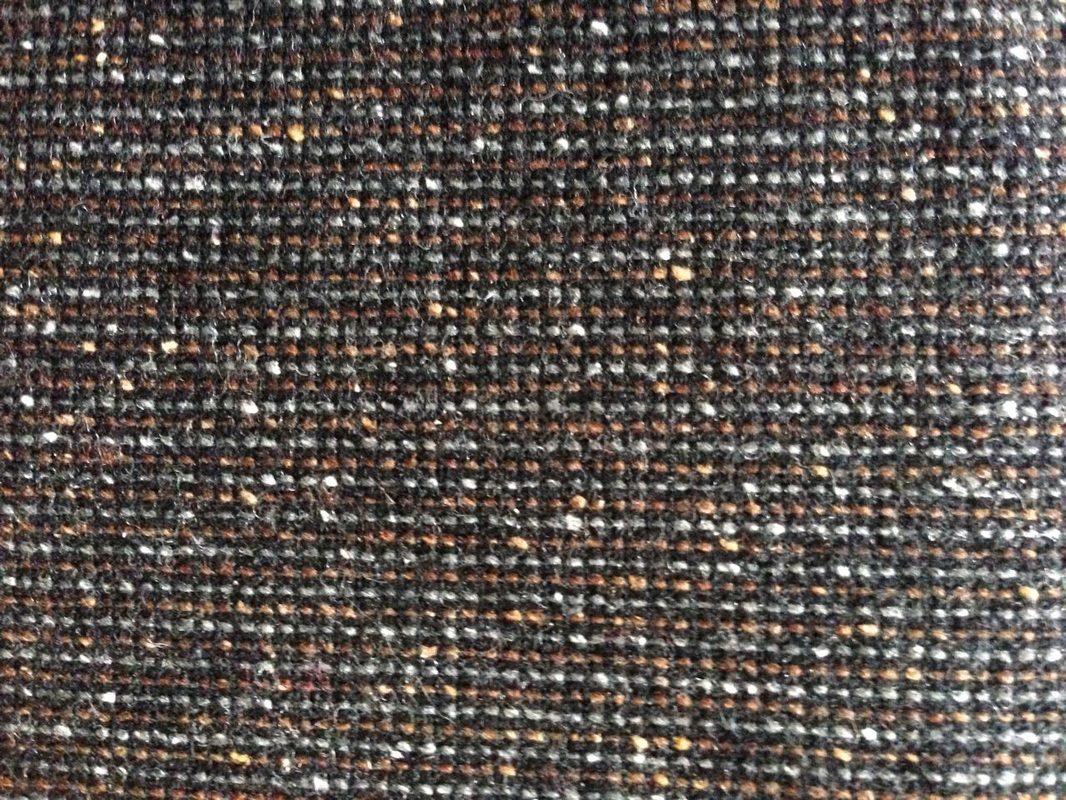
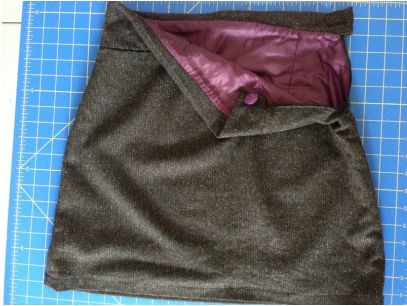
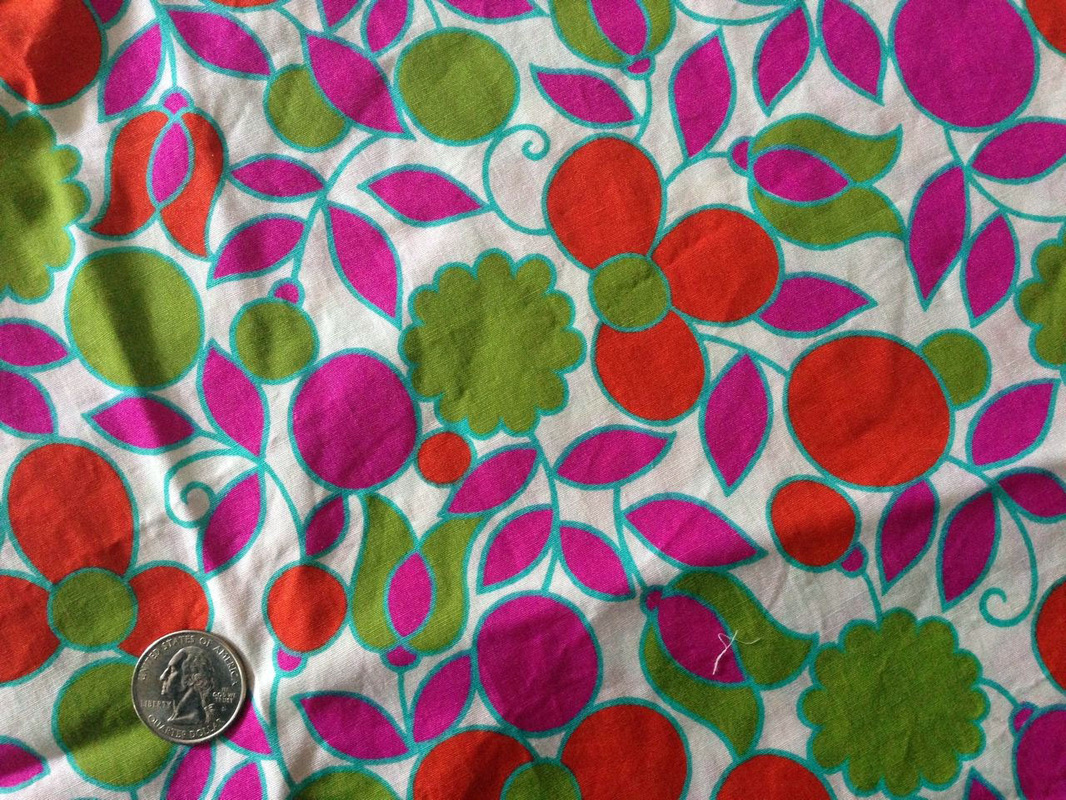
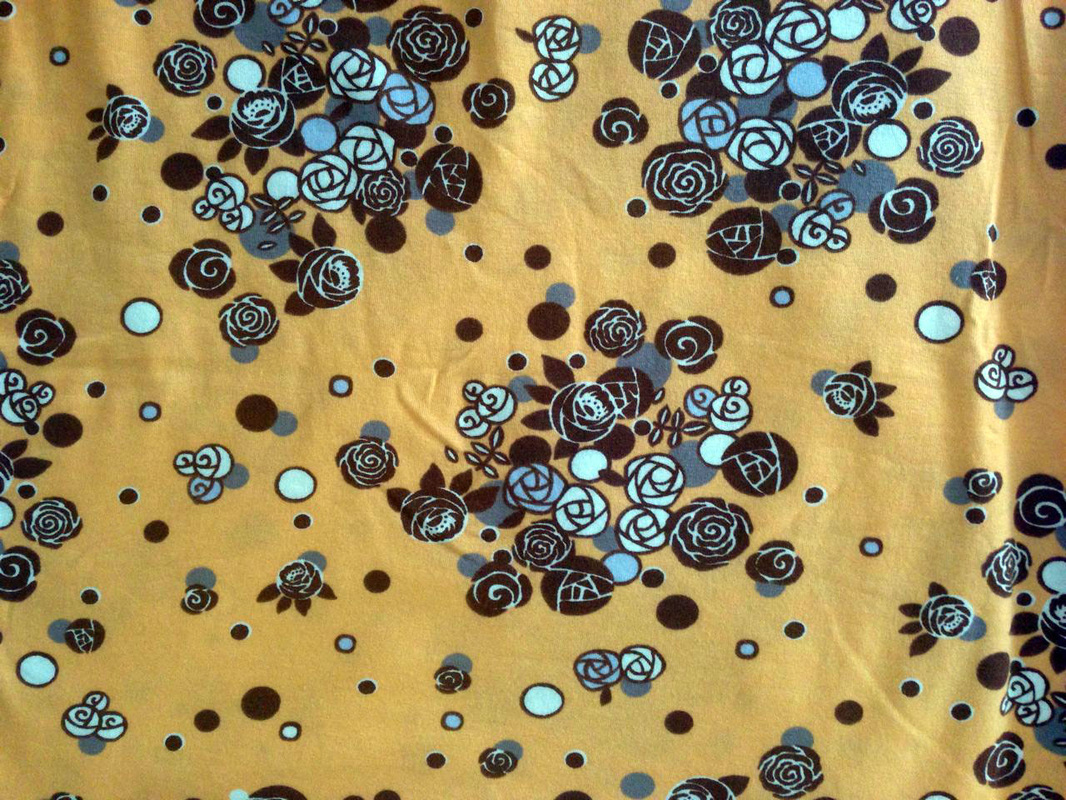
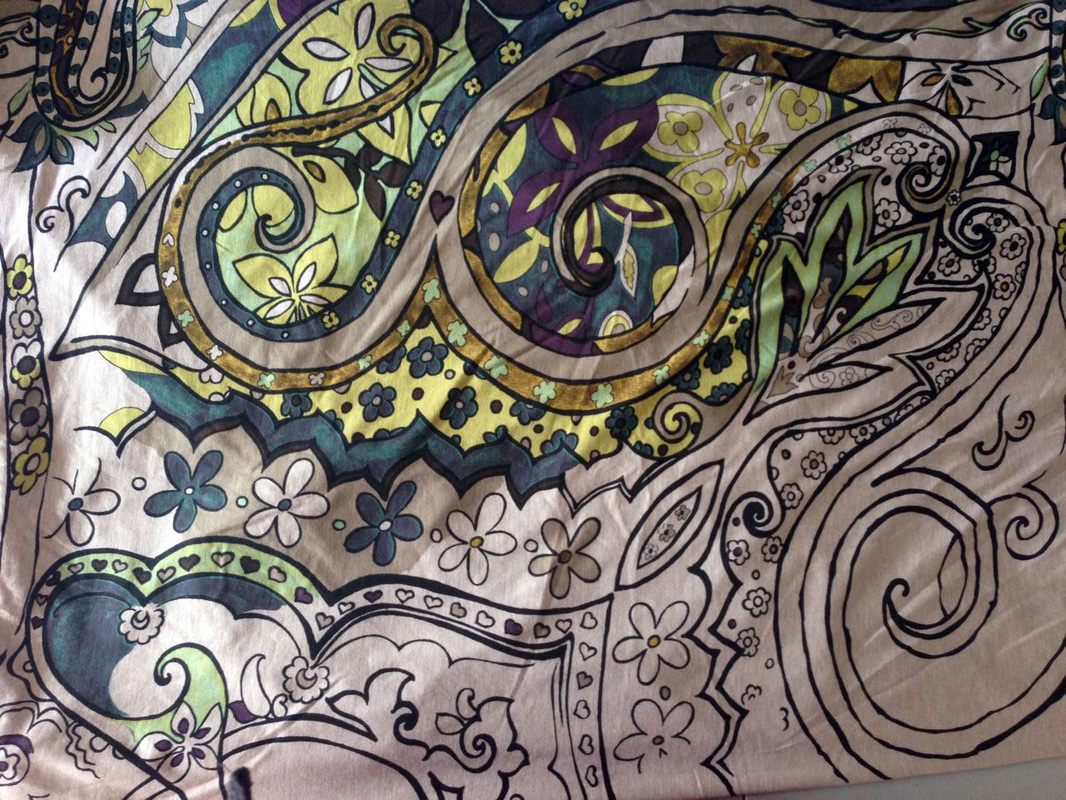
I remember that I stopped sewing because I thought it looked hideous. Actually the fabric is really nice, a soft and not too thick wool fabric in black (or more like anthracite), with a little hint of white and orange. Practically matching everything!

I know now that what I was so unhappy about was the length - I followed the pattern (for more info on the pattern see below!) according to which the skirt has a length of approx. 27 inches and when I put it on it just looked sooo frumpy. So I stopped sewing, shoved the unfinished skirt into the green bag and never looked at it again. Until last week :)
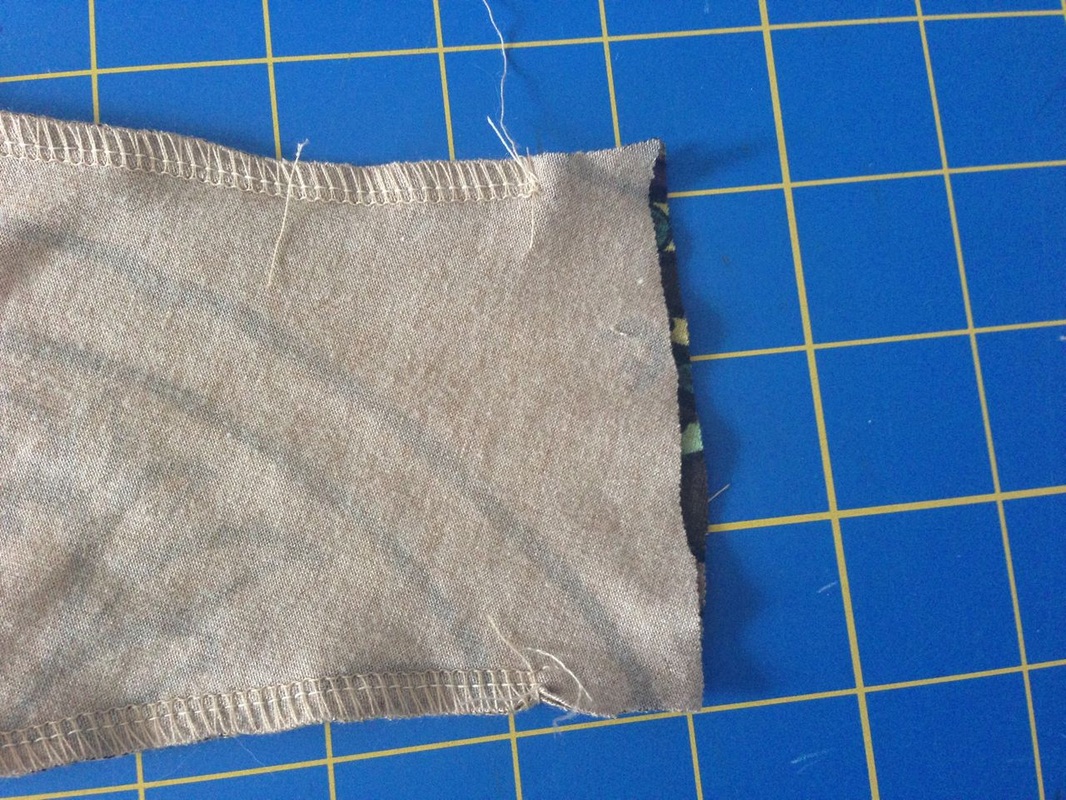
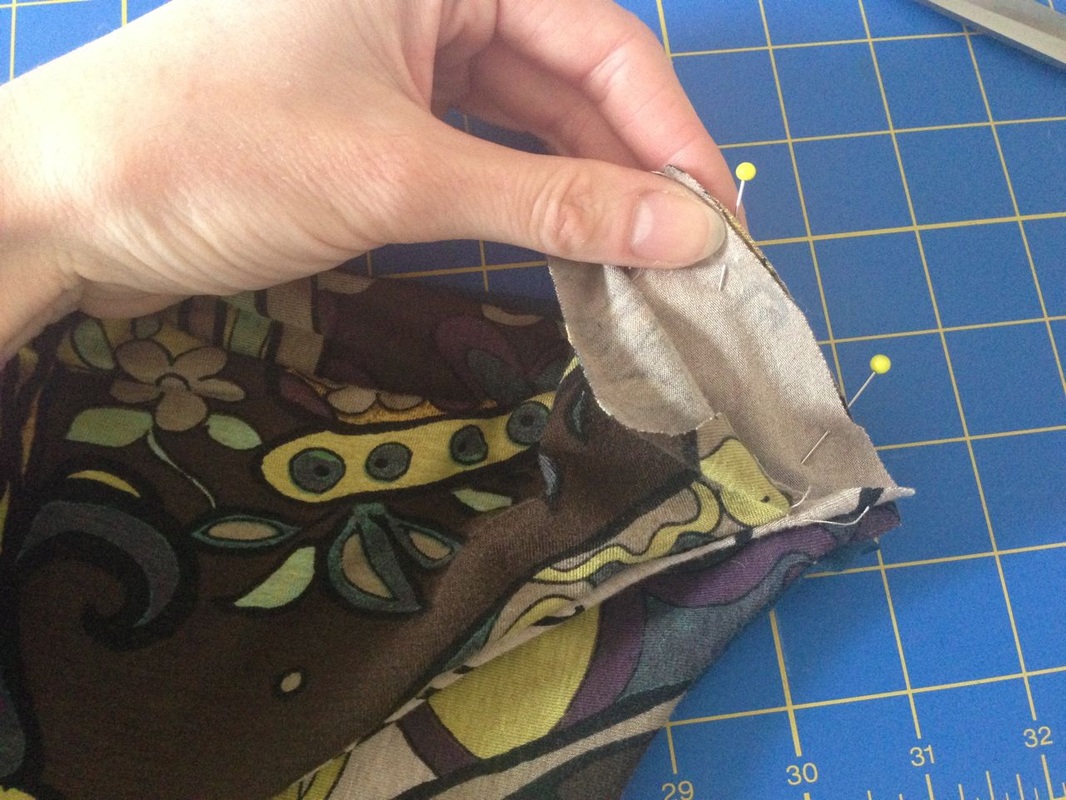
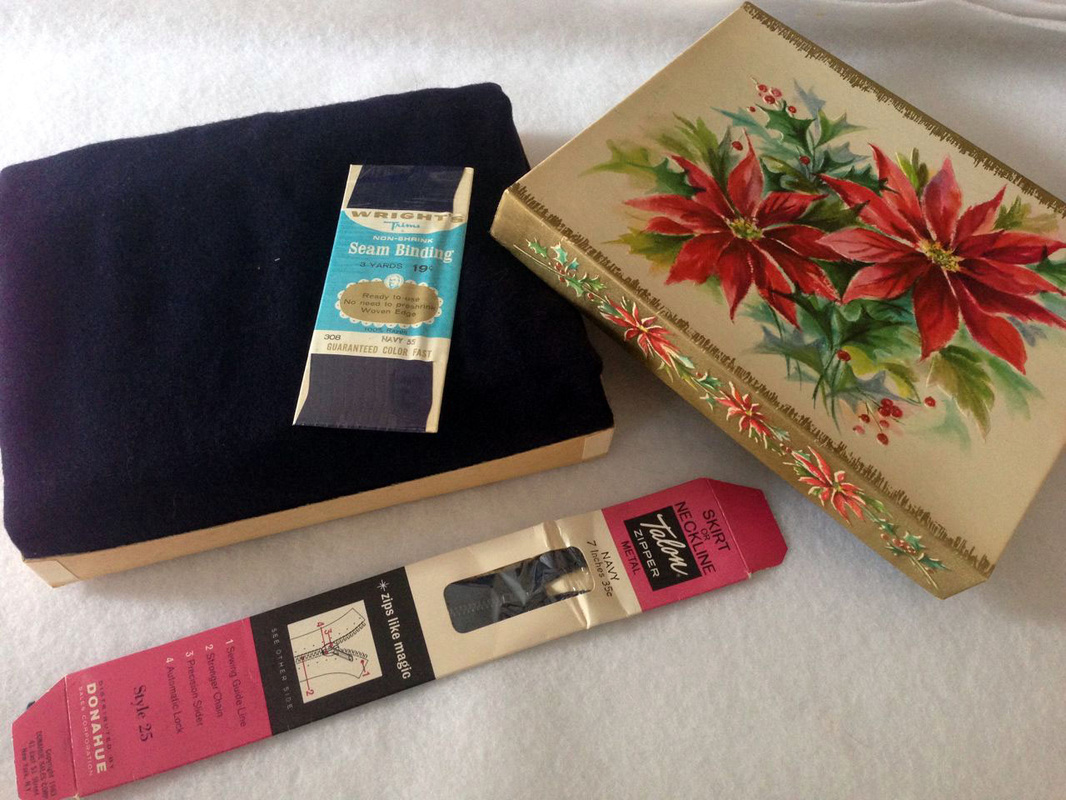
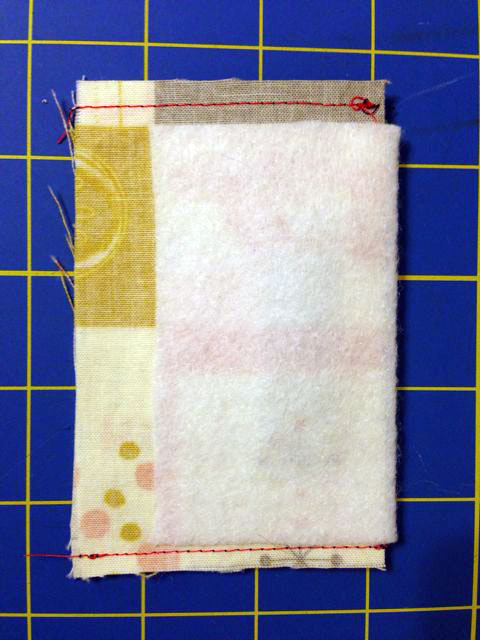
I already had the zipper and half of the waistband attached.
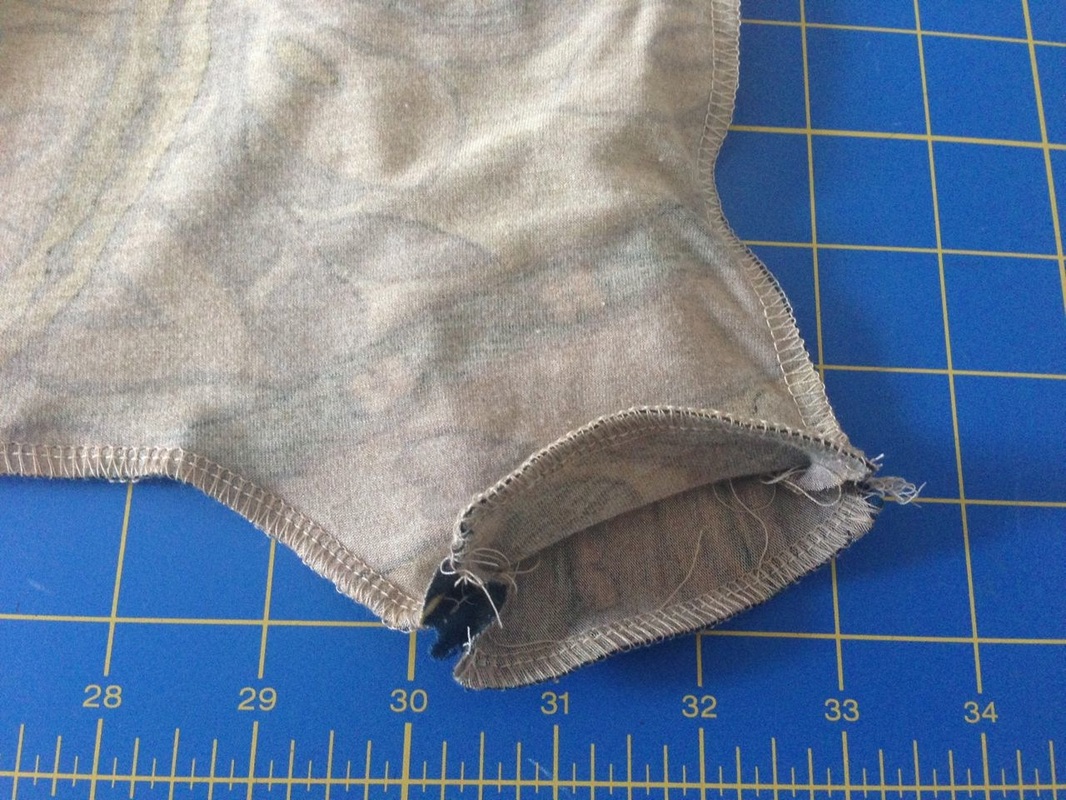
I cut off about 9 inches so that the overall skirt now has a length of 18 inches. This way it looks just so much better.
Bild
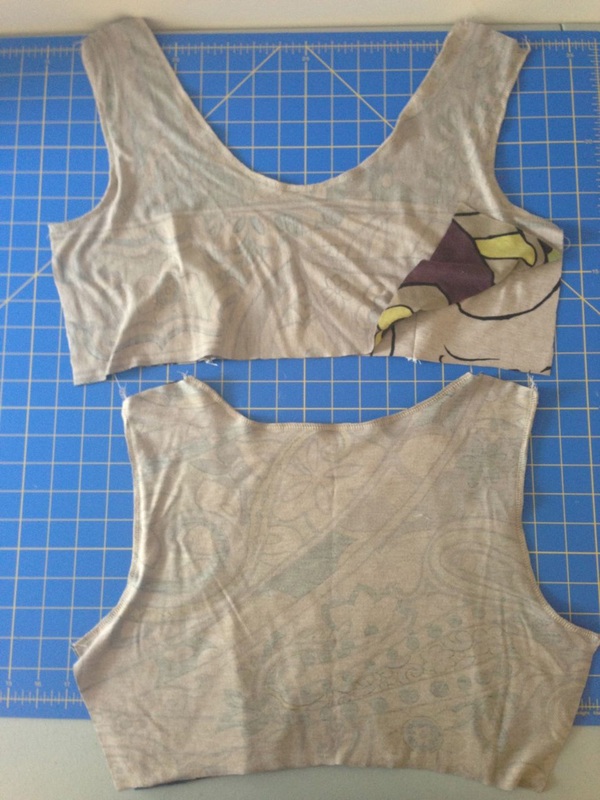
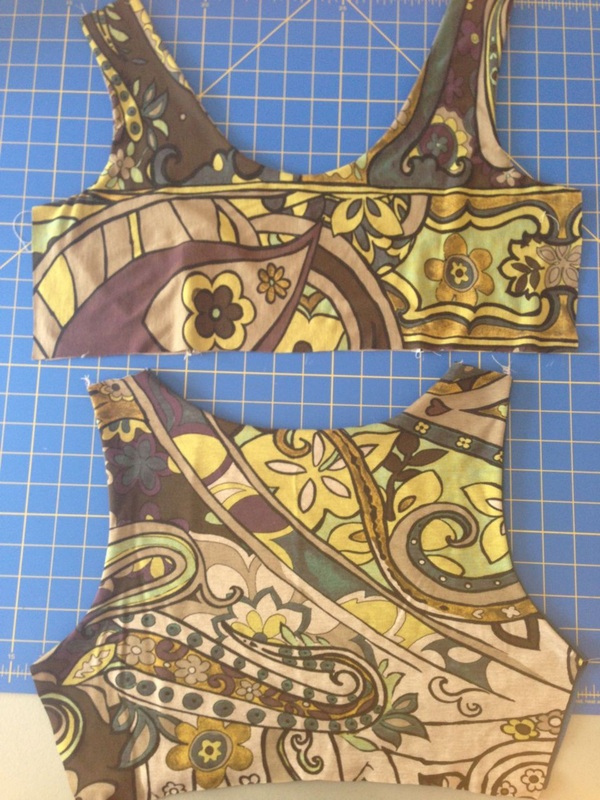
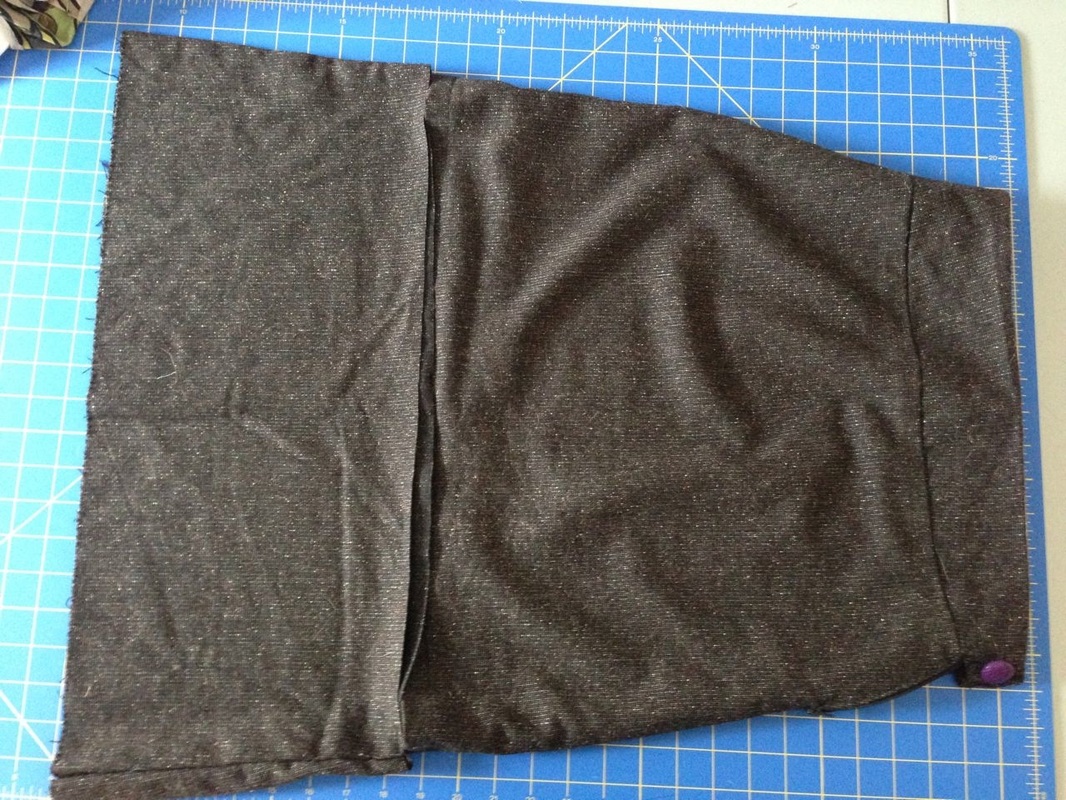
old length of the skirt
Bild
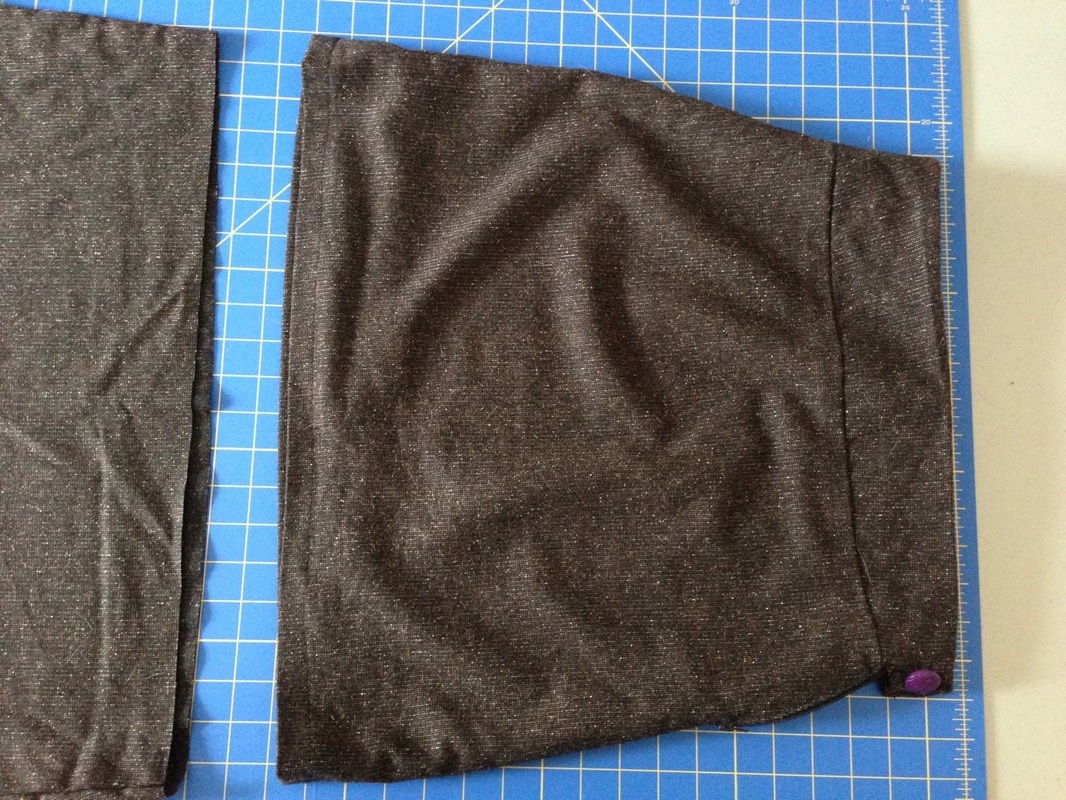
new length of the skirt
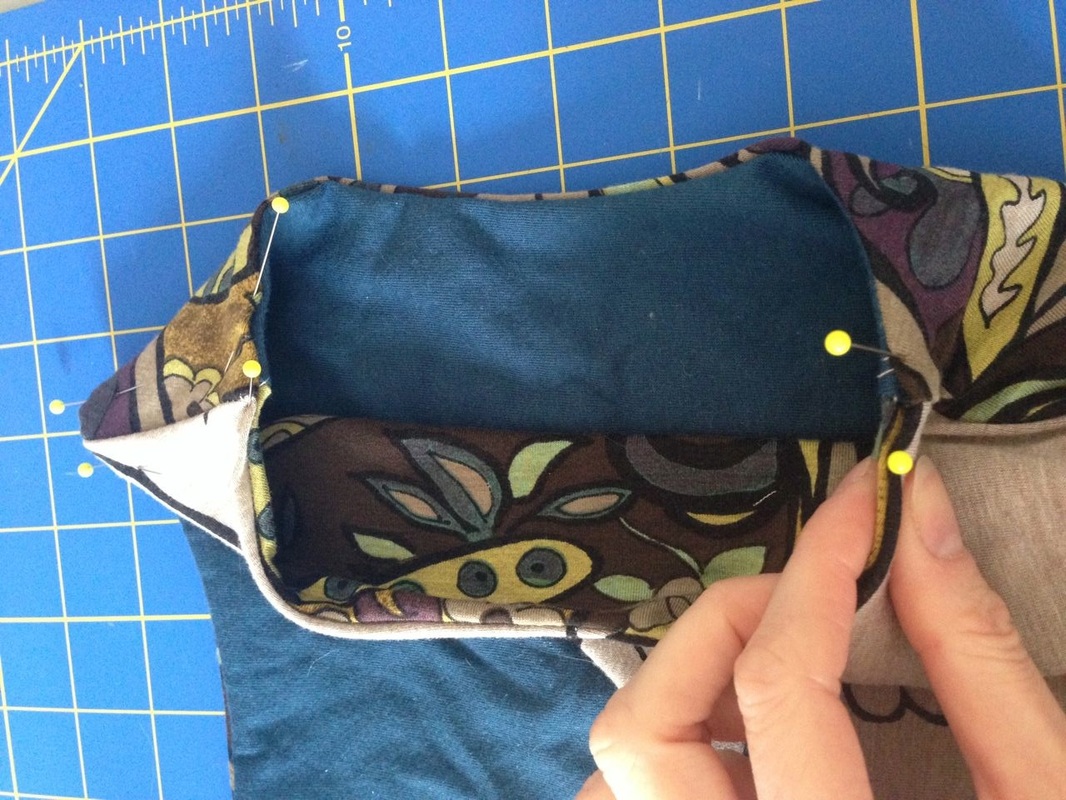
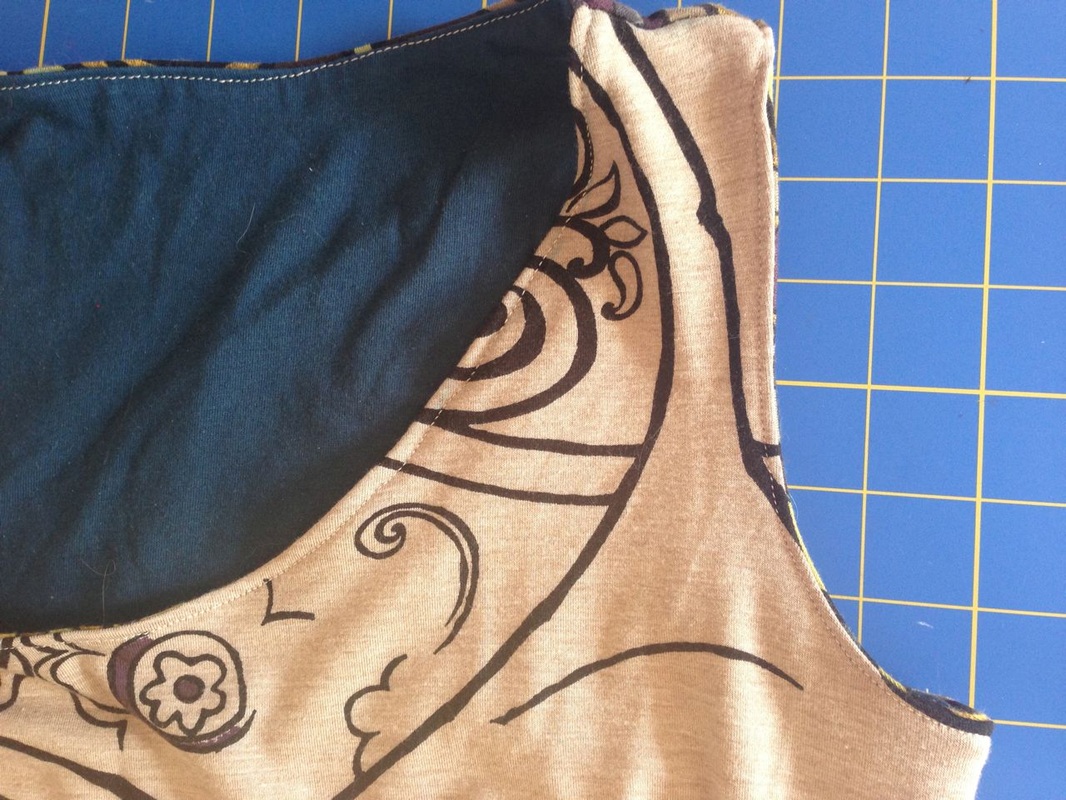
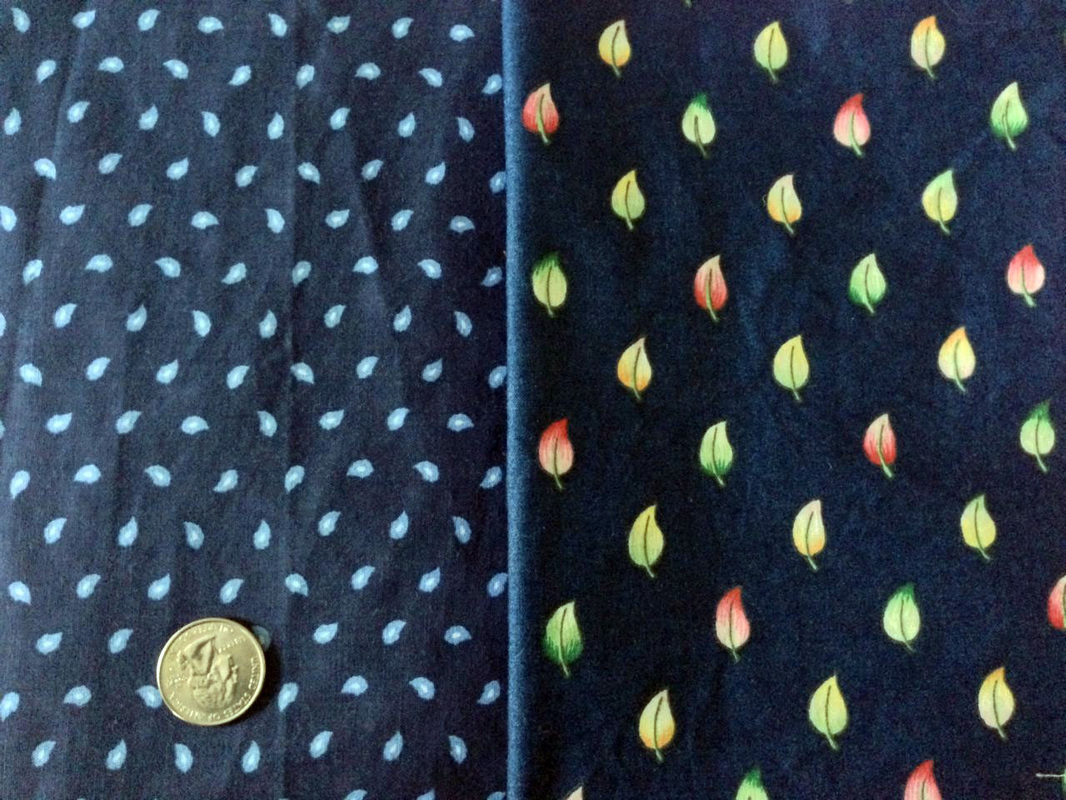
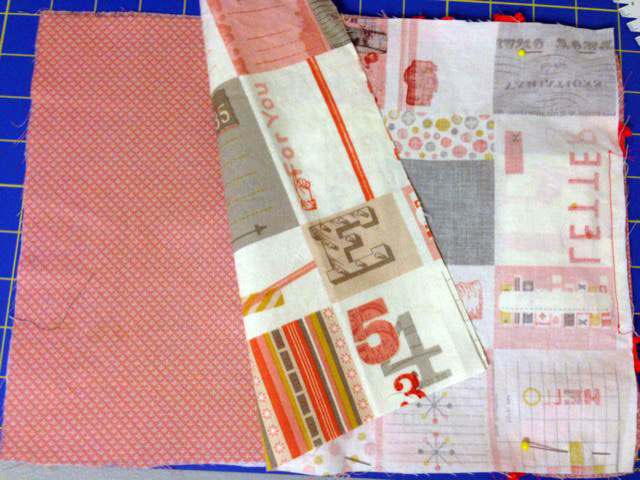
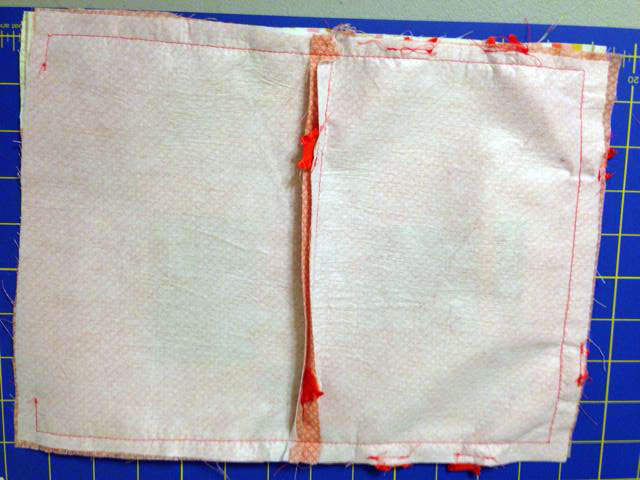
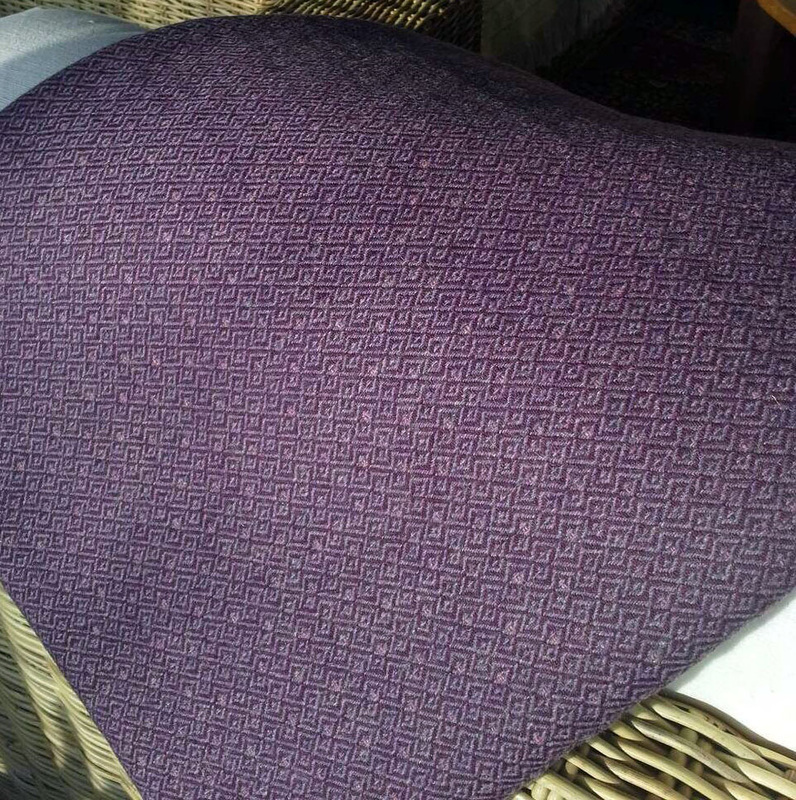
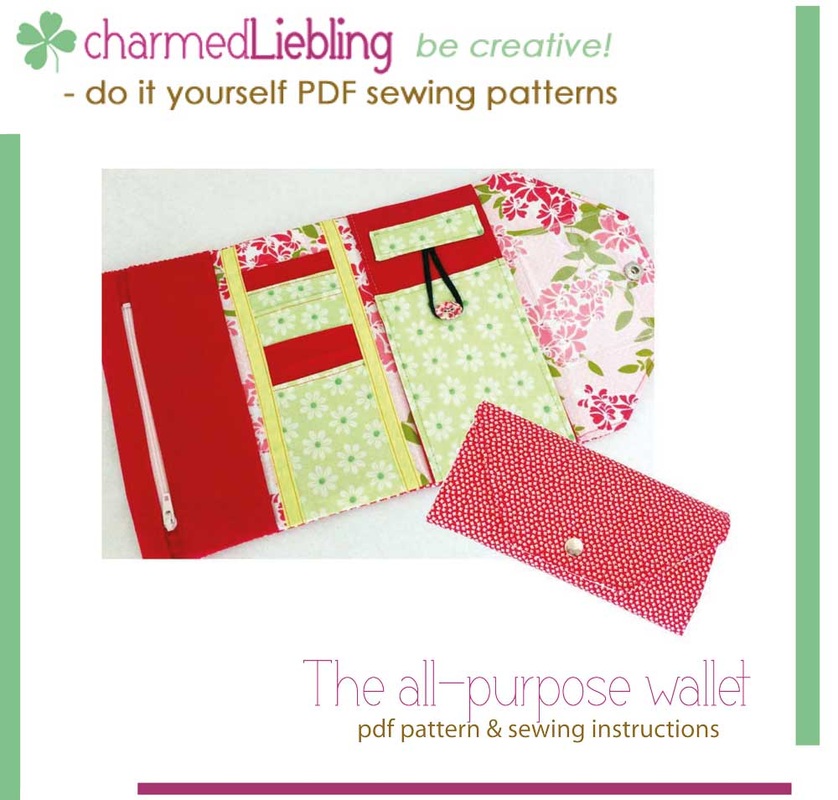
I looked in my stash for some lining fabric and luckily I found this dark purple one. I quickly sewed up the lining skirt and attached it to the exterior. After completing the waistband there was only a buttonhole to be made and a button to be chosen. I found this purple one and thought it was perfect with the lining. Sure, I am the only one ever seeing the lining but I get a kick out of things like that - you know, when you put on your skirt, you see the purple lining and it just looks awesome with the button? Love it!
charmed Liebling winter skirt with purple lining
charmed Liebling winter skirt purple button
Burda style pattern 8281


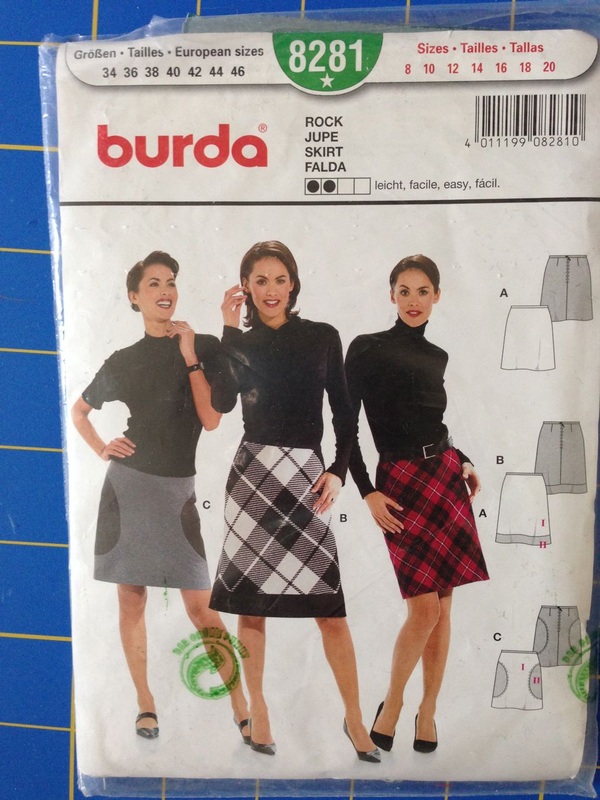
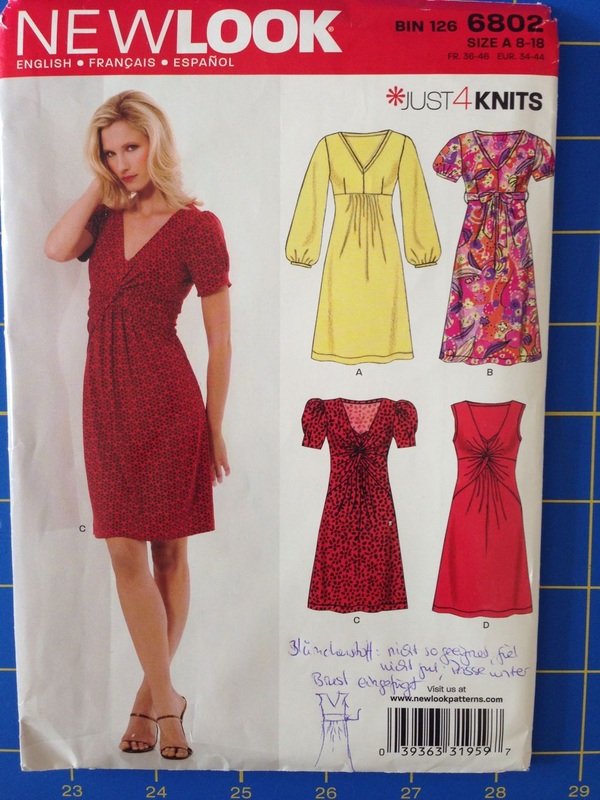
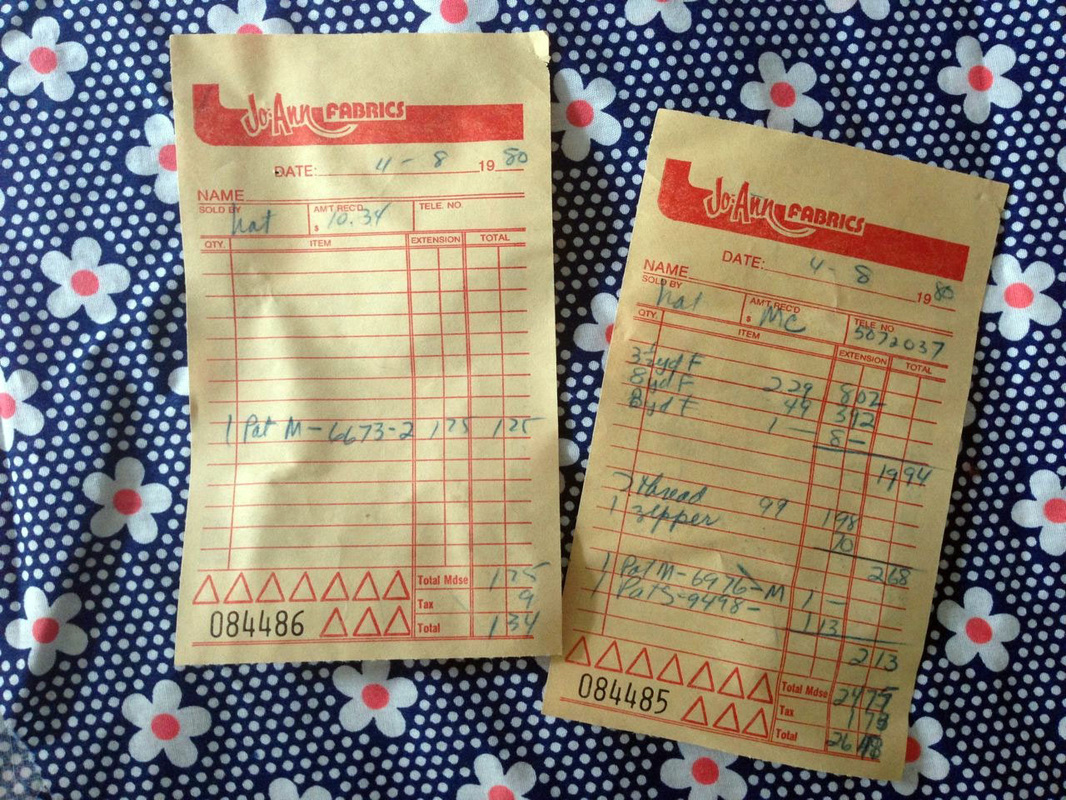
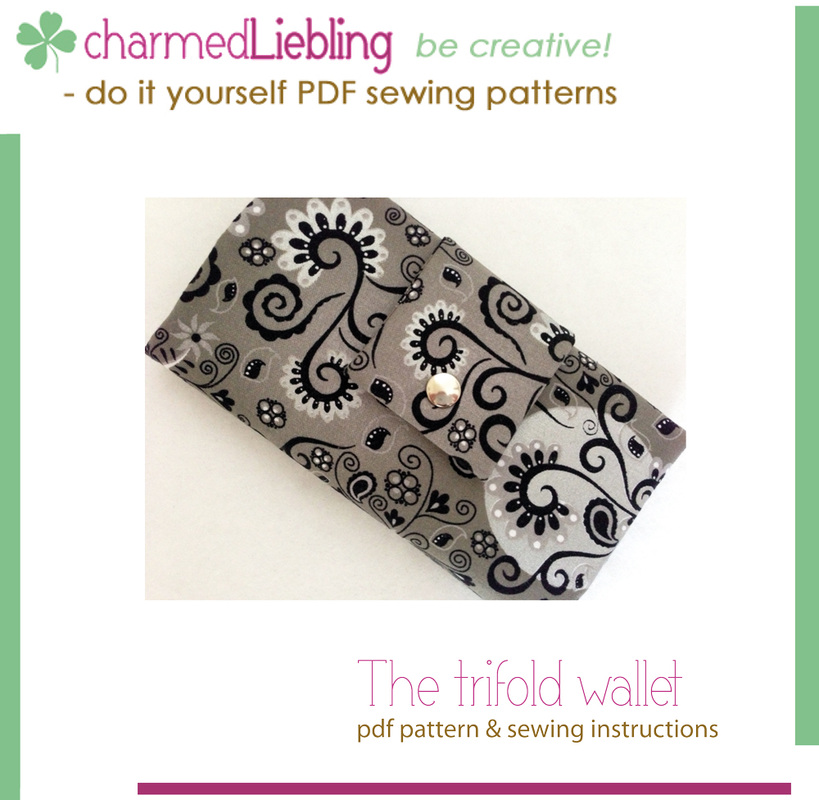
The pattern by the way was an older (German) Burda pattern which I slightly changed:
- I decided to put the zipper to the right side and not to the back.
- I put the darts to the front part of the skirt (for some reason this is where I need them when sewing cothes. Not on my butt obviously...)

After a long break from sewing garments (ever since I caught the bag making bug!) I am now getting back into sewing clothes again. I am really enjoying this process. Especially because I find it fascinating how easily and quickly a skirt or a dress can be sewn up!

Thanks for reading! If you like my skirt please feel free to leave me a comment. I am always glad for feedback :)
Anna charmed Liebling winter skirt
Happy sewing!
Bild
2 Comments

My new maxidress - can't wait for summer!

2/7/2014

16 Comments

 
charmed Liebling Mood maxidress back
Anna Lankeshofer charmed Liebling Mood maxidress front
Only two more months of winter and then we can slowly get ready for spring... <sigh>...
knit fabric from Mood

To put me in the right mood I decided to make a dress out of one of the fabrics I got at Mood Fabrics in NYC in December.
I usually don't go too bold with my clothing but I just love love love the print of this knit fabric. I think it's phenomenal (just like the store I bought it from)!
(Read about my trip to Mood here)

New Look pattern 6802


I wanted it to be simple and casual, so I chose a New Look pattern. I made three changes:
1. I got rid of the sleeves
2. I made it a maxidress, reaching all the way to my ankles.
3. I doubled the bodice. I have a store-bought dress with a fully lined bodice and I really like it since it gives it more structure and a neat finished look.


When I bought this fabric I had absolutely no clue what to make with it. So I bought 2 yards, thinking I would be on the safe side. I am rather tall (5'9") and the fabric was hardly enough for a maxidress. I had to use another knit fabric (plain turquoise) from my stash for the inner back part of the doubled bodice.
I also couldn't play with the print like I had originally planned. The print ist bold and dark on the left-hand side of the fabric panel and kind of fades out to the right-hand side. If I had had more fabric I would have probably cut both the front and back part kind of in the center of the print. Now my front skirt panel is widely patterned and the back panel is rather plain :) To make a contrast to the colorful front skirt part I decided to use the more plain part of the fabric for the front bodice.

It took me a few moments to figure out how to line the bodice but it is actually pretty easy. I decided to share my technique with you, in case you want to try it out yourself.


How to double the bodice:
Note: for your convenience I am offering this tutorial as a PDF file if you prefer to have everything in one structured document. You may purchase it here for only $2.
Bild
1. Cut your bodice part for front and back twice each.

2. Put the two bodice front parts right sides together and pin. Stitch along the neckline and the armholes and make sure to start and stop approx. 2 cm (0.75") from the edges (see picture to the left). You will need this gap later to finish your bodice (I forgot to do it at first and sewed all the way up to the top, like shown on the pictures below. Don't do that!!). Turn right side out.

3. Repeat for the two pieces of the bodice back part.

Bild
Both front and back right sides together
Bild
Both doubled front and back right side out
Bild


4. Put the outer shoulder parts of the bodice back and front right sides together. Pin in place and stitch.

Bild

To do the same with the inner shoulder parts of the bodice front and back you will have to pull the two pieces through the bodice. Pin in place and stitch. Your bodice front and back will be connected at the shoulder seams now, with the gaps still open.


Bild
Bild
5. Repeat the previous step with the side seams of the bodice: Sew the side seams of the outer bodice parts rights sides together. Then sew the seams of the inner bodice parts right sides together. 
Bild
The side seams of the outer bodice part pinned right sides together.
6. To close the gaps on the bodice part, simply fold the seam allowances to the inside. Then topstitch along the whole bodice part (neckline and armholes), at the same time closing the openings.
Bild
Bild
Bild The skirt with the gathered front panel.

7. For the skirt part of my dress I used the two panels that came with the New Look pattern and added about 15" in length for a maxidress. The front panel is wider than the back (the back has the exact width of the back bodice). It has to be gathered to the right width so that it fits the bodice front part.
Stitch your skirt front and back together before proceeding.

Bild Bodice and skirt attached with the help of my serger.

8. Attach the doubled bodice to the skirt:
Put the skirt part and the bodice outer parts right sides together and stitch around the whole piece. I used a serger which will finish the edge neatly at the same time. You will be stitching through three layers of fabric: the skirt, the outer bodice and the inner bodice.

Finding the right length for my dress took me a while but I finally figured it out. I wanted it to be as long as possible, but without risking to fall or to have the fabric touch the ground (and dirt!) when not standing straight.
charmed Liebling braided headband


I had just a tiny bit of fabric left and decided to make a headband. I simply cut three strips of fabric and braided them. The strips I cut were about 4 cm (1.5") wide and 45 cm (18 ") long. To make the braid stay in place I stitched right over it at both the top and the bottom ends. Now I only have to tie the two ends together and my headband is ready to go!


I think the dress turned out really nice. I can't wait to wear it!! I hope you like it too. I am glad I already made it even though summer still seems like a million years away... Are you already sewing things for summer?
Happy sewing everyone and stay warm!
Anna Lankeshofer charmed Liebling Anna and Henry
Henry making his way into my picture (yet again!).
Bild
16 Comments

One of my bags won a contest!

2/1/2014

8 Comments

 
Bild
A couple of months ago I reviewed a bag sewing pattern as part of Purse Palooza over at Sara's blog. The pattern I tested was the Tandem Tote, a pattern by StudioKat Designs.
The pattern is perfect for geometric fabrics and I decided to go with this orange one. I like the way the orange shades are paired up with a hint of turquoise and navy blue in this print.
I like small bags and this one is just perfect when you only want to carry your essentials like phone, wallet and keys. The measurements are 7" x 7" x 2 ¾".
Bild
I did not run into any major problems with this pattern when I assembled the bag. Even though it is one of StudioKatDesigns older patterns with just illustrations and not color photographs I found it very easy to follow the instructions. It is not a beginner pattern, simply because the bag is small and there is a lot of detail work involved like for instance the two zippers. An advanced beginner or an intermediate sewer should have no trouble assembling this bag.
Bild
See the proportions of the bag? It is really small and I love it!
You can read about my bag winning the contest here. I was being told it was a close contest so I am even more happy about winning this! The prize is a certificate I can use to shop for StudioKat Designs products. Yay! This is actually the first time I won anything "sewing related". I have to say it is pretty awesome! How about you? Have you ever been lucky in a contest or a giveaway? If so please leave me a comment, I am very curious :)
Bild
8 Comments

Can you ever have enough fabrics...?

1/24/2014

6 Comments

 
Bild
What's this you ask? Just a little bit of fabric and stuff I got myself lately :)
Last week something rather unexpected happened to me: my friend Amy asked me if I wanted to go through her late grandmother's sewing supplies and told me I was free to take whatever I could use.  I never met her grandma but she must have been a sewing addict just like me! There were hundreds of hundreds of fabrics, as well as thread, zippers and just everything you can possibly think of.
It took us several hours to look through everything and I found some really nice fabrics, some of which could even be vintage. I decided to show you a small selection of what I brought home. It would just be too much to show all the fabric I got!!
Bild
Leaves!
Bild
More leaves!
Bild
Bild
Bild
I love the print of this one. It reminds of watercoloring :)
Bild
Most of the fabrics have small prints, but this is an exception. Isn't this pattern beautiful?
Bild
Bild
We also found these old, handwritten receipts from 1980! And this pretty little paper box with fabric, a matching zipper and seam binding. I wonder if she got that for Christmas a long time ago? Or if it was meant to be a Christmas present and she decided to keep it for herself (been there, done that!)?? Some of the things we found really made me wonder about the story behind it.
Bild
Bild
And it gets better: we found hundreds of spools of thread! I decided to keep almost all of them, a lot of them hadn't even been opened yet! If the thread is still usable (does Polyester thread ever expire and get fragile I am wondering?) then I will never have to buy thread again in this life :)
Bild


Bild
Some of the thread in this huge bag is really old; so old in fact, the spools are made of wood and not of plastic. This is so cool, I just love this! And as you can see back then a spool of thread cost 29 cents!

Bild
The little sewing kit had to go home with me too. I mean, look at all these cute, tiny little spools, oh my gosh! This is almost too much for me :)

And more fabrics (all not ironed, sorry!):
Bild
Bild
Bild
Bild
Bild
Bild
And there was also this: Mary Poppins!! And her bottomless bag and her parrot head umbrella as well! I have absolutely NO clue what to do with this fabric but I knew I could NEVER leave this behind. I loved Mary Poppins as a kid. Actually I still do!
Bild
Bild


I also got a whole bunch of seam binding and bias tape in all the colors you could think of. Also some elastic and a few buckles! I especially love the green buckles. I will definitely use them for some of my bags.

I was really moved when Amy offered me to take a look at her grandma's sewing room and I am happy that some of the fabrics and sewing supplies now have a new home in my little sewing studio. Joann Fabrics will not be seeing me for a while, that's for sure!
Bild
6 Comments

FREE sewing tutorial: how to make an iPad case

1/17/2014

14 Comments

 
charmed Liebling iPad case
Hi everyone!
We are already past mid January, I truly apologize for having been absent for so long but I honestly don't know where time went... The only good thing about it is it brought us 2 weeks closer to spring :)
Anyways, I have come up with a easy and relatively short tutorial on how to make an iPad case! My birthday was on December 20 and as many of you know I spent it in Germany with my family. This iPad mini was a gift from my husband, and thoughtful as he is he gave it to me before I left the US, so that I could already use it on my long flight and while I was home!
Of course I needed to make a stylish case for it and I thought I'd share with you. I hope you like this tutorial. This pattern will fit all iPad models, regardless the size.

This tutorial is free but if you would rather prefer to download this complete tutorial as a pdf file you may purchase it here for only $2.
Happy sewing!

Please read all instructions before you begin.

All cutting measurements given are height x width.
All seam allowances are 1/2” unless stated otherwise.

You need:

- Exterior fabric for outer main body: 1 fat quarter (18” x 22”)
- Lining fabric for inner main body: 1 fat quarter (18” x 22”)
- Heavy fusible stabilizer e. g. Pellon Peltex #71F: no more than a 12” x 22” piece (depends on iPad size)
- Fusible interfacing e. g. Pellon 906F Fusible Sheerweight: 1/3 yd
- 1 piece of hook and loop tape (sew-on): 2”
- Elastic: approx. 1/2 yd (I used ruffle elastic for a more decorative look)

  Below I give the exact measurements for an iPad mini case and the formula to calculate the measurements should you want to make a case for different iPad models.

Cut the following fabric pieces:

A) Outer main body (use exterior fabric) – cut this 1x:

For iPad MINI:
9 1/2" x 12 1/4”

For other iPad models use the following formula to determine the size of the fabric piece:
- Take the height of your iPad and add 1 1/2”: this is the height of your fabric piece.
- Take the width of your iPad and double it. Add the depth of your iPad. Add 1 1/2": this is the width of your fabric piece.

(e. g. if your iPad is 9 1/2” high, your fabric piece will have a height of 11”
          if your iPad is 6 1/2” wide and 1/4" deep your fabric piece will have a width of 14 3/4” )

B) Inner main body (use lining fabric) – cut this 2x:

For iPad MINI:
9 1/2" x 6 5/8”

For other iPad models use the following formula to determine the size of the fabric pieces:
- The height of your fabric pieces will be the same as for the main body outer part.
- Take the width of your main body outer part as measured above. Divide by 2. Add 1/2”: this is the width of your fabric piece.

(e. g. your fabric pieces will be the have the same height as the main body exterior fabric, in this case 11”
If your main body inner fabric was 14 3/4” as measured above your inner main body fabric pieces will have a width of 7 7/8”

C) Heavy fusible stabilizer – cut this 1x

For iPad MINI:
Measurements as given in A). Subtract 1/2" from each of the four edges.

For other iPad models:
Measurements as given in formula under A). Subtract 1/2" from each of the four edges.

D) Fusible interfacing – cut this 2x

For iPad MINI:
Measurements as given in B).

For other iPad models:
Measurements as given in formula under B).

The following parts have the same size regardless of iPad type:

E) Closure tab:

From exterior fabric – cut this 1x:
4 1/2” x 5 1/2”

From heavy fusible stabilizer – cut this 1x:
3 1/2 ” x 4 1/2”


Instructions:

- Fuse interfacing onto the wrong side of the inner main body fabric pieces.
- Fuse heavy stabilizer to the wrong side of the tab closure fabric piece. Make sure to place it centered onto the fabric piece so that there will be no stabilizer on the seam allowance.

1.) Make the inner main body
- Place one of your inner main body fabric pieces right side up and put your iPad centered onto it.
- Place your elastic onto one corner so that it covers the corner of your iPad. It should be positioned loosely, don’t tighten it just yet. Make sure to position the elastic in an angle so that it would cover enough of your iPad to hold it in place but at the same time won’t cover too much of your screen. If you are satisfied with your positioning pin the elastic down on both fabric edges.
- Cut off your elastic and repeat the previous step on the three other corners.
Bild
- After pinning down the elastic remove your iPad. Smooth the elastic out to make sure it lies flat on the fabric. You may have to remove some of the pins again and pin it down again.
- Stitch the elastic onto the fabric using a 3/16” seam allowance.
Bild
- Place the second inner main body part onto the inner main body part with the elastic attached, right sides together. Make sure that all edges are aligned. Pin in place and sew along the left-hand long edge. Iron the seam open and set aside.
Bild
2.) Make the outer main body
- Make the tab closure:
Fold the tab closure fabric piece in half vertically, right sides together. This means that your fabric piece will be 4 1/2” x 2 3/4” after folding. Iron or handpress to make sure you will see the center crease. Unfold again and place the closure tab fabric piece right side up.

- Place the soft part of your hook and loop tape onto your closure tab fabric piece: it should be positioned approx. 1/2" left from the center crease and centered between the top and the bottom edge of the fabric piece. Pin in place and sew the hook and loop tape to the fabric piece using a 1/8” seam allowance.
Bild
- Fold your fabric piece in half along the center crease again, right sides together. Pin in place and stitch along both short edges. Turn it right side out.
Bild
- Place your closure tab (with the hook and loop tape facing up) onto the outer main body fabric piece. It should be positioned centered on the left-hand side edge of the outer main body fabric piece. The raw edges of both the tab closure piece and the main body piece should be aligned. Pin in place and stitch along the raw edge using a 1/4" seam allowance.
Bild
3.) Assemble the iPad case:
- Place the outer main body piece (with the closure tab attached) onto the inner main body piece right sides together. Make sure that the side with the closure tab touches the side with the elastic. Make sure that all edges are aligned and pin in place.
Bild
- Sew around all edges but leave an opening of approx. 7” at the side that does not have the closure tab or elastic attached. Trim down the seam allowance and clip the corners. Turn right side out. Fold the seam allowance at the opening down to the inside and iron.
Bild
- Find the right spot for the second part of your hook and loop tape:
Take your iPad and put it inside your case. Fold the case in half as if closing it. Take a fabric marker and mark the spot where the hook and loop tape of the closure tab touches the exterior main body.
Bild
Bild
- Sew the hook and loop tape onto the exterior main body at the spot you marked using a 1/8” seam allowance. You may have to remove the arm of your sewing machine for this step.
Bild
- Insert the heavy stabilizer into the casing: Slide it through the opening, match all corners and flatten it out. Make sure it sits nicely inside the case (you will be fusing the stabilizer to the fabric in the very last step when ironing your iPad case).

- Make sure that the seam allowance of the opening is still folded to the inside. Pin in place and topstitch the opening close.

- Finish up your case by ironing it thoroughly. At the same time your stabilizer will be fused to the fabric.
Bild
And it's done! Enjoy your new iPad case!
I hope you liked this tutorial. If you have any questions or remarks feel free to leave me a comment. I'd be happy to know what you think!!
If you would rather prefer to download this complete tutorial as a pdf file you may purchase it here for only $2.
Bild
14 Comments

Fabric shopping in New York City

1/3/2014

5 Comments

 
Happy New Year to all of you! I hope you had nice holidays. Before I flew to Germany for Christmas I treated myself to a short trip to NYC. I had never been there before so during the two days I spent there I wanted to do some sightseeing of course, but something else - not less important - was also on my list:
check out some fabric stores in the Garment District of Manhattan!!

I didn't really have too much time but I made it to three different stores. The first one didn't really impress me at all, which is why I won't share anything about it. But the two others were amazing!

Bild
Bild
Bild
1. Mood Fabrics
225 W 37th St 3rd Floor
New York, NY 10018

I doubt there will be any sewer who is not familiar with Project Runway or this awesome store. After riding the elevator to the third floor you will feel like entering paradise. At least if you are into making clothing. This store is huge but so well organized! There are actually two floors with an enormous selection of apparel fabrics. I was a little bit overwhelmed by the amount of bolts in each single aisle but they have a very good labeling system which made it easier to find what I was looking for. I particularly wanted to check for cotton knit fabrics and for tweed. I spent about 1.5 hours in the store and two different - very friendly - staff members helped me find the right fabrics for my purposes. This is what I bought:

Bild
Bild
Bild


Two knit fabrics both of which I am planning on making into some sort of summer dresses. I especially love the left one with this phenomenal print and color scheme.
They are both 100% cotton which I love since I am having a hard time finding knit fabrics in my local stores that are not made of polyester. I should have probably bought so much more. But I was scared my suitcase would be too heavy in the end. I guess I will have to come back some time :)

Bild

In the wool section I bought this purple tweed fabric. I was looking for something for my mom for her birthday which was at the end of December. She is a sewing addict as well (she is actually the one who got me into sewing, thanks Mama!) so I thought some nice fabric from Mood would be a perfect birthday gift. She likes making short jackets and coats and I think this fabric will look perfect on her.

Bild Swatch!!


At checkout they even signed me up for Mood Rewards. Now I have a pretty key chain which I carry around. Even though it might be a while until I come back :)

Bild
2. The City Quilter
133 W 25th St
New York, NY 10001

This store is perfect if you are a quilter or bag maker. It has a decent size with a nice selection of cotton fabrics and also some home decor fabrics. They are all sorted by colors which I loved! First of all it just looks really nice and second of all it saved me a lot of time since I would only check out the shelves with my preferred color schemes. I bought four different fabrics here which of course are all going to be made into some sort of bag :)


Bild
Bild
Bild
In case you are interested here's some information about the designers (from left to right):
1. Juggling Summer by Brigitte Heitland of Zen Chic for Moda.
2. Ladies' Stitching Club by Liesl Gibson of Oliver + S for Moda.
3. Twenty Three by Eric & Julie Comstock of Cosmo Cricket for Moda.
4. 1000 Cranes by Rashida Coleman Hale for Cloud 9 Fabrics.

I can't wait to get started on sewing with my new fabrics! What is your first project for the new year going to be?? Maybe you even got some new fabrics for Christmas? I would love to know what you are up to for the new year so just leave me a comment if you like :)
Bild
5 Comments

Please vote for me :)

12/24/2013

6 Comments

 
Picture
A couple weeks ago I participated in the Sew Sweetness Bag Contest on Sew Mama Sew and I was really thrilled to see that my Petrillo Bag made it to the TOP 15!! There were about 60 entries and my bag got picked by a jury to be among the top 15 bags of the contest. And here is how you can help me:

Everybody can vote for their top 3 favorite entries among the 15 finalists! So please please please take a look at all the awesome bags - and vote for me :) And then vote for two other bags that you like. I promise it is going to be a really tough choice!
See picture below for my bag :)

Thank you so much everyone!! :-*


Bild
Picture
My Petrillo Bag
6 Comments

All about bag stabilizers - review on Sew Mama Sew

12/19/2013

0 Comments

 
I am honored to be a guest blogger for Sew Mama Sew!! My review about bag stabilizers was posted two days ago and you can check it out here!
Bild
(They also posted a small bio about me which you can find here.)
If you haven't seen it already I would like to invite you to head over to Sew Mama Sew and check out my review. I am sharing my
favorite stabilizer product options for making bags, with tips for the best way to use each product. Those products are By Annie's Soft and Stable, Timtex, fast2fuse Heavyweight, Stiff Stuff, Roc-Lon Multipurpose Cloth and two versions of Vilene Decovil which is more common outside the United States.
I hope you will like my review and that it will be helpful to you with your upcoming bag projects. Which stabilizers do you usually use? Maybe there's more out there, that I haven't tried yet? You are welcome to leave me a comment or post a comment over at Sew Mama Sew! :)
Bild
0 Comments

Winner of Sew Mama Sew giveaway!

12/17/2013

0 Comments

 
I apologize for being a little late with this but I finally managed to draw the winner of the giveaway! I used Random Number Generator, counting all the blog comments, Facebook likes and new subscribers and this is the result:
Bild
Let's see who is the lucky winner:
Bild
Congratulations Gali! I will get in touch with you so you can let me know which of my sewing patterns I should send out to you!

Thanks to all who participated, it was great fun! I hope to see you around :)

Happy sewing!
0 Comments

Giveaway Day on Sew Mama Sew

12/9/2013

 
Bild
Sew Mama sew is having a giveaway day!! So many great chances to get inspired by fellow crafters AND to win awesome things!
I am giving away two of my sewing patterns to one lucky winner! I currently have 14 sewing patterns in my shop and you will be able to pick two of your choice :)

I am addicted to making bags and wallets in all kinds of different designs and if you like making them too, I hope you will love these sewing patterns! Here is just four of them, to see the whole range you can hop over to my pattern shop and have a look around.
Bild
Bild
Bild
Bild
To enter the giveaway just leave a comment below:
(if you are a no-reply blogger make sure to leave your email address, so I can get in touch with you if you win!)
What kind of purse do you like most? I preferred smaller handbags until I started sewing my own bags. Now I feel like, the bigger the handbag the better!

There is also the option for two bonus entries:
- You can get a bonus entry if you like charmed Liebling on Facebook
- You can follow my blog via Feedburner (upper right hand corner)

The giveaway runs until December 13th, 8PM EST.
The winners will be chosen by Random Number Generator on December 15th.
Thanks for participating and good luck!
Bild
<<Previous
Forward>>

    Enter your email address:

    Delivered by FeedBurner


    Follow on Bloglovin

    RSS Feed

    Anna

    anna's blog -

    Welcome to my blog! I am an accountant who once started out her "career" in the US by designing bag and wallet sewing  patterns! My patterns are available on Etsy and occasionally I will share some of my sewing projects that I work on in my spare free time on my website.  Happy sewing :)

    Categories

    All
    Bags
    Bargains
    Dresses
    Fabric
    Fashion
    Germany
    Giveaway
    Home Dec
    Interfacing
    Review
    Sale
    Seasonal
    Sewing Patterns
    Sewing Tips
    Smartphone Cases
    Special Occasions
    Treasury
    Trips
    Tutorial
    Vacation Projects
    Wallets

    Threading My Way_Featured
    Pattern Spot dot com
    This page contains affiliate links. See my disclosure policy.
    Online Sewing Class
    Craftsy

    Archives

    December 2021
    May 2020
    April 2020
    January 2020
    January 2015
    October 2014
    September 2014
    August 2014
    July 2014
    June 2014
    May 2014
    April 2014
    March 2014
    February 2014
    January 2014
    December 2013
    November 2013
    October 2013
    September 2013
    August 2013
    July 2013
    June 2013
    May 2013
    April 2013
    March 2013
    February 2013
    January 2013
    December 2012
    November 2012
    October 2012
    September 2012
    August 2012
    July 2012
    June 2012
    May 2012

Powered by Create your own unique website with customizable templates.