
And suddenly mankind finds itself in the midst of a health crisis. I refuse to mention the c word here. You all know what I am talking about. I can only hope that all of you who are reading this are safe and healthy, and that we will all get out of this very soon...
In the meantime, more and more states are encouraging their citizens to wear face masks when going outside, e. g. to the grocery store.
I found this very simple but great pattern on a German website and made masks for myself and my boyfriend (link below). You can head over there and download the pattern, and come back here to see how it's assembled if you need a little bit of help. It is a fairly easy to make pattern though, if you have some basic sewing skills.
****Prior to making your mask you will have to make four fabric ties. I will show you two different ways to make those below, simply scroll to the bottom of this blog post****
Download pattern piece here (scroll all the way down to "Schritt 1" and click the purple link): https://naehfrosch.de/mundschutz-selber-naehen/
All seam allowances are 1/4” unless otherwise stated. All measurements given are height x width. Please read all instructions before you begin.
You need:
– Two different kinds of fabric (or just one if you want both sides of your mask to look the same, a fat quarter is sufficient, or any scraps you have)
– Fusible interfacing (mid-weight)
Cut from:
Fabric #1, fabric #2 and fusible interfacing:
– (2 x) pattern piece (mirrored)
Instructions:
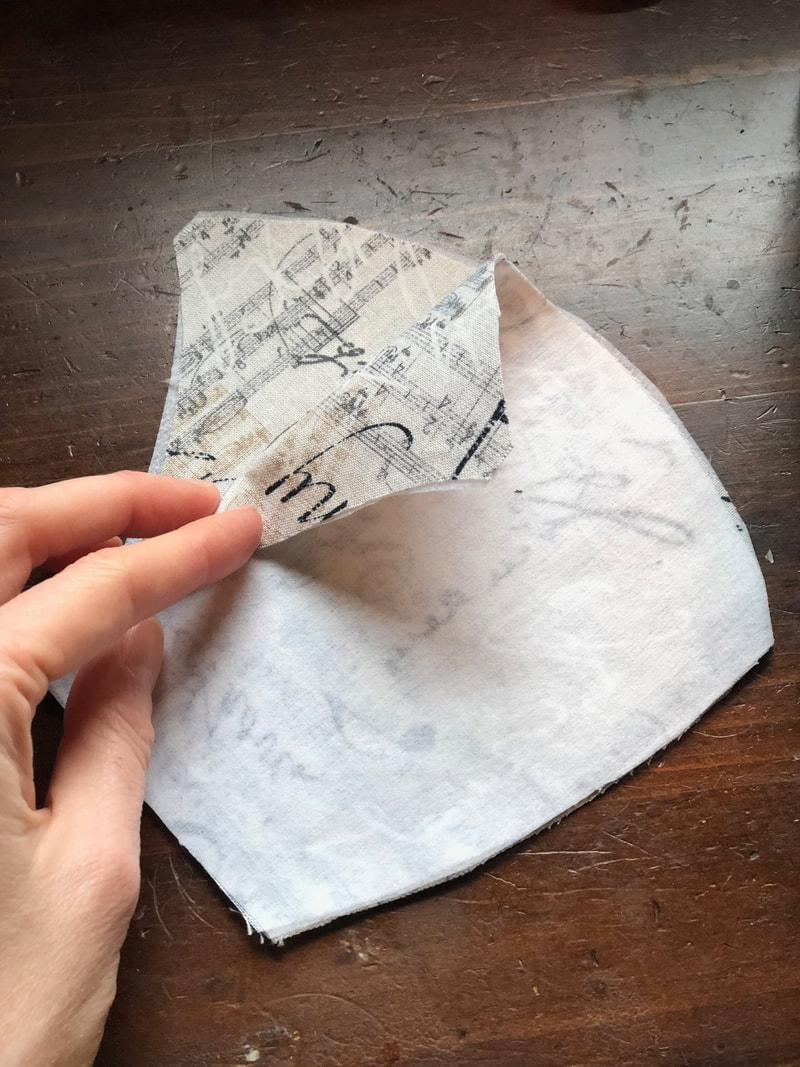
1. Iron fusible interfacing onto the wrong side of either fabric #1 or fabric #2.
2. Put the two fabric pieces right sides together, make sure all edges match up.
3. Stitch along the round part that has sort of a curve. Trim the seam allowance. Repeat the sewing for the two pieces of the other fabric. Iron along the seam of both fabric pieces to flatten it out.
 | 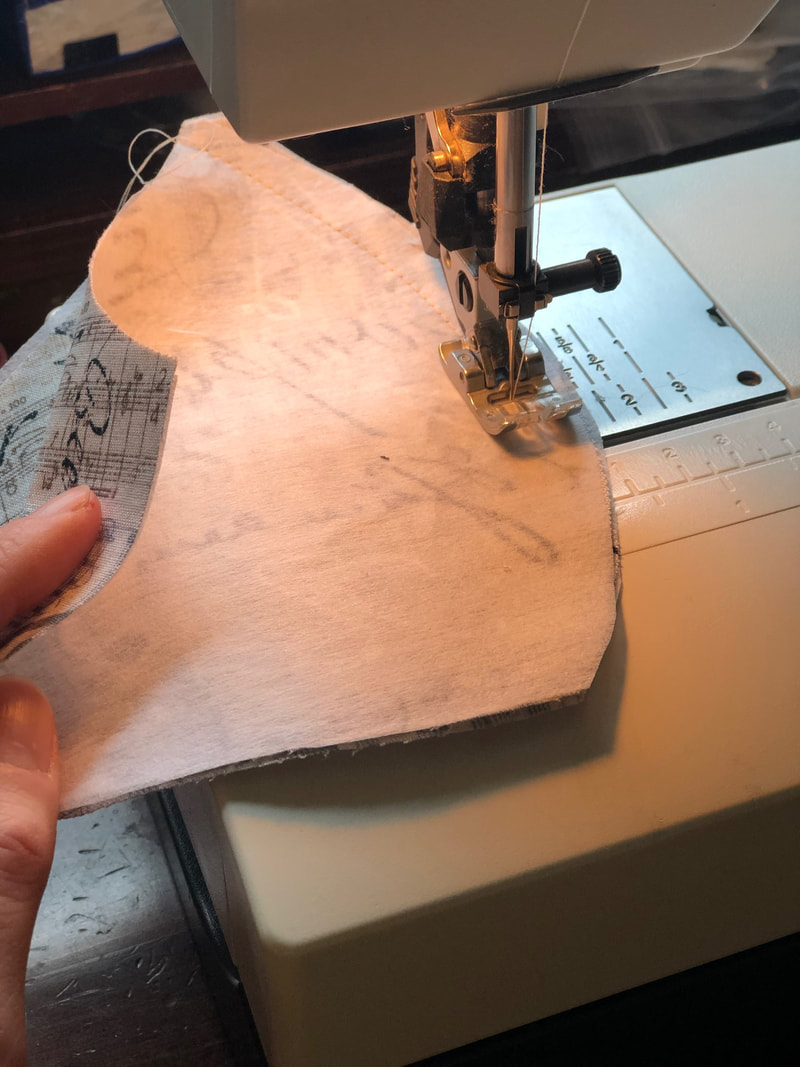 |
4. Put both mask parts right sides together, make sure all edges match up. Stitch along both the long long sides of the mask and trim the seam allowance.
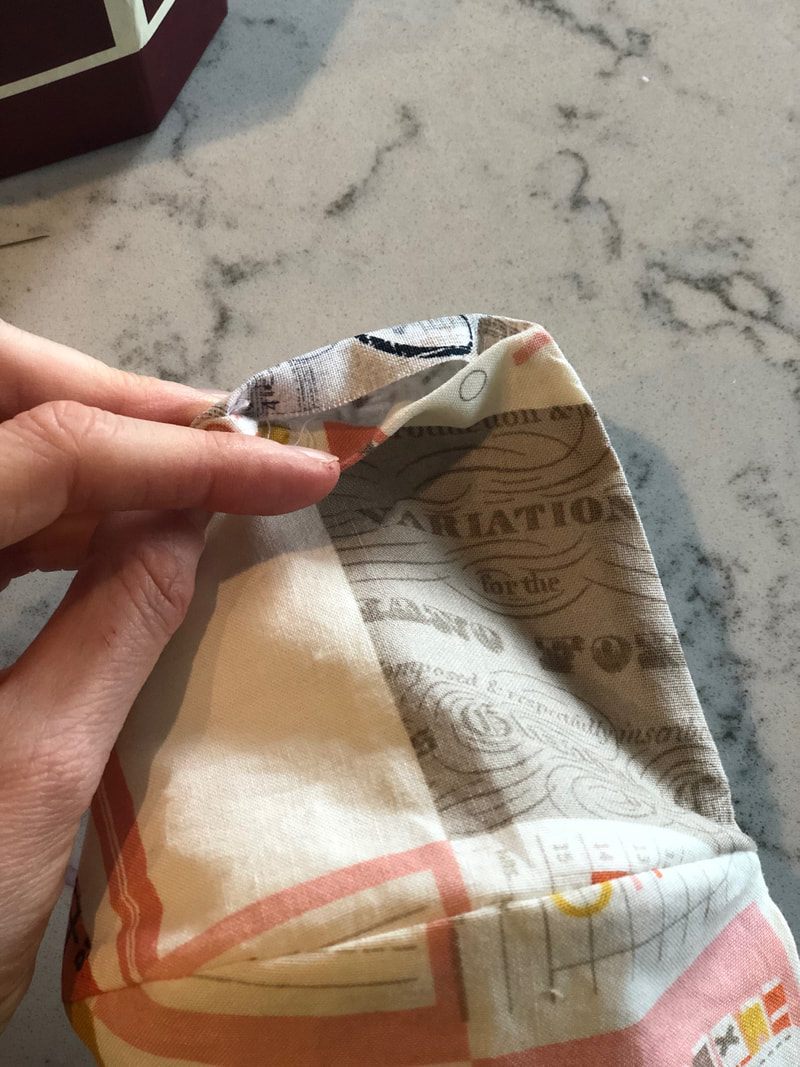
5. Turn the mask inside out, so that the right sides are on the outside now. Flip the edges of the open sides towards the inside, as shown below. Give it a good ironing.
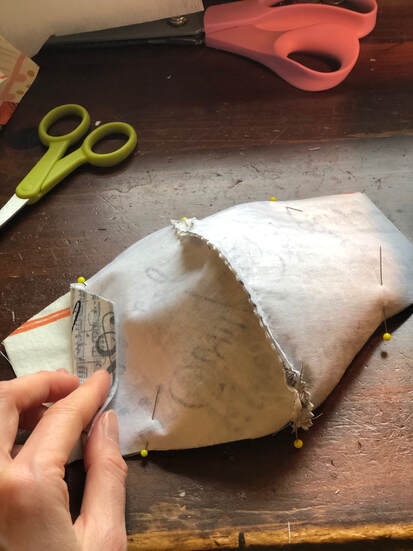
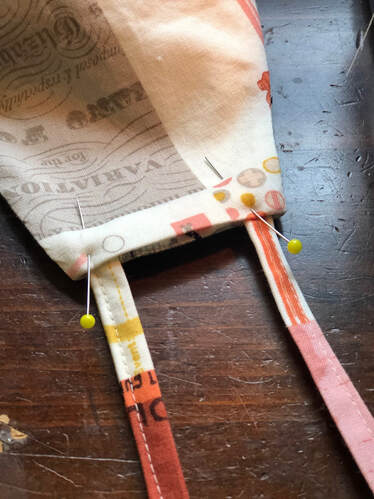
7. Take your ties and place two of them into one of the open sides of the mask. Make sure that about 1/2" of the tie end with the raw edge "sits" inside the mask. Fasten the ties in place with some pins.
8. Repeat for the other side, using your two remaining ties.
 |  |
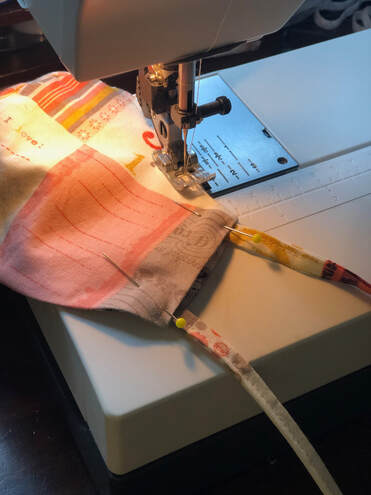
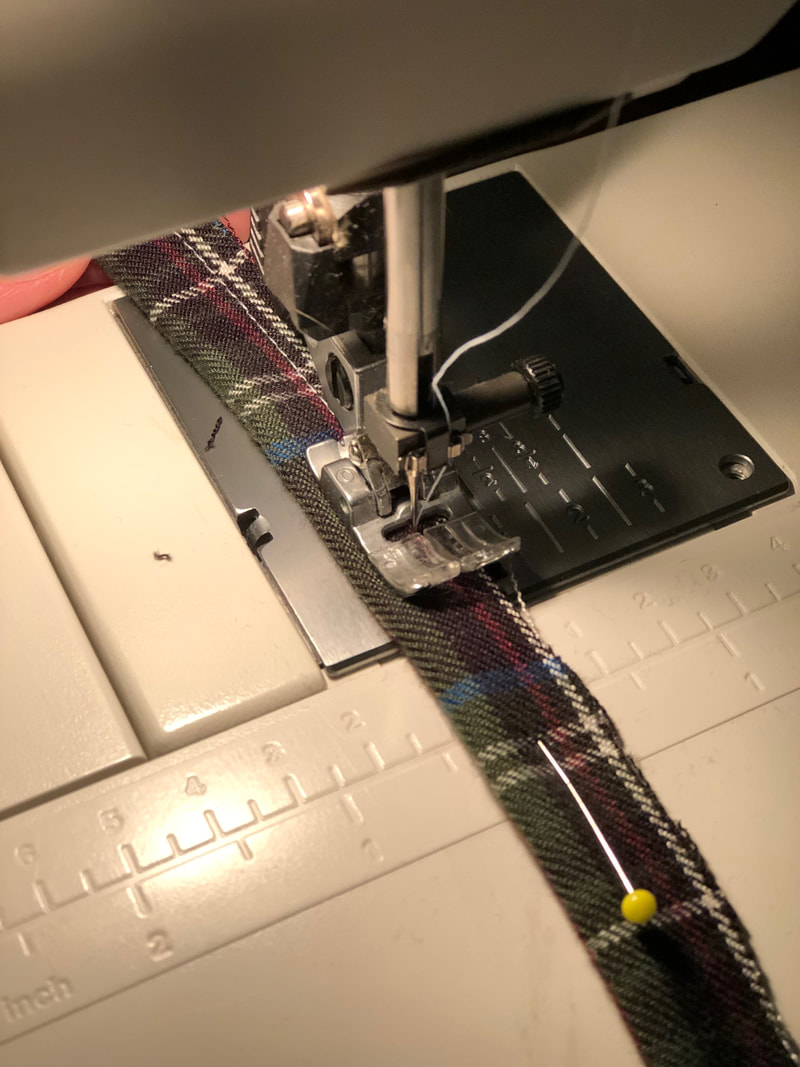
9. Topstitch all around the mask, approximately 1/8" from the edge, at the same time stitching the ties in place. I recommend stitching back and forth for a couple times when sewing over the ties, to make sure they cannot loosen.
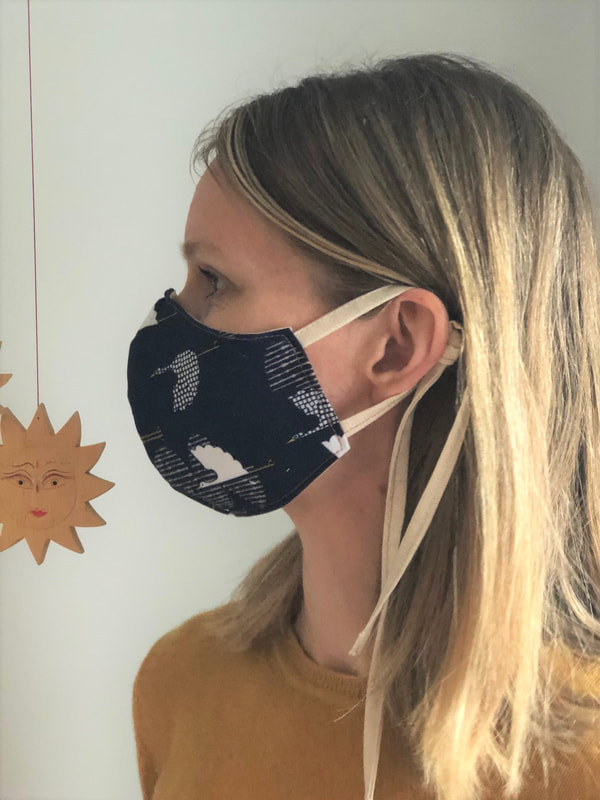
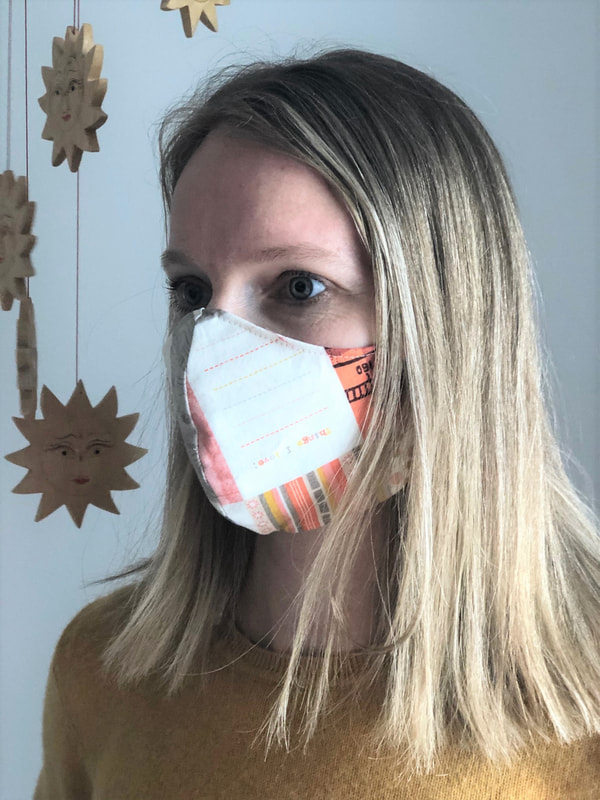
Congratulations! Your face mask is done!
Please be aware that it will give you an additional level of protection but is NOT a medical item and should not be used as such. I also recommend having one side designated to go on your face, and one to be on the outside. Please wash after using outside in public, to eliminate any potential contamination)
Please be aware that it will give you an additional level of protection but is NOT a medical item and should not be used as such. I also recommend having one side designated to go on your face, and one to be on the outside. Please wash after using outside in public, to eliminate any potential contamination)
 |  |
****HOW TO MAKE FABRIC TIES FOR YOUR MASK****
Method #1 (this is a little simpler but you will need a TURN TOOL, to turn your fabric tube inside out)
Cut from either fabric #1 or #2:
– (4 x) 13" x 6/8"
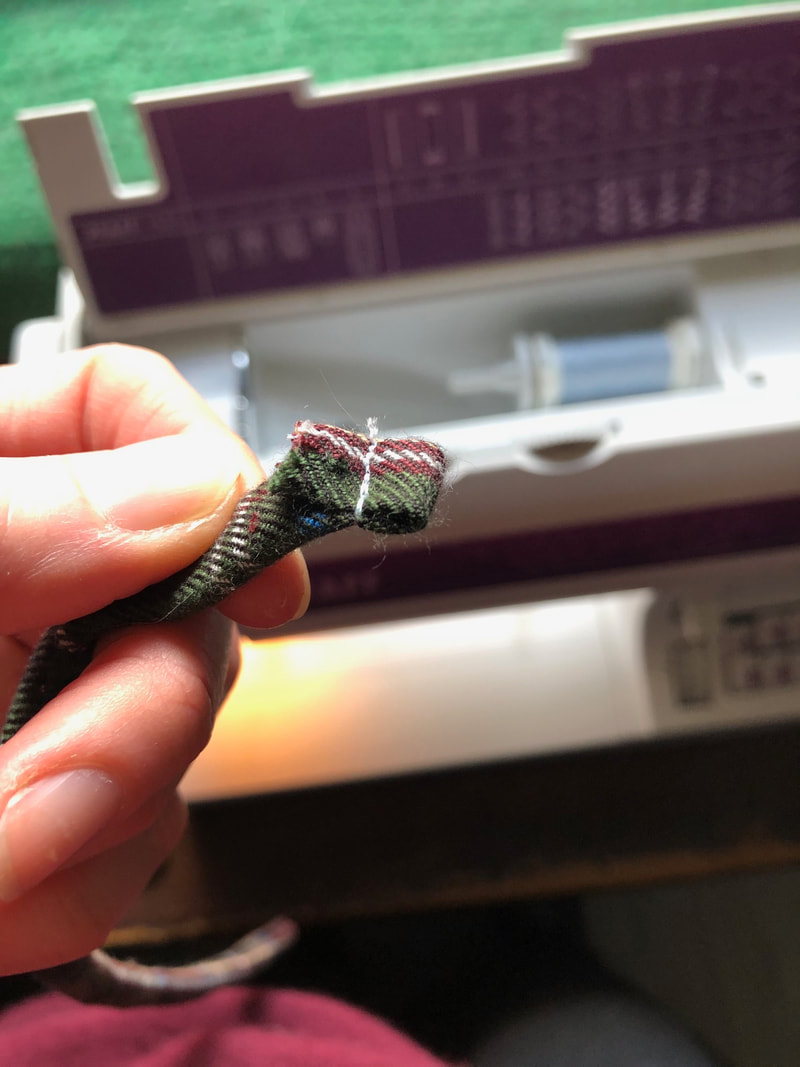
1. Fold one of the four fabric pieces along the long edge, right sides together and pin in place. Stitch all along the long edge, with a 1/4" seam allowance. Then use your turn tool to turn the fabric right side out. Fold down one of the raw edges and topstitch, or simply tie a knot.
2. Repeat for the three remaining fabric pieces. You now have four ties for your mask.
 |  |
Method #2 (this is a little more time consuming, but your result will be neat looking ties; there are tools that can help you - like a bias tape maker - but I don't own any, so this is how I do it)
Cut from either fabric #1 or #2:
– (4 x) 13" x 1 1/2"
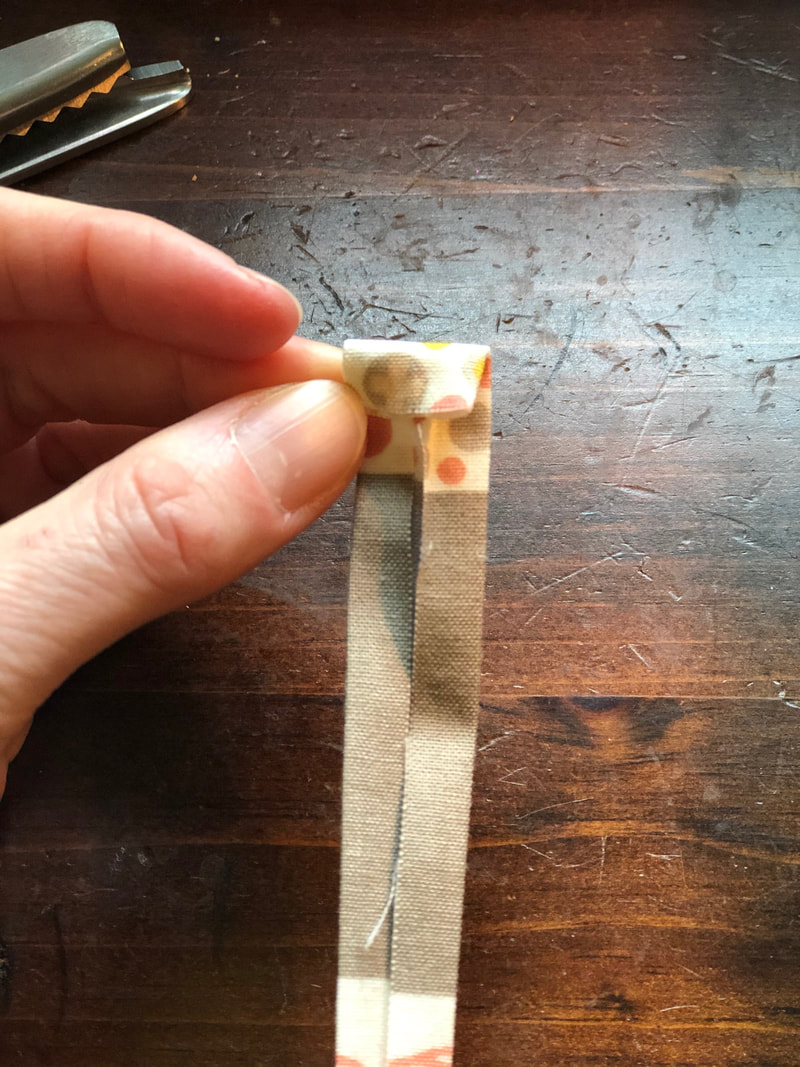
1. Fold one of your fabric pieces along the long edge, WRONG SIDES TOGETHER, and iron. You will now have a middle crease. Now fold both long outer edges toward the middle crease and iron again. Finally, fold both long edges so that they are on top of each other.
2. One one end, fold the short end toward the middle, so that you have a neat and clean looking edge. Topstitch all along the long edge, as close to the edge as possible.
3. Repeat previous steps for the three remaining fabric pieces.


 RSS Feed


