charmed Liebling
  • home
  • pattern shop
    • wallet patterns
    • bag patterns
    • laptop and messenger bag pattern
  • items for sale
    • custom orders
  • free tutorials
  • contact
  • about

My new design: the rose petal bag

7/25/2013

10 Comments

 
charmed Liebling rose petal bag
The rose petal bag - sewing pattern coming up soon :)
I am happy to finally introduce a new design to my shop!

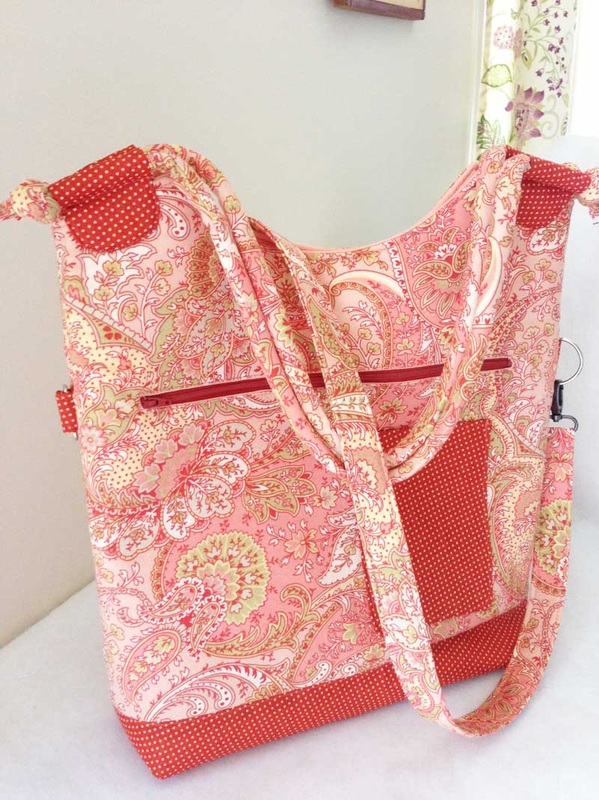
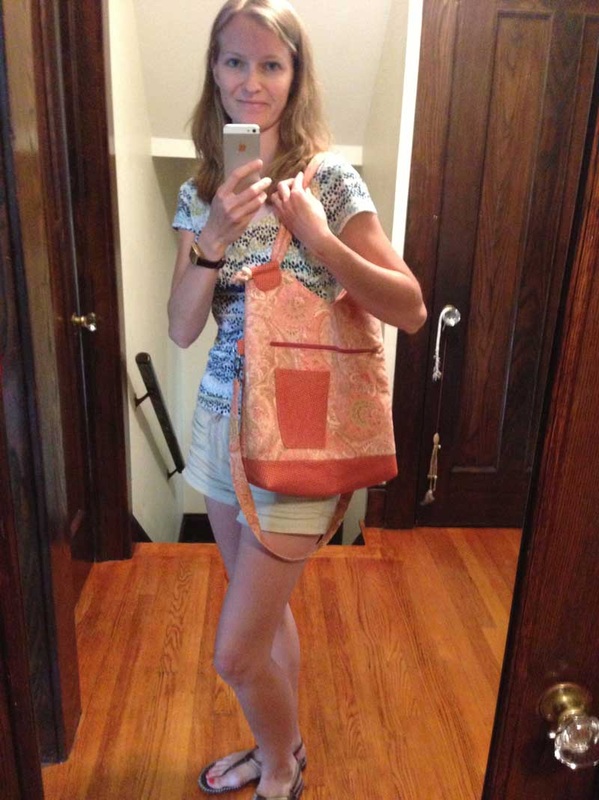
I love smaller handbags and I was looking for a casual yet sophisticated design, a bag that you can carry everyday but which is also posh enough to be used as an evening bag when going out. This is what I came up with!
The bag measures 18 x 27 x 6 cm / 7 x 10.5 x 2.5" (height x width x depth).
rose petal bag flap

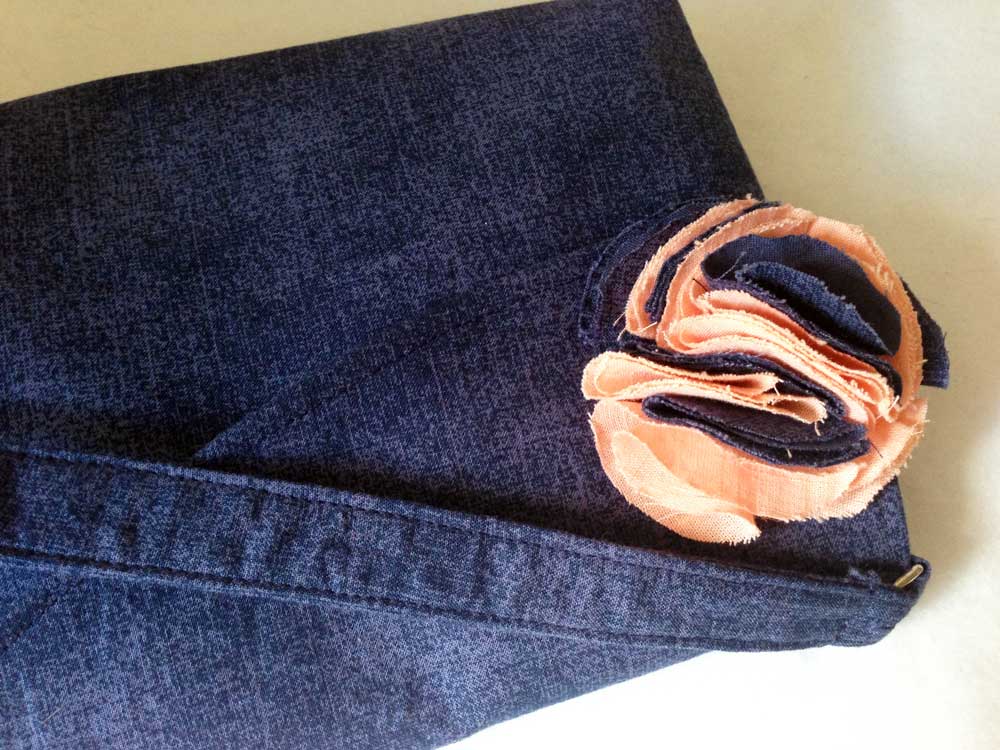
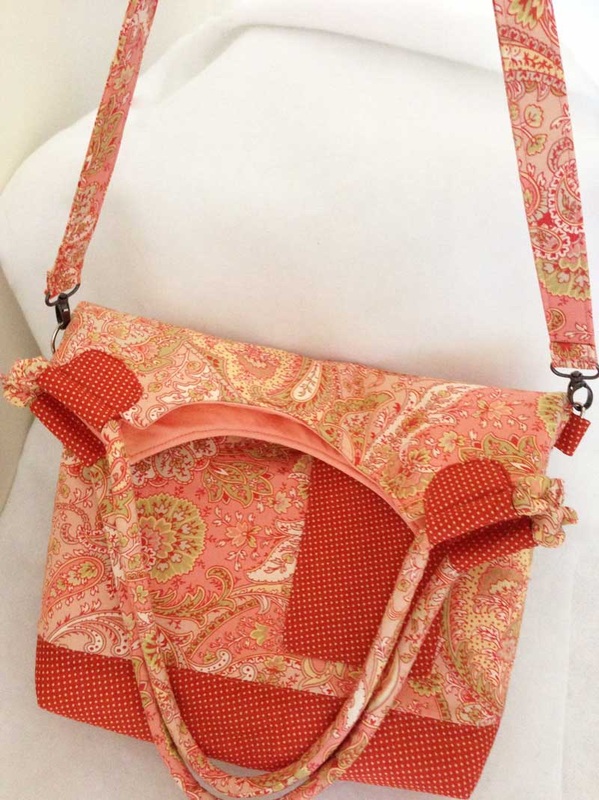
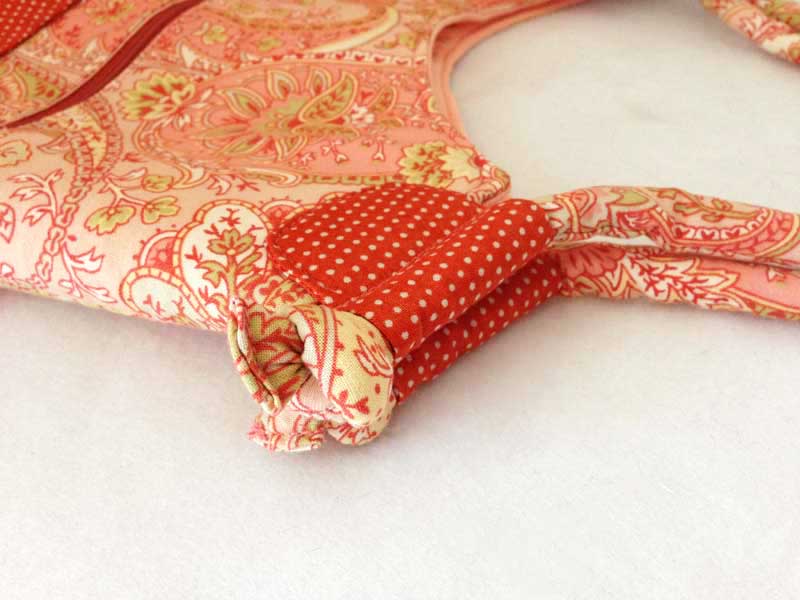
The flap has an asymmetric shape with a beautiful fabric rose on the broader part. The bag closes with a magnetic snap. 

The fabric looks like a denim but is actually a lightweight quilting fabric! I love the dark blue color since it is easy to pair up with almost all your clothes.

rose petal bag lining
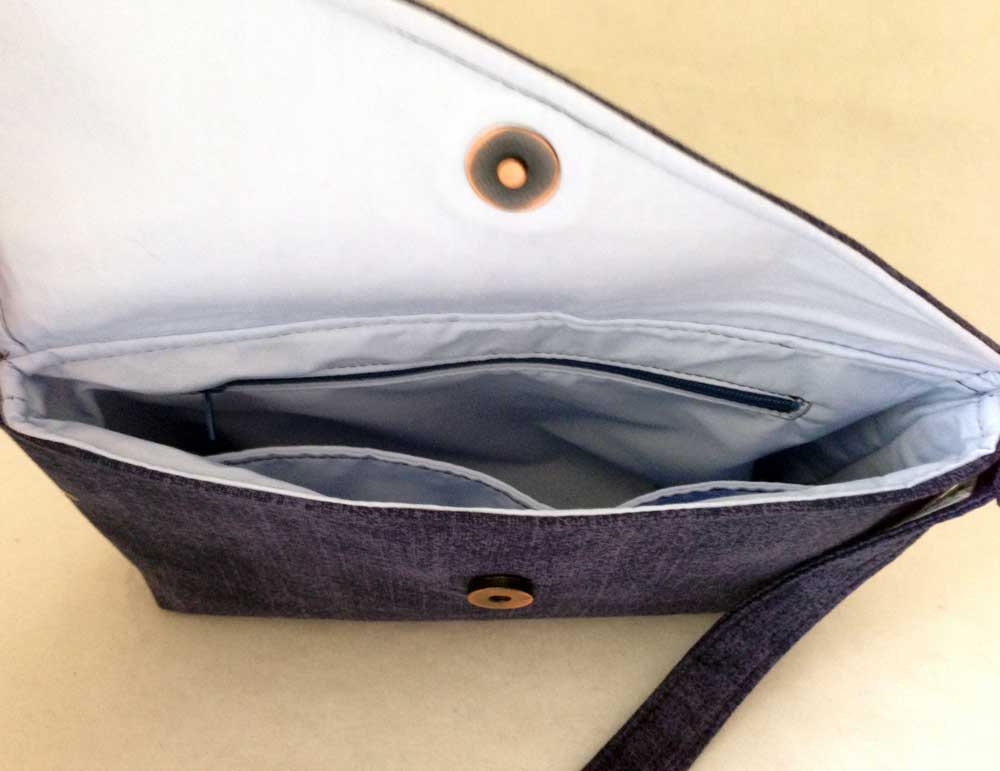
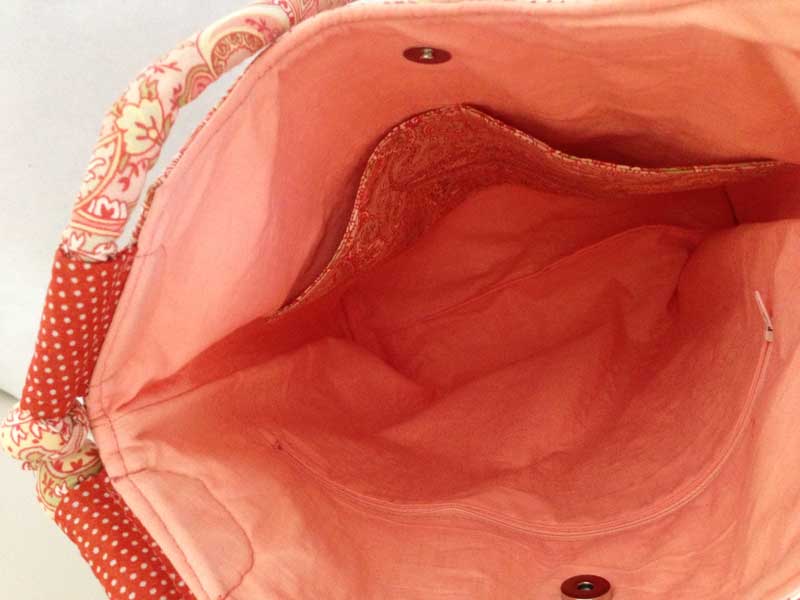
I decided to go with a light blue cotton fabric for the lining.

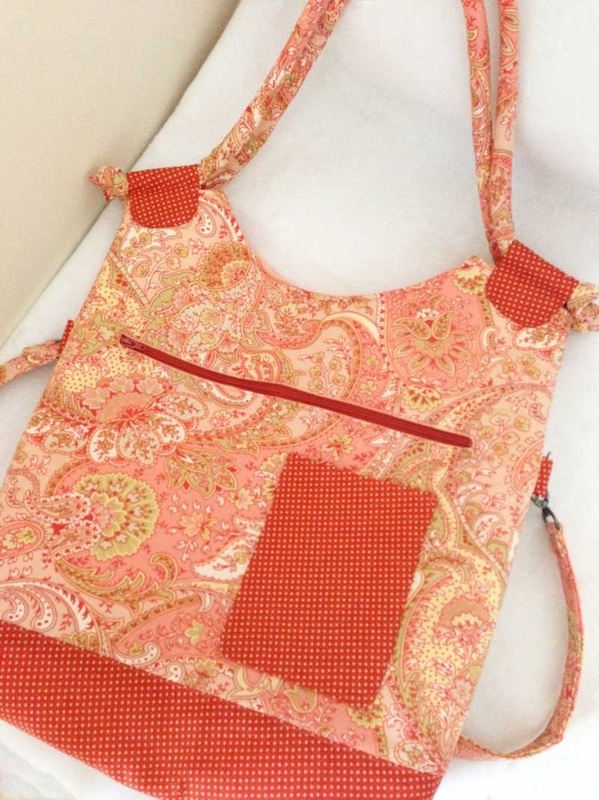
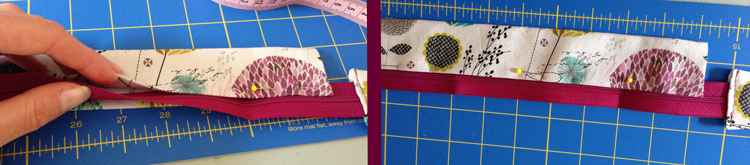
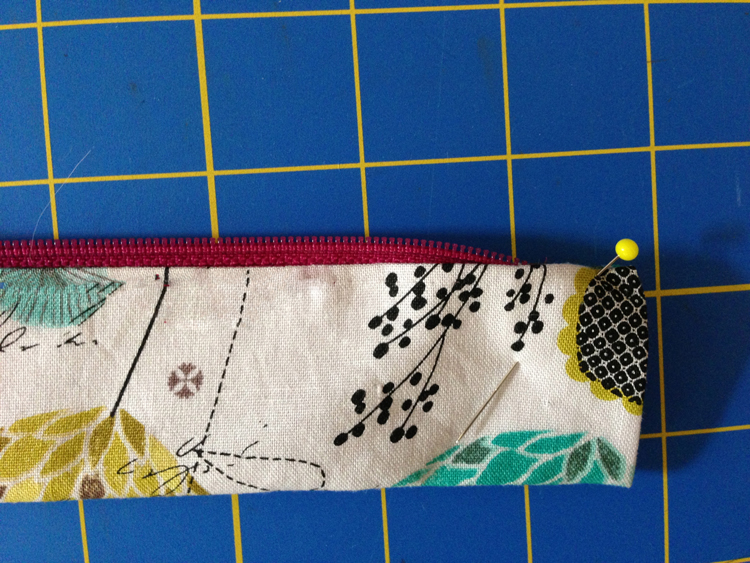
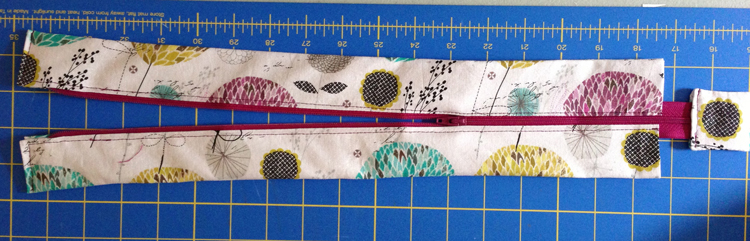
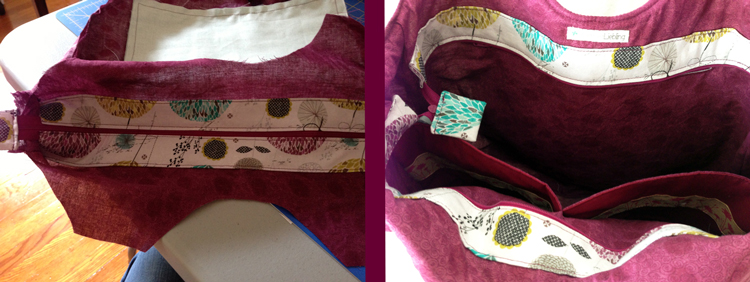
Inside the bag there is a 8 cm (17") zip pocket and two slip pockets of different sizes.

rose petal bag strap

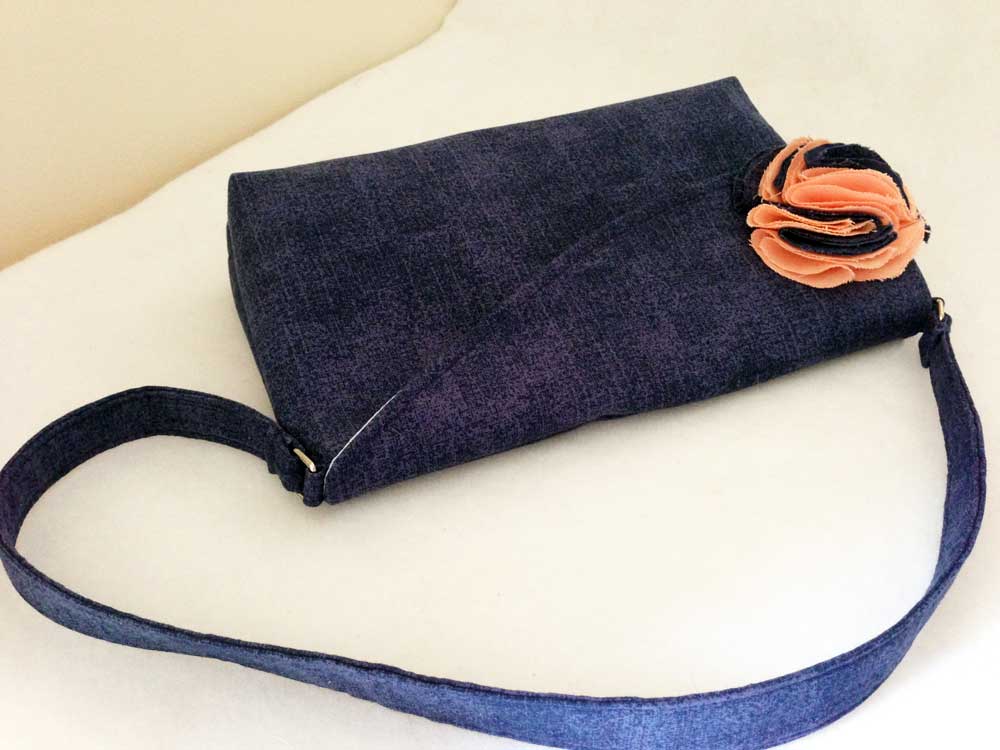
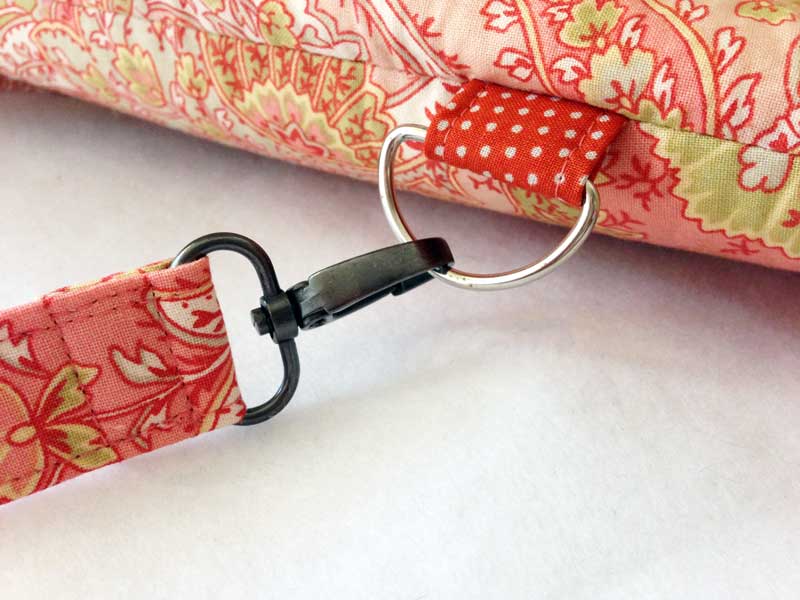
The strap takes up the asymmetric shape of the flap. It is 3 cm (1 1/8") wide at the very top and tapers towards the ends, which are 1,5 cm (0.5") wide and connected to the bag with rectangular rings.   


And I tried something a new kind of interfacing:
Sharon, a follower of my blog introduced me to a product I hadn't heard of so far: it is called Roc-lon Multi-Purpose Cloth and distributed by Rockland Industries. Apparently you can use it for all kinds of crafts, not only for sewing. Sharon was kind enough to send me a sample of the product and I was eager to try it out (Sharon, thanks again)! So far, I have used Decovil and By Annie's Soft and Stable to interface my bags (and of course fusible fleece and heavy stabilizer by Pellon) but for this kind of bag I have to say the Multi-Purpose cloth was perfect! It is not fusible, so I had to baste it onto the main body fabric parts before assembing the bag. It is sturdy but bendable and therefore easy to handle, especially when you sew curves or edges.

Let me know if you are interested in learning more about the Multi-Purpose Cloth, then I would write a separate blog post about it. 
charmed Liebling rose petal bag
The rose petal bag turned out really nicely and thanks to Roc-lon has a nice body and doesn't "collapse". You can find this bag for purchase in my charmed Liebling Etsy shop here.
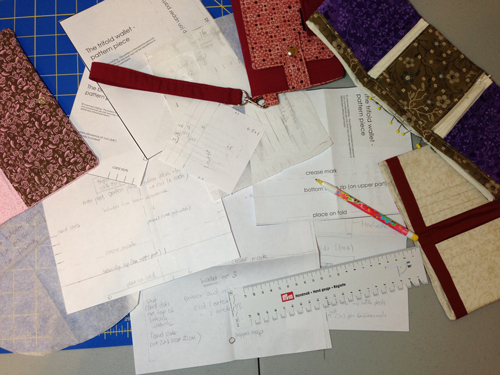
And here's for all my fellow sewing addicts who might want to make one of these bags themselves: I am currently working on the sewing pattern for this bag, which will probably be released mid August!
How do you like this new design?

10 Comments

Pattern testers wanted

7/17/2013

 
----UPDATE 7/19/2013----
Thank you all so much for your interest in testing my sewing patterns, I was overwhelmed by the response. So far I have gotten more than 150 emails and comments. You have no idea how much I appreciate your help and I can't wait to get started working with you! I will send emails out soon, with the patterns that are available for testing :-)
------------------------------------------------------------------------------------------------------------------------------------------
Picture
Today I have a favor to ask ;-) I am currently working on a few new bag and wallet designs and I could really need some pattern testers, who would help me with the process. If that sounds like something you might be interested in please keep on reading!

If you would like to be a tester, email me at anna(at)charmed-liebling(dot)com or leave me a comment below. I will list you as a pattern tester and once I finish up a pattern I will send you some info about it (a picture of the finished item, the notions and supplies you need, the finished measurements etc.) and you can decide if you want to test this particular pattern or not.

If you decide to test it for me I would send you the instructions and the pattern as a pdf file. Your task would be to sew the handbag/wallet according to my pattern and my instructions and note down everything that is not clear, any typos, grammar (I am a German native speaker so there might always be some mistakes in my English language ;-)), if all the measurements given are correct and so on.

When you send me your feedback you would also attach a picture of your finished item so I can put it on my blog in my blogpost about the pattern. And you would get a free copy of the final version of the pattern ;-)

My patterns are usually doable for advanced beginners or intermediate sewers.

Thanks so much for your help, I really appreciate it!

Happy sewing!
Anna

My "Lapin Noir" bag - a Sew Sweetness pattern

7/15/2013

4 Comments

 
charmed Liebling Lapin Noir Bag
I am a bit overdue with this post but I still wanted to share my latest bag project with you that I finished as a pattern tester for Sara from Sew Sweetness: the Lapin Noir Bag!
I have already tested quite a few patterns for Sara and this bag design is my favorite so far!
I used fabric from my stash and decided to go with salmon/peach/orange shades. The main exterior fabric has a nice paisley pattern and I decided to pair it up with an dark orange polka dot fabric. I just love this combination!

This bag has handles as well as a strap, so you may bend the top down and use it as a shoulder bag or, if you need more space, carry it as a large tote.
sew sweetness lapin noir bag
On the inside there are two slip pockets as well as a zipper pocket. The bag closes with a magnetic snap.
Lapin Noir bag interior
Lapin Noir Bag handle


My most favorite feature are definitely the handles. Cotton cording is inserted into a fabric tube, then the handle has to be slid through the pretty tabs at the top edges of the bag and its ends are being tied together in a knot. Doesn't it look gorgeous!

Below are some more pictures of my bag. Make sure to also check out the bags of the other pattern testers and go get your own Lapin Noir Bag pattern!
Lapin Noir Bag strap
charmed Liebling Lapin Noir Bag
Sew Sweetness Lapin Noir Bag
4 Comments

FREE tutorial: how to add a recessed top zipper to your handbag

7/5/2013

15 Comments

 
Picture
--- I have received many emails with questions, tips and tricks on my tutorials. Thank you all! If you would like to weigh in with a short comment please feel free to let me know what you think of my tutorial below. I am interested to hear your feedback! ---

Today I want to share my version of how to insert a recessed zipper into the top of your bag. (Click here if you want to read more about this particular bag)
This tutorial is free but if you would rather prefer to download this complete tutorial as a pdf file you may purchase it here for only $2.

The zipper will be sewn onto the lining part of the bag, so in order to determine the length of the zipper and the fabric for the zipper cases, please take your lining main body pieces of your bag and measure the following:
Take the lining main body piece of your bag and measure the width. Then subtract 2 cm (0.75"). This is the width that EACH of your zipper case fabric pieces will have.(This is to have enough room at the edges, so that the zipper won't be squeezed into the sides of the bag AND considering the edges of the zip case which will be bend down to get a clean edge.)

example:
width of the lining: 15"
subtract 0.75" = 14.25"
→ The width for your two zip cases has to be 14.25".

The length is determined by the depth of your bag. Measure the depth (usually you do this by measuring the width of the side panel of your bag) and then multiply this number by 2. This is the length that EACH of your zipper case fabric pieces will have. (This will be plenty of fabric since each case will be folded four times to get a stable, sturdy zip case)

example:
depth of bag: 5”
Multiply by 2 = 10”

→ The length of your two zip cases has to be 10".

All seam allowances are 1 cm (3/8") unless otherwise stated.

1) Cut your two fabric pieces according to your own measurements (in my case, my two fabric pieces for the zipper cases have to be 14.25 x 10” each).
Also: cut a small fabric piece, approx. 8 x 4 cm (3 x 1.5") to make a zipper tab for the end of the zipper.
Picture
2) Attach a zip tab to the bottom end of the zipper
For more convenience when using the zipper later, put a zipper tab onto the end of the zipper. Take your zip tab fabric piece and fold it in half along the short side, right sides together. Stitch along both side edges, trim the seam allowance and turn right side out.

Picture

Fold the raw edge down towards the inside and press. Take your zipper and put the tab over the end of the zipper, just so that the end of the zipper tape touches the middle crease of your zip tab. Pin in place and topstitch along the open edge of the zipper tape, this way closing the zipper tape and at the same time attaching it to the zipper.


3) Make the zipper cases
Take one of the zip case fabric pieces and fold down both short sides (wrong sides together) by 1 cm (3/8").
Now fold the fabric in half along the long sides, wrong sides together. Press. Open the fabric again and fold the two long sides towards the middle crease. Press and then fold in half again:
Picture
Picture
Picture
4) Attach the zipper to the zipper cases
Place your zipper right side up. Take your folded zipper case and put the zipper tape inside the open edge of the zipper case. The open edges of the case should end approx. 0,3 cm  (1/8“) before the zipper teeth.
At the end of the zipper (where you attached the zip tab), make sure that you leave some space of approx. 1,5 to 2 cm (0.5 to 0.75”) between the zip case and the zip tab:
Picture
Picture


At the top of the zipper (where the zipper opens), bend down the zipper teeth and hide them in between the layers of the zipper case.

Using the zipper foot of your sewing machine, stitch all along the open edge of the zipper case with a 0,5 cm (3/16”) seam allowance, at the same time attaching the zipper to the case:
Picture
Picture
Also, topstitch along both short edges of the zipper case. You can either do this with your zipper foot or switch back to your regular sewing machine foot.
Take your second zip case fabric case and repeat steps 3 and 4 for the other side of the zipper.


Picture
This is what your zipper should look like now, after attaching the zipper cases and the zipper tab
5) Attach the zipper to the lining fabric of your bag
Place one of your lining fabric pieces right side up. Take your assembled zipper and put it right side up onto the lining fabric. Place it approx. 4 cm (1.5”) beneath the top edge of the lining and place it centered, so that there is the same amount of space from the outer edges of the lining fabric piece to the edges of the zipper case (which should be about 2 cm (0.75") in from each side edge):
Picture
Pin in place along the long edge of the zipper case (that's the one opposite from the one with the zipper teeth) and topstitch the zipper case onto the lining fabric with a  0,5 cm (3/16”) seam allowance.

Repeat step 5 with the other side and the second lining fabric piece.
Picture
Your recessed zipper is all set! Proceed with assembling the lining part of your handbag.
If you would rather prefer to download this complete tutorial as a pdf file you may purchase it here for only $2.

Happy sewing!
Bild
15 Comments

    Enter your email address:

    Delivered by FeedBurner


    Follow on Bloglovin

    RSS Feed

    Anna

    anna's blog -

    Welcome to my blog! I am an accountant who once started out her "career" in the US by designing bag and wallet sewing  patterns! My patterns are available on Etsy and occasionally I will share some of my sewing projects that I work on in my spare free time on my website.  Happy sewing :)

    Categories

    All
    Bags
    Bargains
    Dresses
    Fabric
    Fashion
    Germany
    Giveaway
    Home Dec
    Interfacing
    Review
    Sale
    Seasonal
    Sewing Patterns
    Sewing Tips
    Smartphone Cases
    Special Occasions
    Treasury
    Trips
    Tutorial
    Vacation Projects
    Wallets

    Threading My Way_Featured
    Pattern Spot dot com
    This page contains affiliate links. See my disclosure policy.
    Online Sewing Class
    Craftsy

    Archives

    December 2021
    May 2020
    April 2020
    January 2020
    January 2015
    October 2014
    September 2014
    August 2014
    July 2014
    June 2014
    May 2014
    April 2014
    March 2014
    February 2014
    January 2014
    December 2013
    November 2013
    October 2013
    September 2013
    August 2013
    July 2013
    June 2013
    May 2013
    April 2013
    March 2013
    February 2013
    January 2013
    December 2012
    November 2012
    October 2012
    September 2012
    August 2012
    July 2012
    June 2012
    May 2012

Powered by Create your own unique website with customizable templates.