
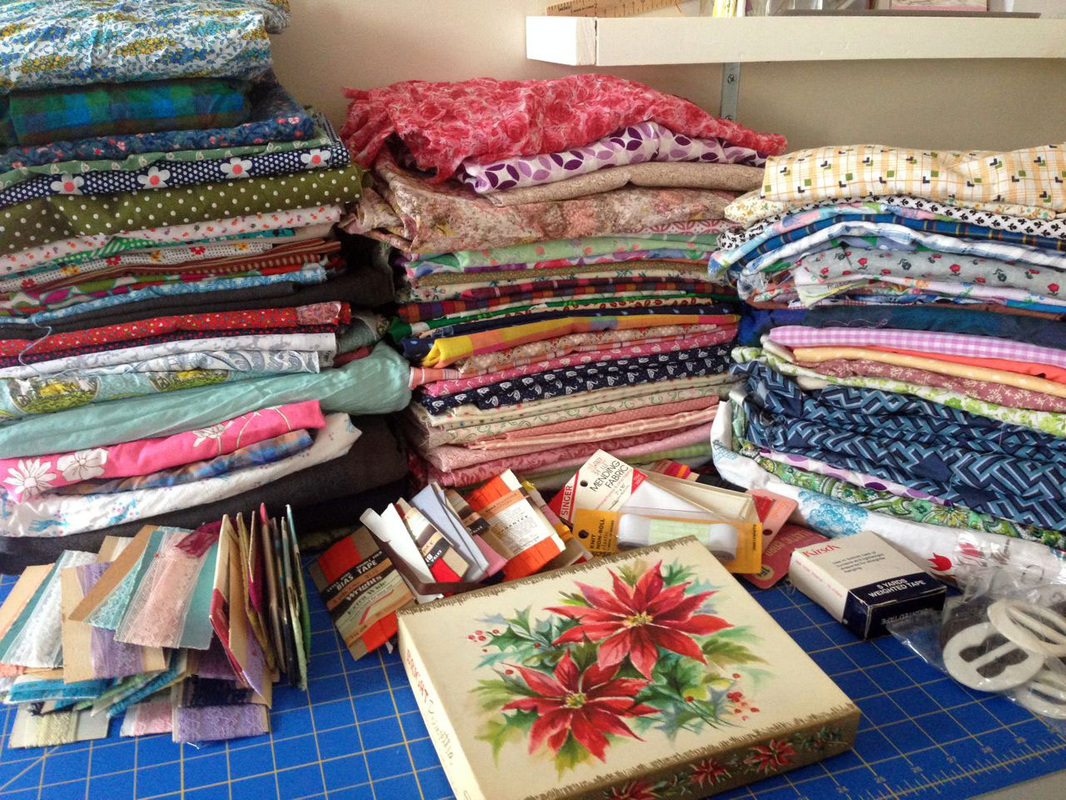
What's this you ask? Just a little bit of fabric and stuff I got myself lately :)
Last week something rather unexpected happened to me: my friend Amy asked me if I wanted to go through her late grandmother's sewing supplies and told me I was free to take whatever I could use. I never met her grandma but she must have been a sewing addict just like me! There were hundreds of hundreds of fabrics, as well as thread, zippers and just everything you can possibly think of.
It took us several hours to look through everything and I found some really nice fabrics, some of which could even be vintage. I decided to show you a small selection of what I brought home. It would just be too much to show all the fabric I got!!
It took us several hours to look through everything and I found some really nice fabrics, some of which could even be vintage. I decided to show you a small selection of what I brought home. It would just be too much to show all the fabric I got!!
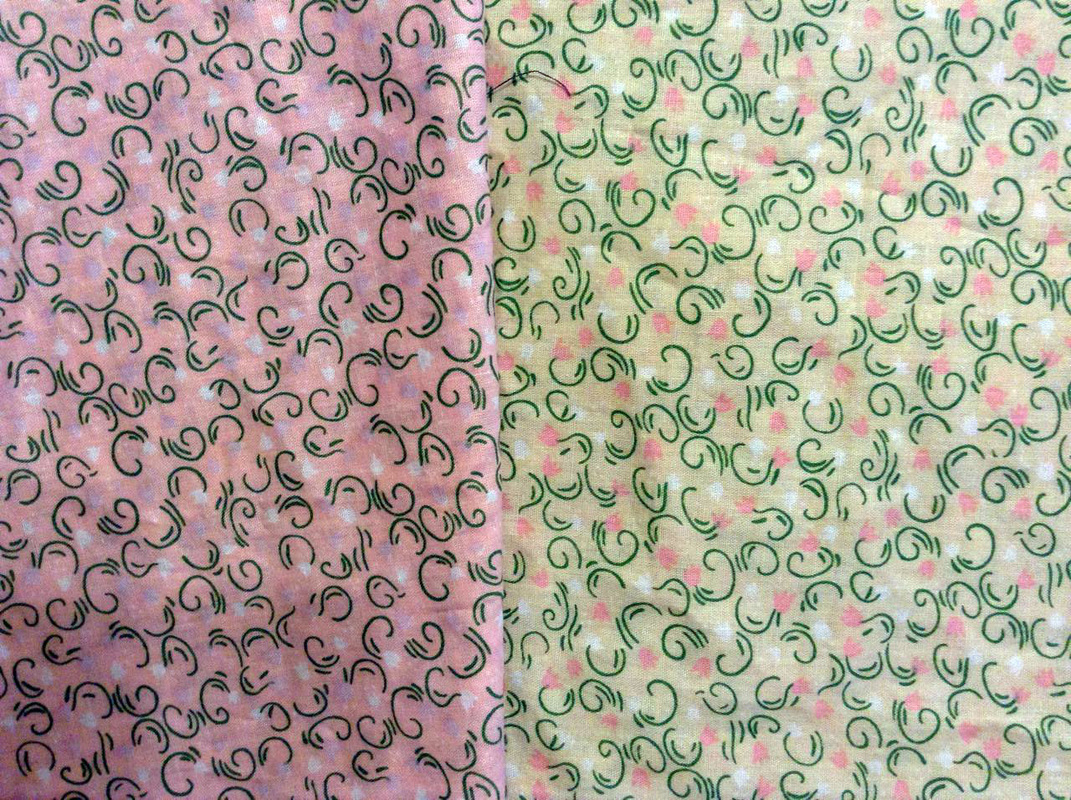
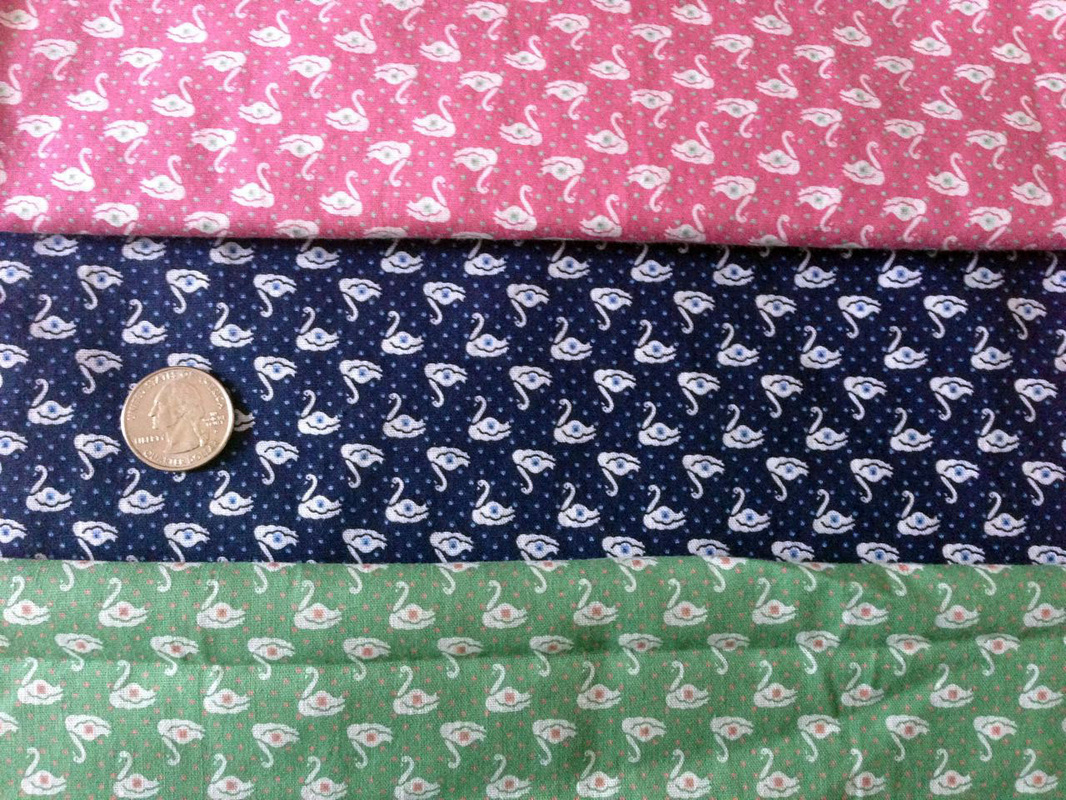
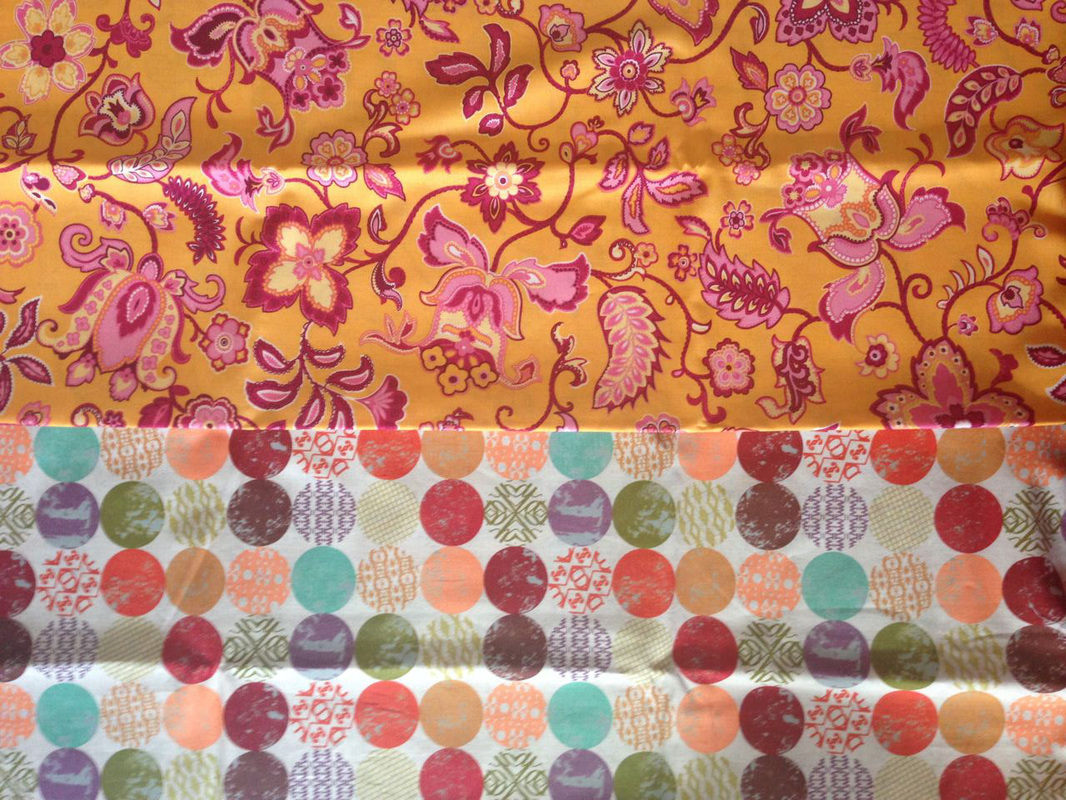
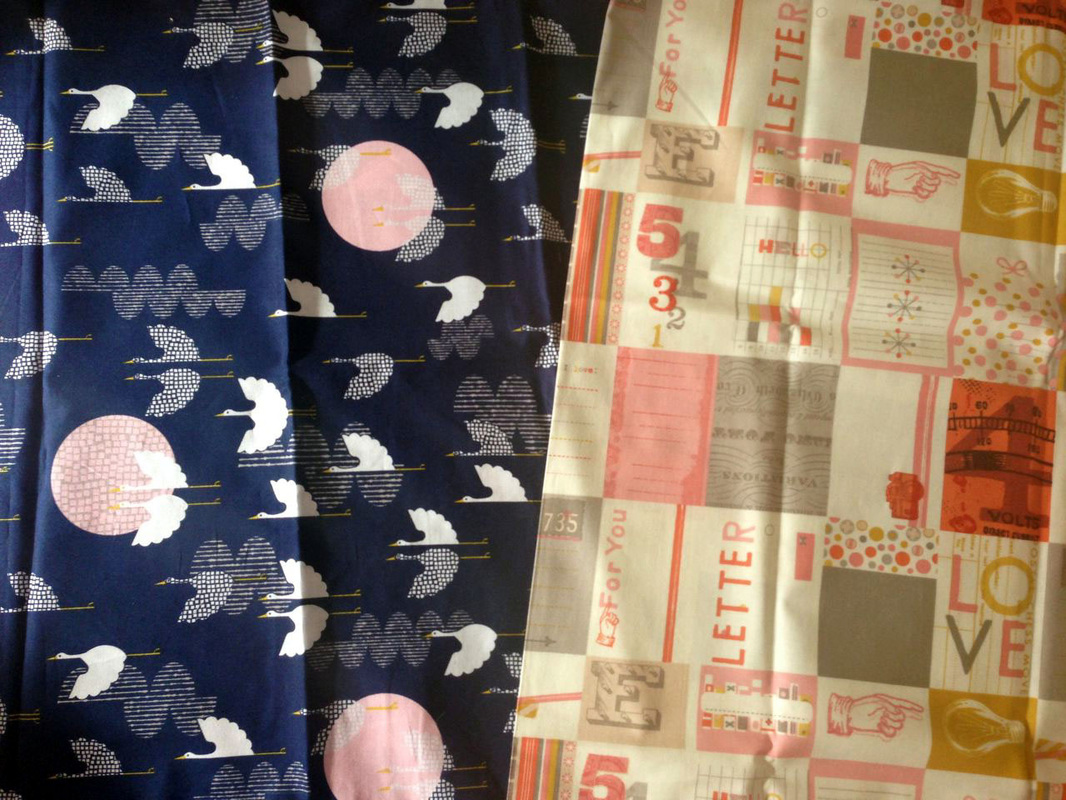
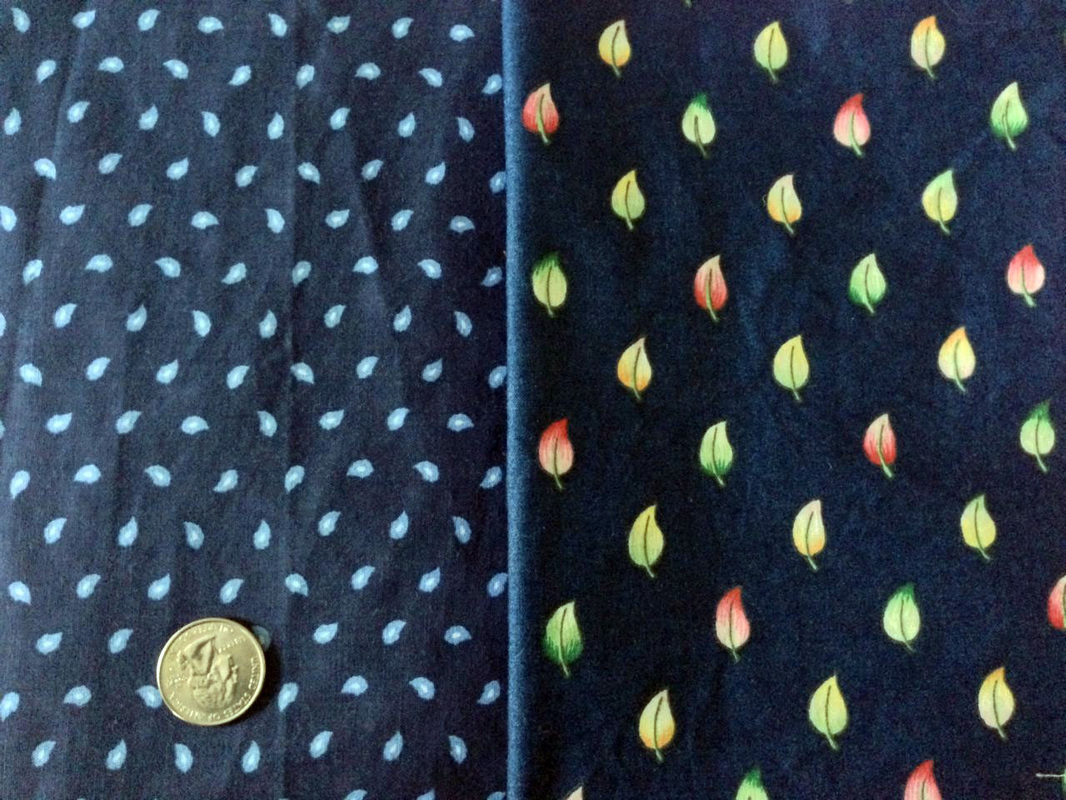 Leaves! | 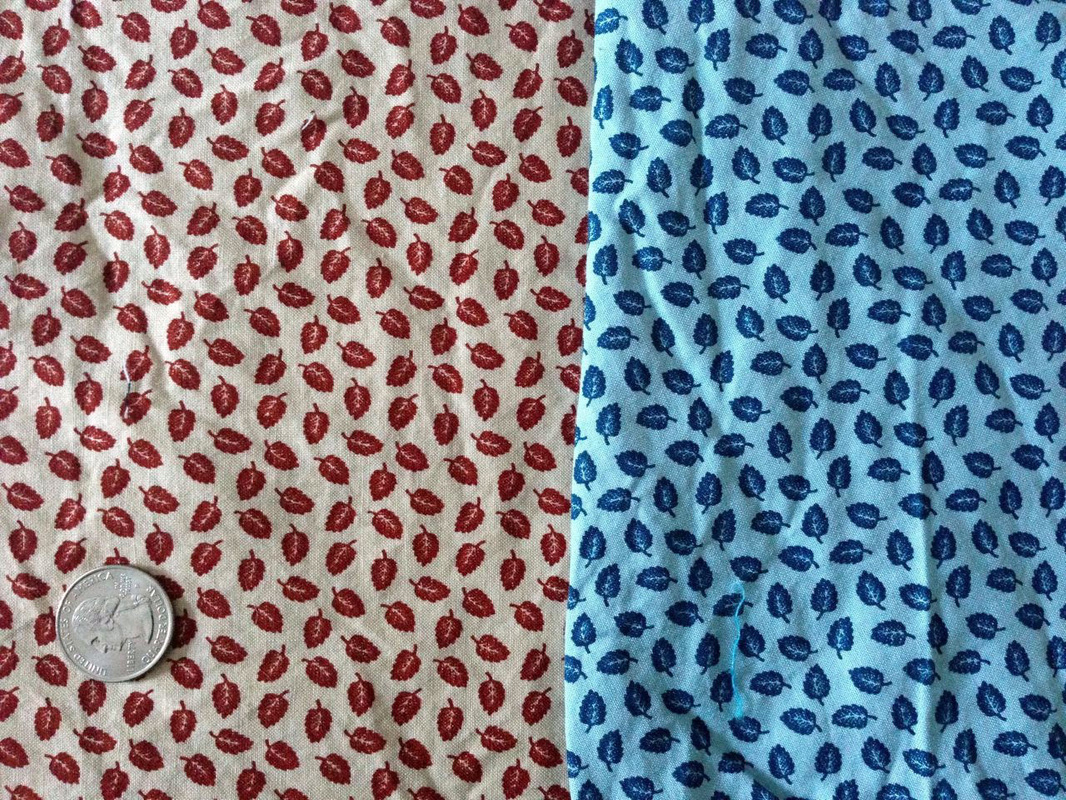 More leaves! |
 |  |
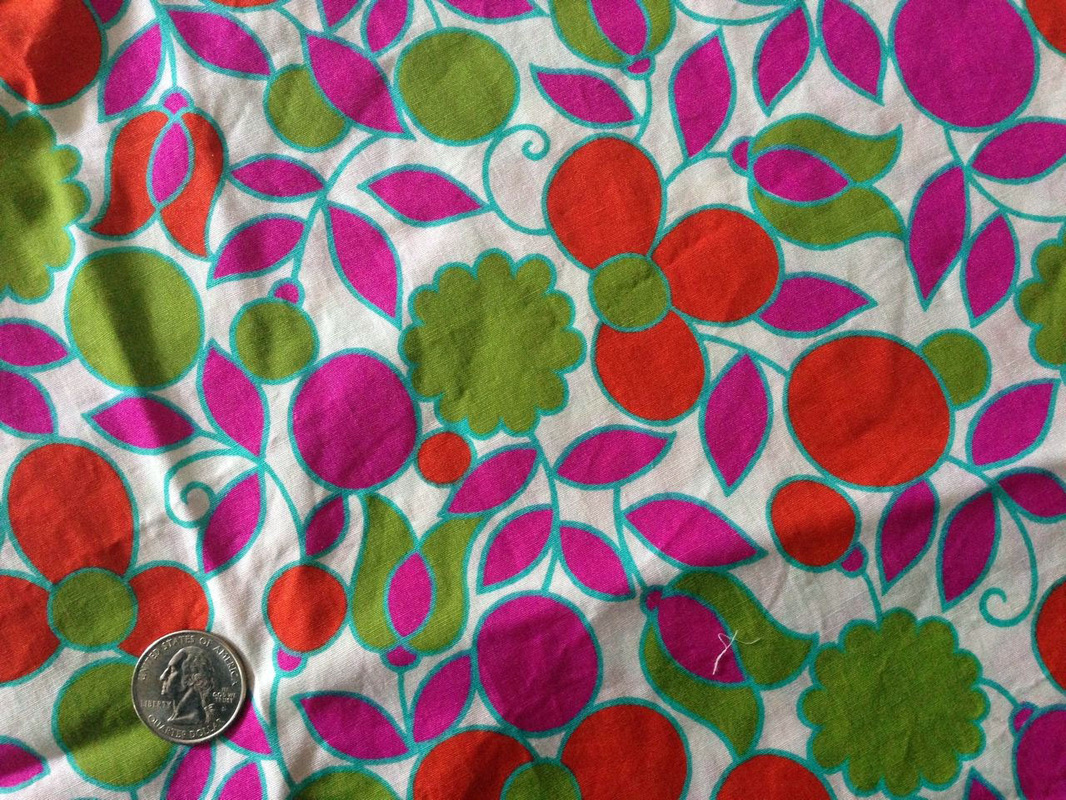
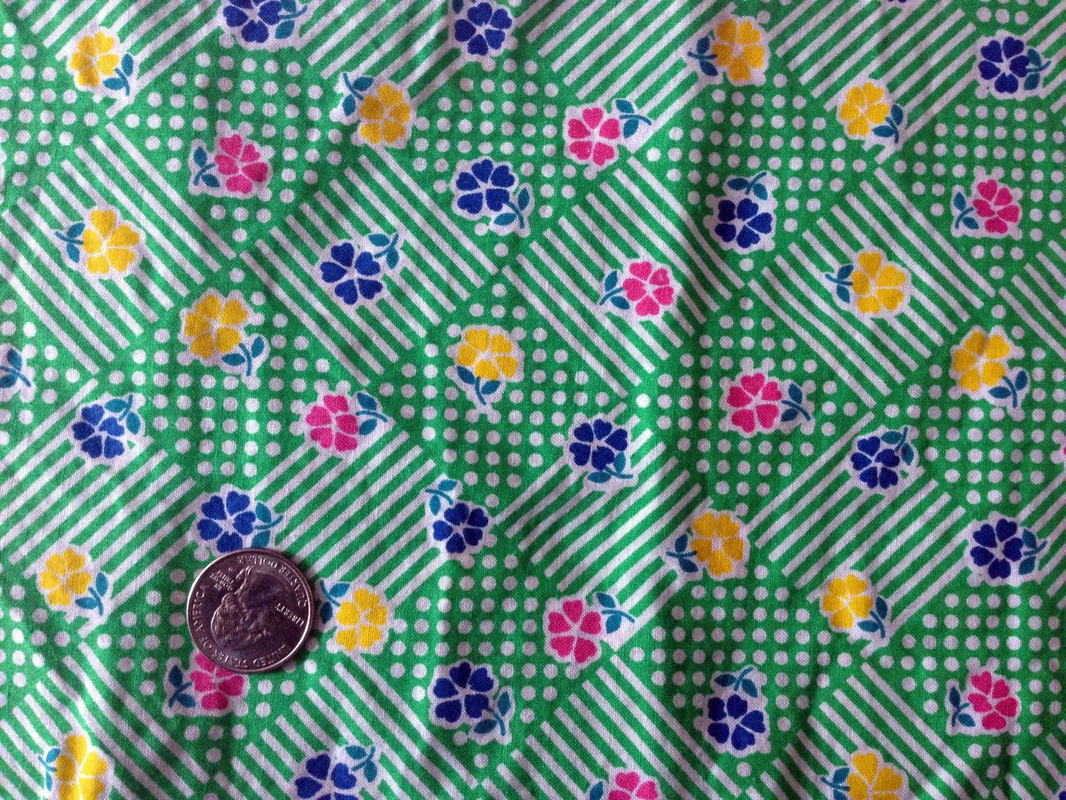
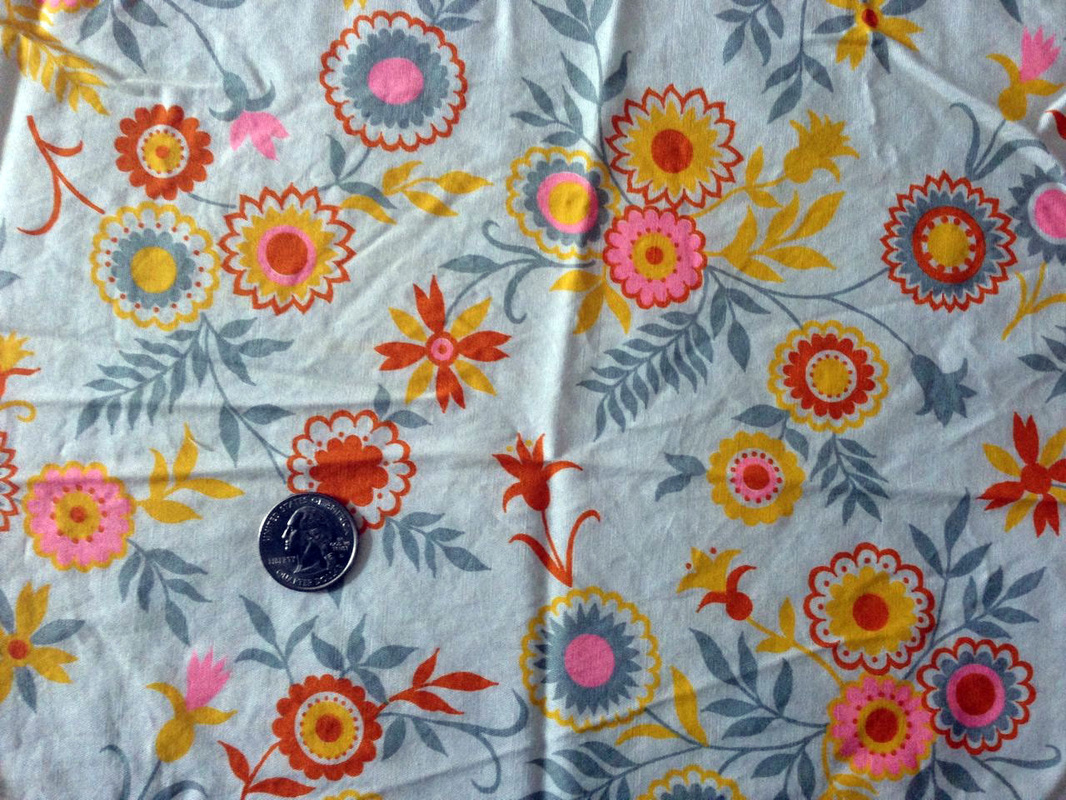
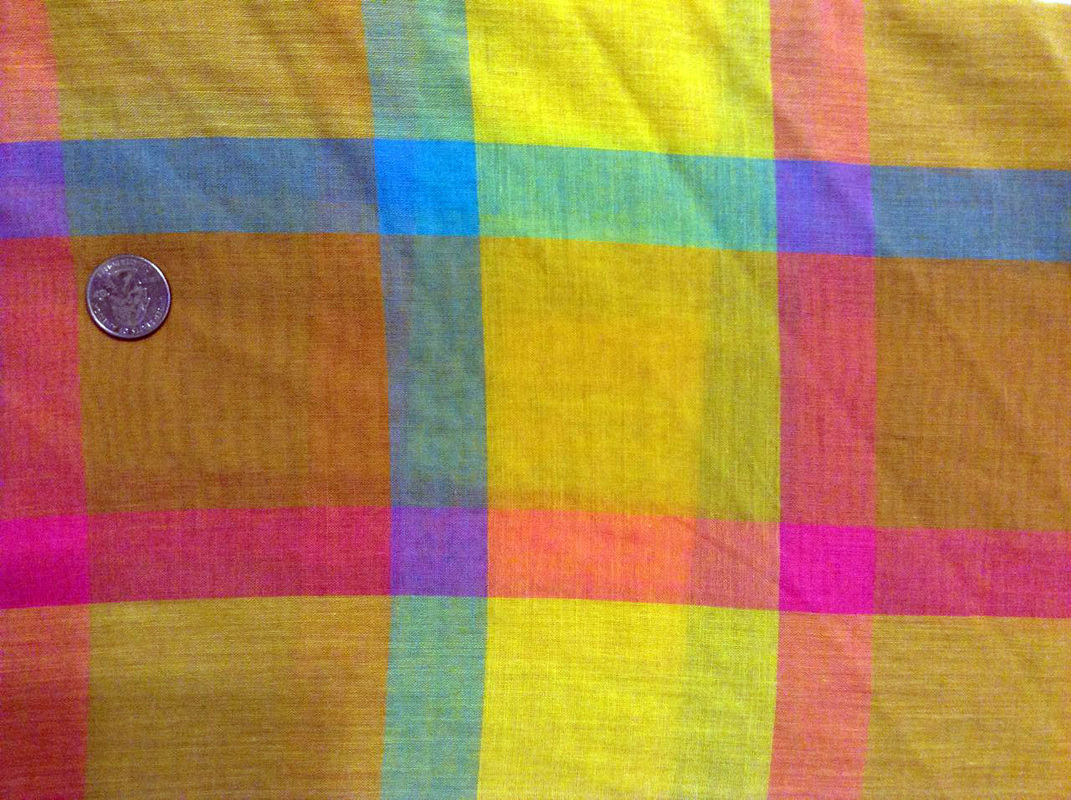
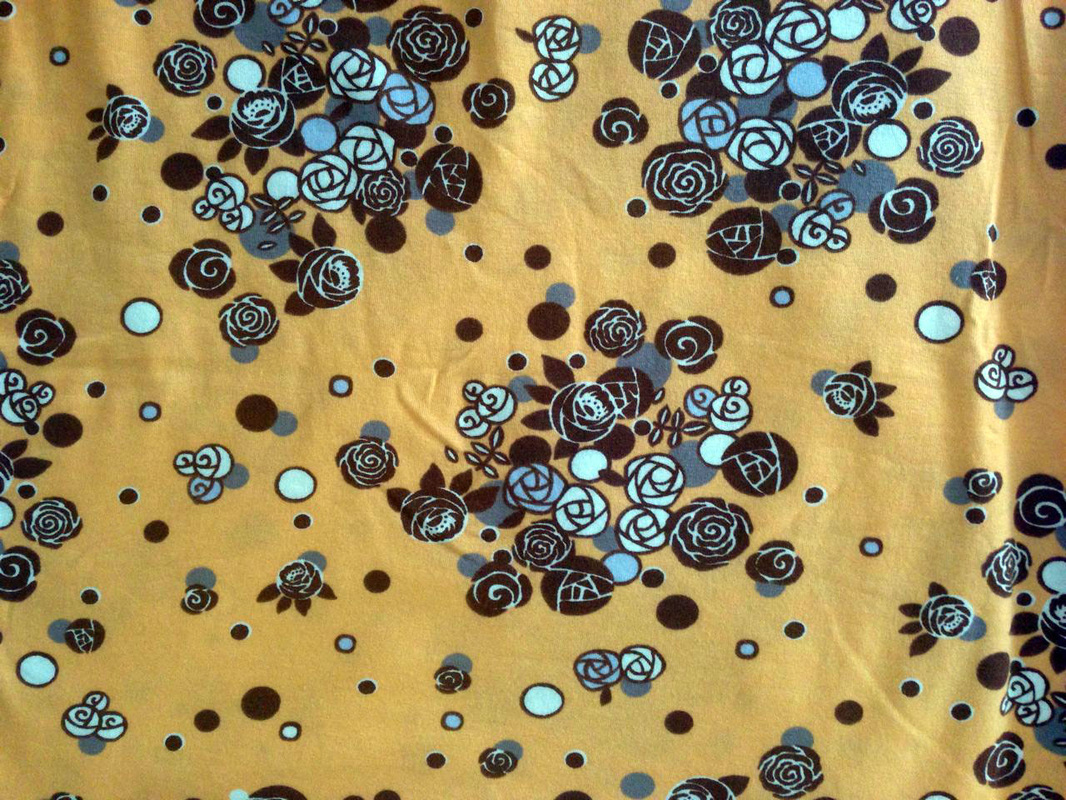
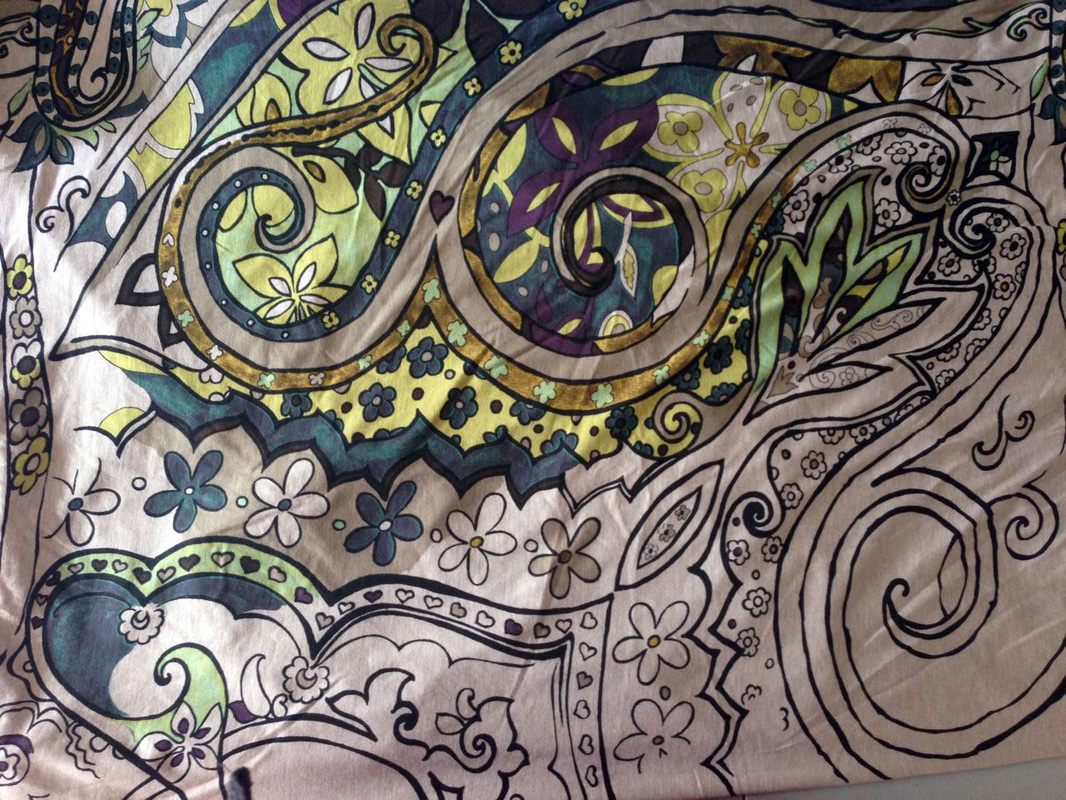
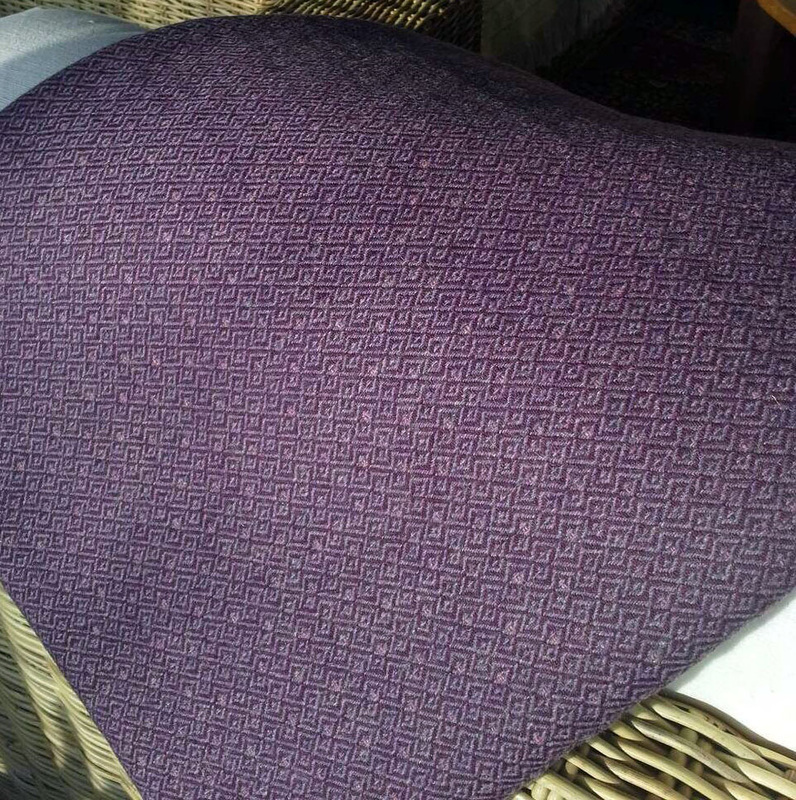
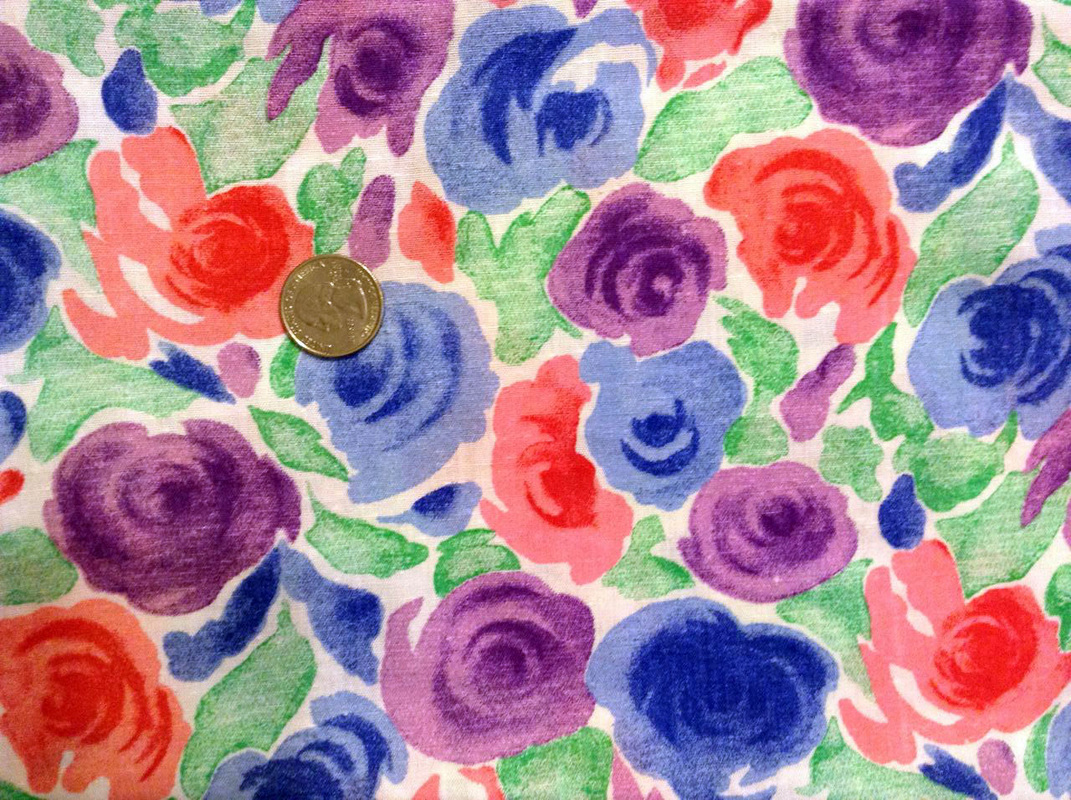 I love the print of this one. It reminds of watercoloring :) | 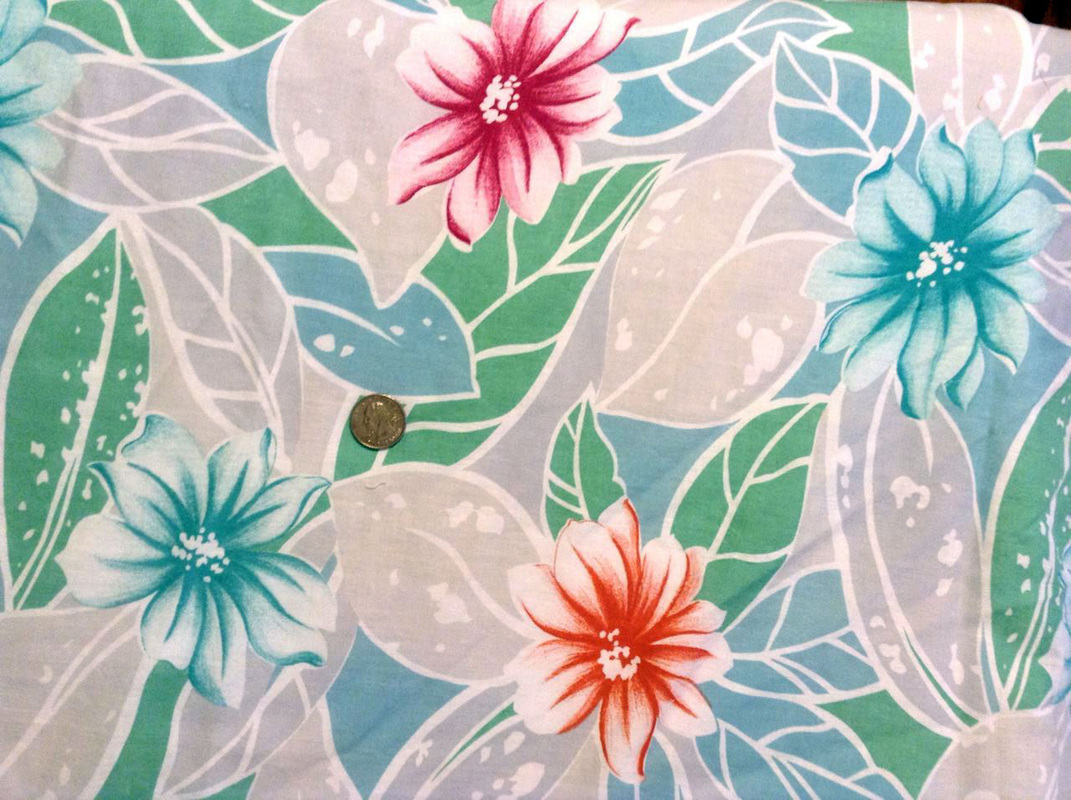 Most of the fabrics have small prints, but this is an exception. Isn't this pattern beautiful? |
 |  |
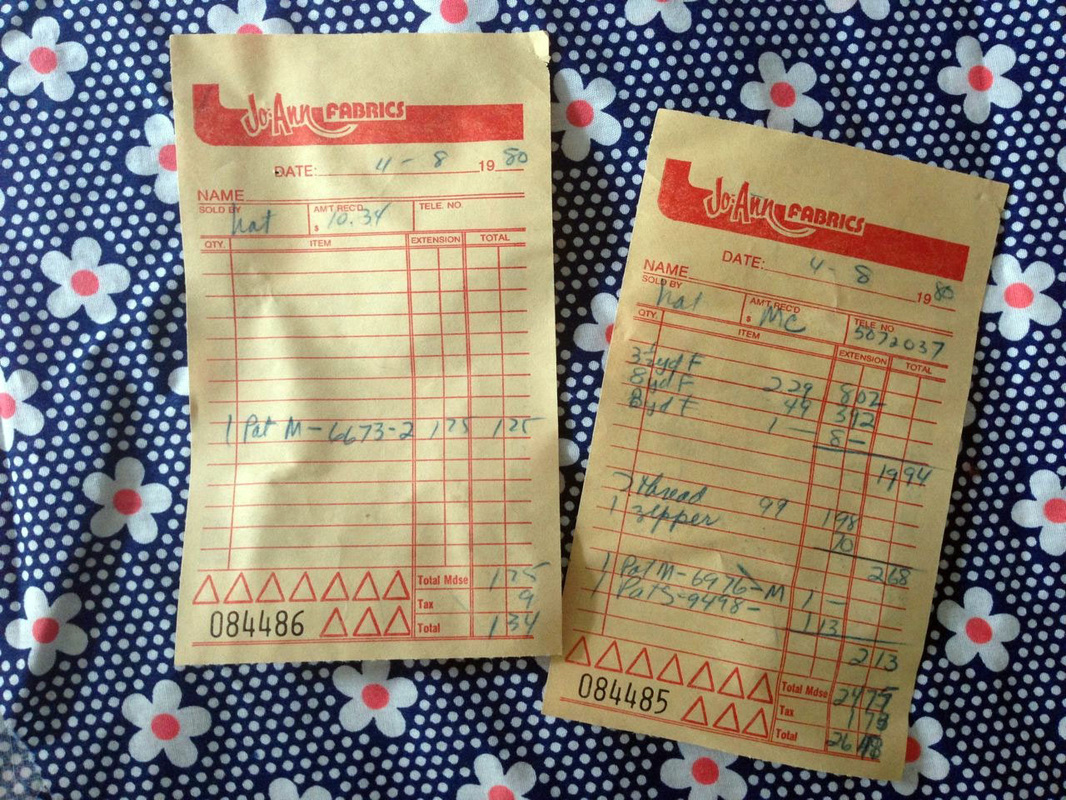
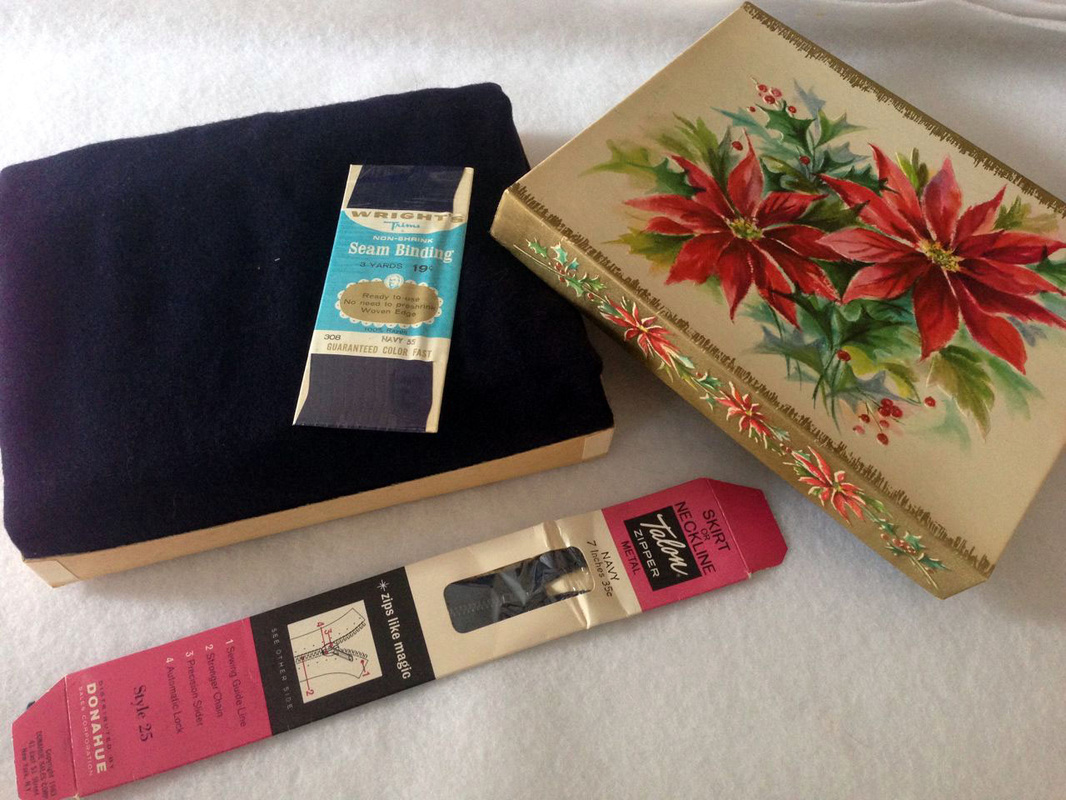
We also found these old, handwritten receipts from 1980! And this pretty little paper box with fabric, a matching zipper and seam binding. I wonder if she got that for Christmas a long time ago? Or if it was meant to be a Christmas present and she decided to keep it for herself (been there, done that!)?? Some of the things we found really made me wonder about the story behind it.
 |  |
And it gets better: we found hundreds of spools of thread! I decided to keep almost all of them, a lot of them hadn't even been opened yet! If the thread is still usable (does Polyester thread ever expire and get fragile I am wondering?) then I will never have to buy thread again in this life :)
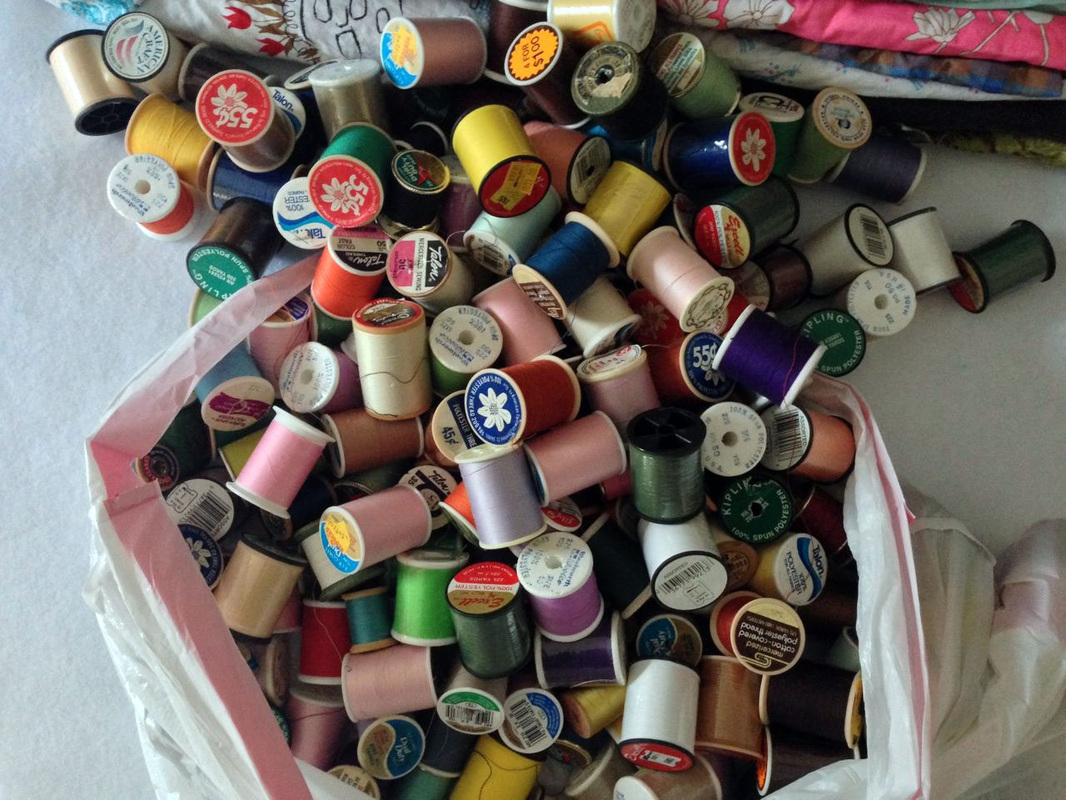
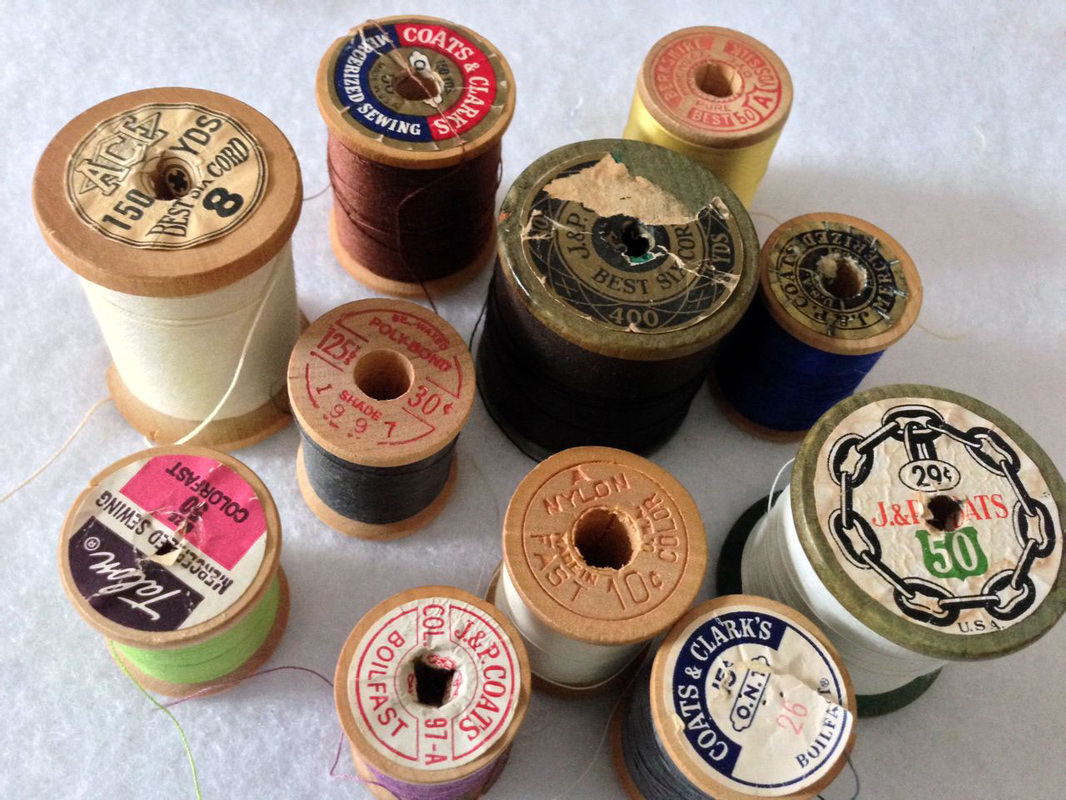 Some of the thread in this huge bag is really old; so old in fact, the spools are made of wood and not of plastic. This is so cool, I just love this! And as you can see back then a spool of thread cost 29 cents! | 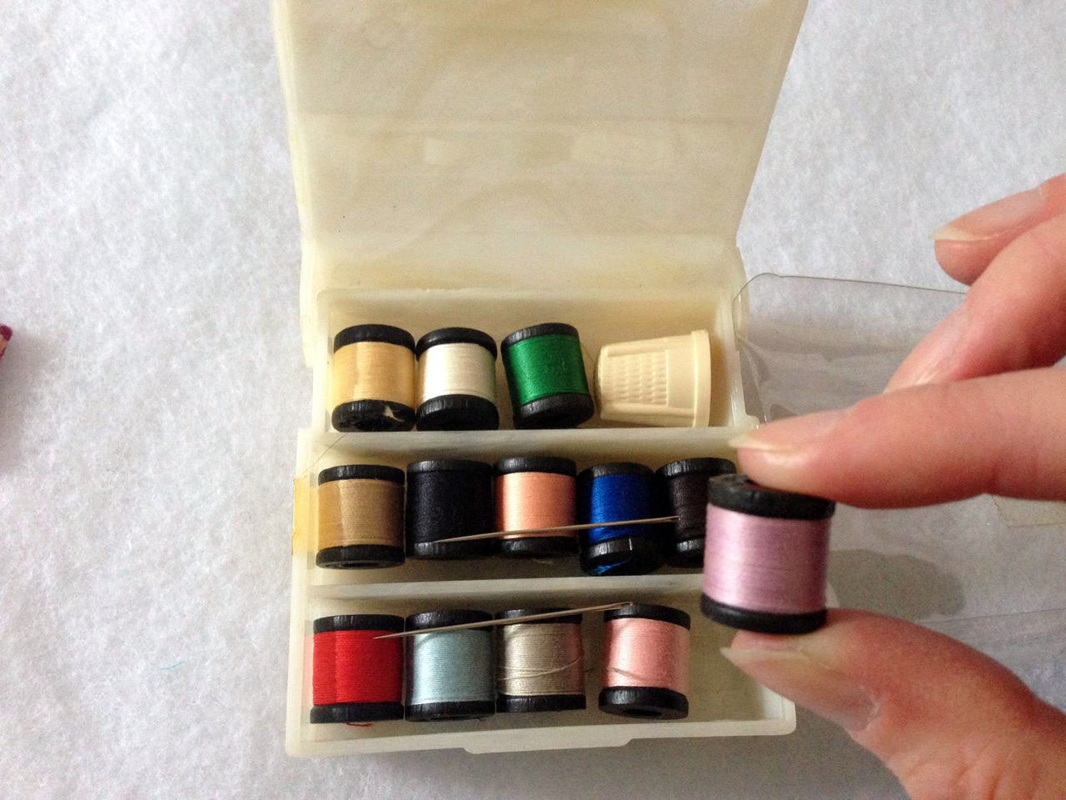 The little sewing kit had to go home with me too. I mean, look at all these cute, tiny little spools, oh my gosh! This is almost too much for me :) |
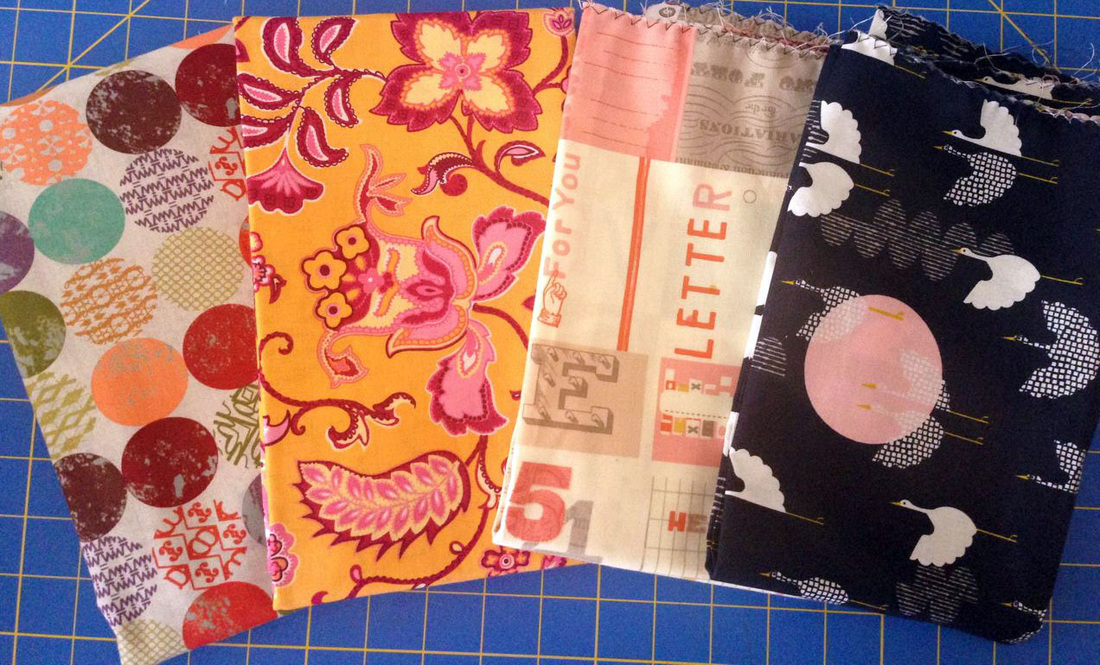
And more fabrics (all not ironed, sorry!):
 |  |
 |  |
 |  |
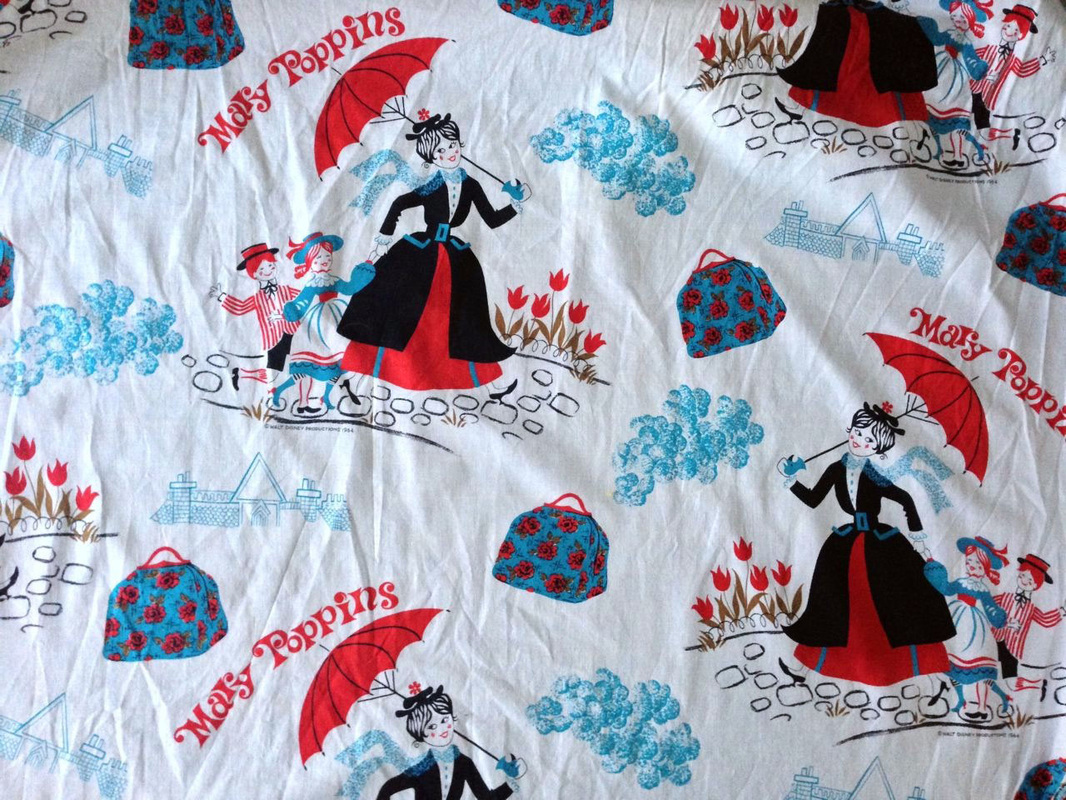
And there was also this: Mary Poppins!! And her bottomless bag and her parrot head umbrella as well! I have absolutely NO clue what to do with this fabric but I knew I could NEVER leave this behind. I loved Mary Poppins as a kid. Actually I still do!
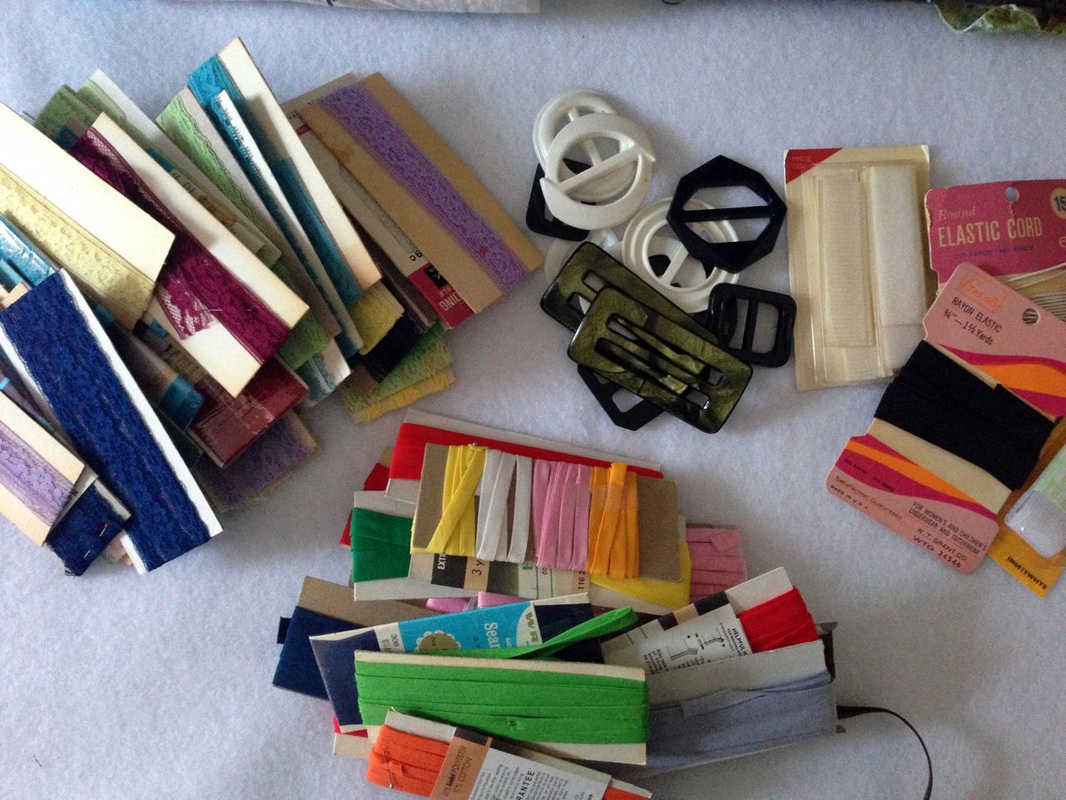
I also got a whole bunch of seam binding and bias tape in all the colors you could think of. Also some elastic and a few buckles! I especially love the green buckles. I will definitely use them for some of my bags.
I was really moved when Amy offered me to take a look at her grandma's sewing room and I am happy that some of the fabrics and sewing supplies now have a new home in my little sewing studio. Joann Fabrics will not be seeing me for a while, that's for sure!


 RSS Feed


