
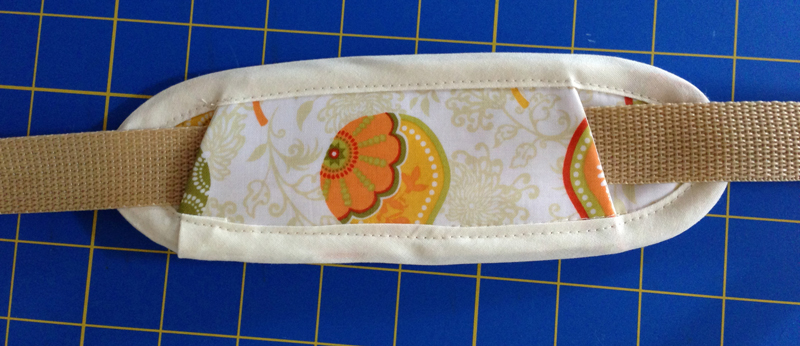
add a shoulder pad to the strap of our bag for more convenience
| pattern_shoulder_pad_.pdf |
I recently added a shoulder pad to the strap of one of my bigger bags for more convenience so I thought I’d share this in a tutorial. It is not very difficult but keep in mind to add the shoulder pad to your strap before you sew the strap onto your bag! Happy sewing!
--- This tutorial is free but for your convenience I decided to offer the complete tutorial as a PDF for download for only $2, if you prefer to have everything in one structured document ---
Download the pattern pieces from the pdf-file above, print them and cut them out. You should have two pattern pieces (#1 “bottom part” and #2 “top part”). When printing make sure your printer settings are set to "actual size" and NOT to "fit" so the pattern pieces will be the right size.
Hint: if you use oilcloth or laminated cotton like I did, sewing clips instead of pins are recommended, since pins will leave holes in your fabric.
You need:
Fabric: a few scraps will do
Bias tape 0.5” wide: approx. 50 cm (20”)
Fusible fleece, e.g. Pellon 987F
Fusible interfacing, e.g. Pellon 931 TD
Cut:
- from pattern piece #1 (bottom part): 2 pieces of fabric, 1 piece of fusible fleece
- from pattern piece #2 (top part): 2 pieces of fabric, 2 pieces of fusible interfacing
All seam allowances are 1 cm (3/8”) unless otherwise stated.
1) Transfer the markings for the placement lines onto the fabric pieces #1.
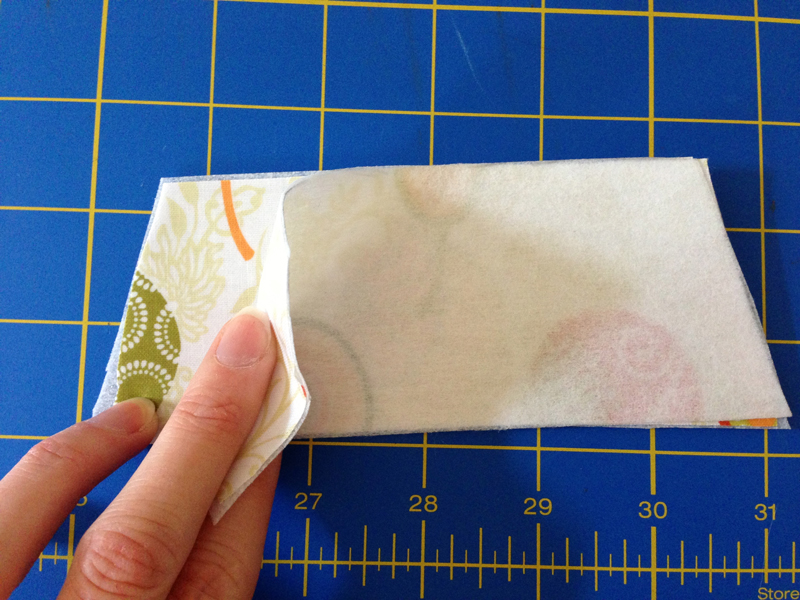
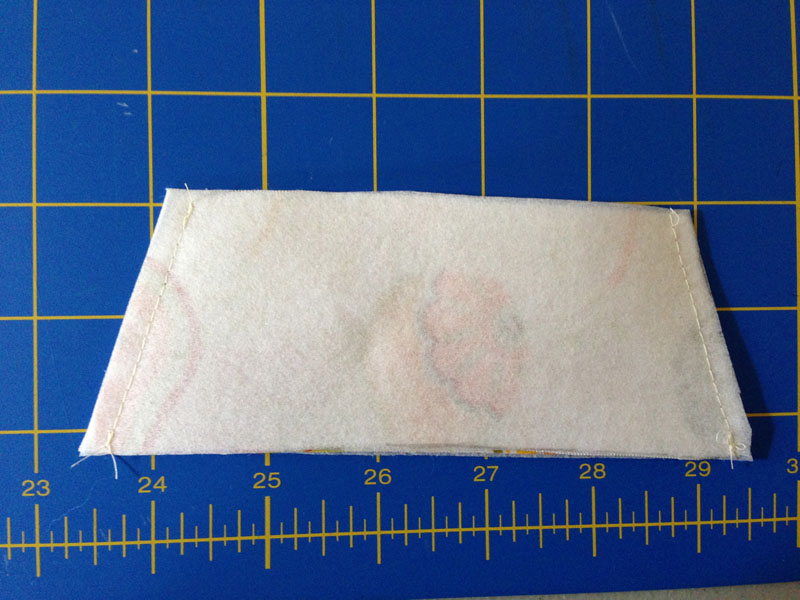
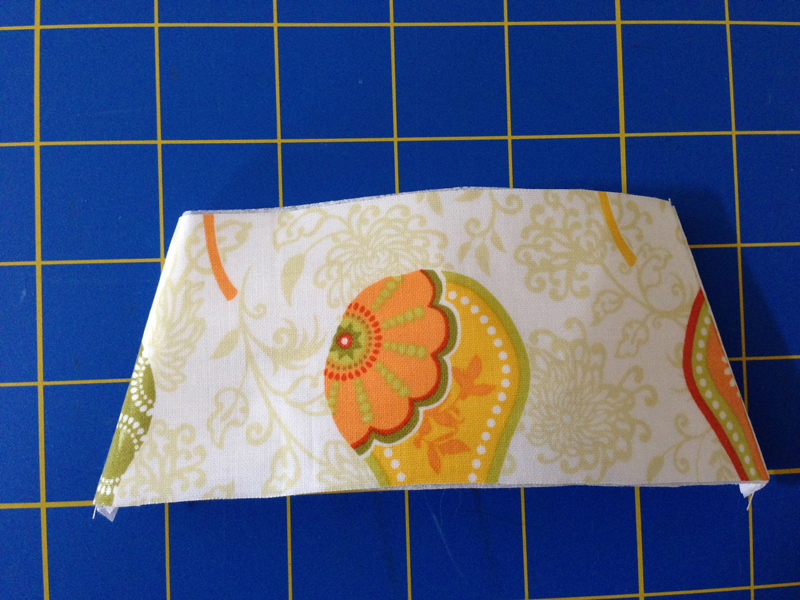
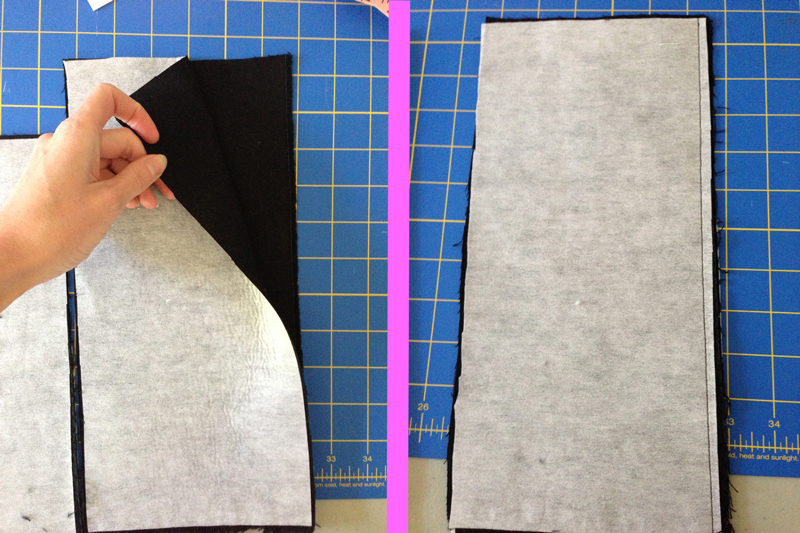
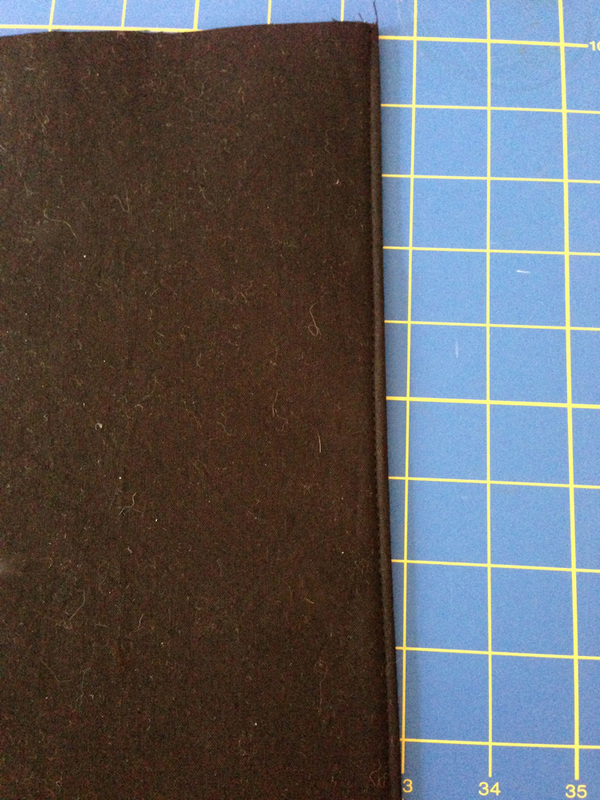
2) Interface the two fabric pieces #2 (top part) with the fusible interfacing. Then put them right sides together, the short edges and the long edges should be aligned. Sew along the short edges, trim the seam allowance and turn right side out.
 |  |
3) Interface one of the fabric pieces #1 (bottom part) with fusible fleece. Set aside.

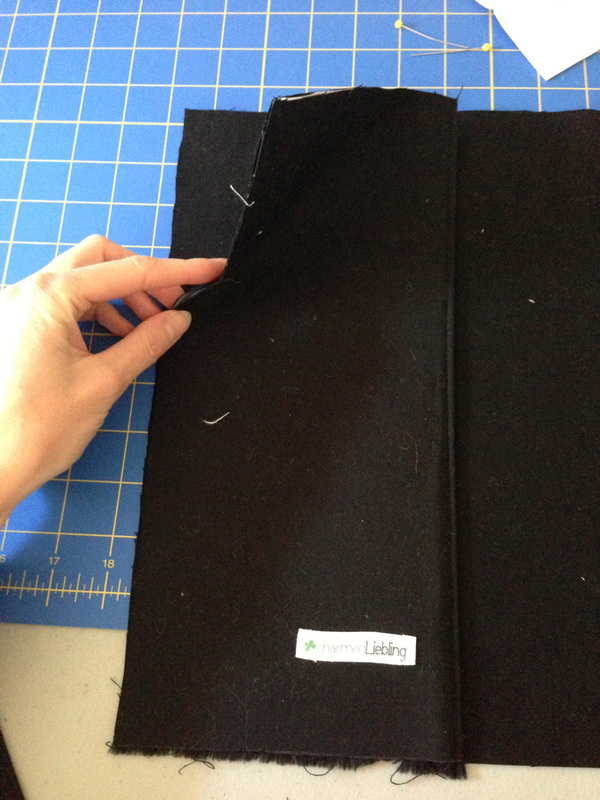
4) Place the other fabric piece #1 right side up. Place the top part you have assembled in the step 2 onto the bottom part, matching the placement lines on the bottom part. Baste in place along the long edges of the top part.
5) Place this assembled piece onto the other bottom part (the one that you interfaced with fusible fleece). Put the two pieces WRONG sides together. You may baste along the curves or the long edges before you proceed to the next step.
Put the assembled piece onto fabric piece #1 with the fusible fleece attached
6) Fold one of the short edges of your piece of bias tape down by 3/8” (1 cm). Put it onto the assembled shoulder pad as shown in the pictures below (I suggest you start at the center of one of the long edges). Pin it down and put it all around the shoulder pad. Due to the rounded shape you may have to create a few pleats while going around the whole piece.
When you reach the beginning of the bias tape again, put the end of the bias tape on top of the beginning so that they are overlapping by approx. 1,5 cm (0.5”).
When you reach the beginning of the bias tape again, put the end of the bias tape on top of the beginning so that they are overlapping by approx. 1,5 cm (0.5”).
 Start pinning down the bias tape at one of the long edges | 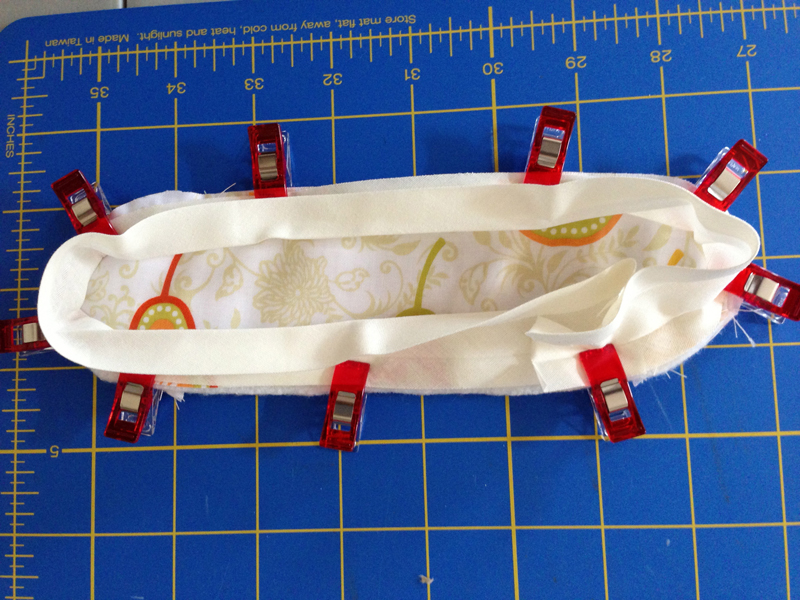 |
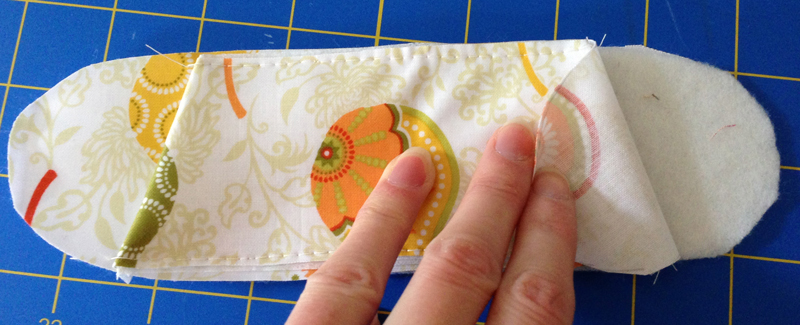
7) Sew the bias tape down onto the shoulder pad, approx. 0,5 cm (3/16) “ from the outer edge.
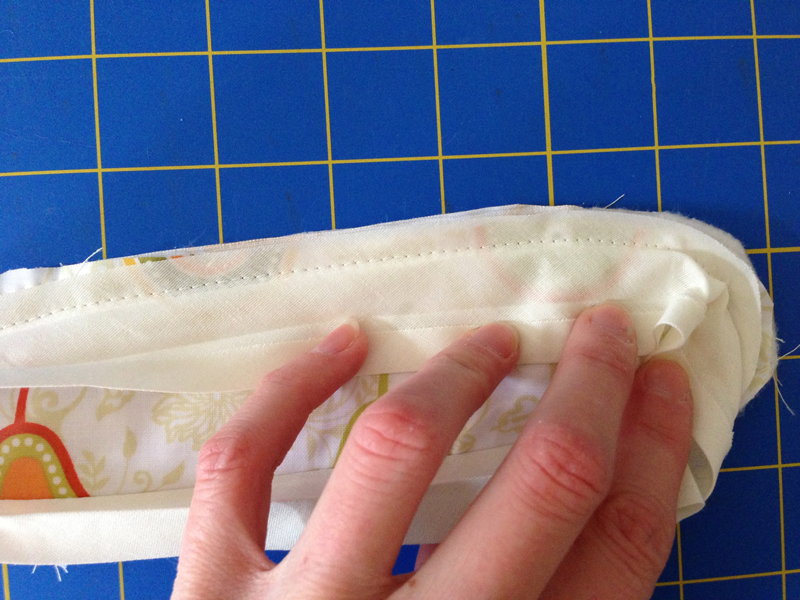
8) Fold the bias tape over the outer edge of the shoulder pad and fold it down towards the other side. Try to make a neat binding, see also on the next pictures below.
 Take your time with the folding of the bias tape to make it as neat as possible | 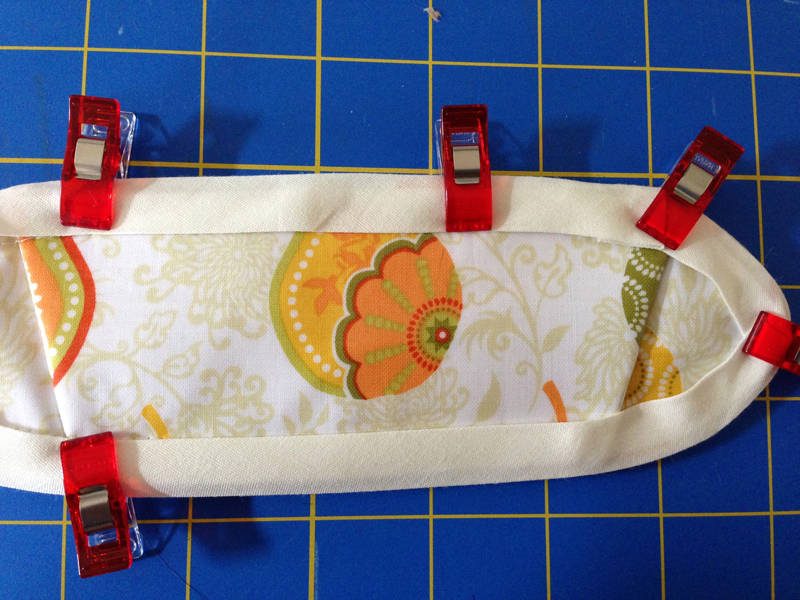 The bias tape from the other side, all pinned down |
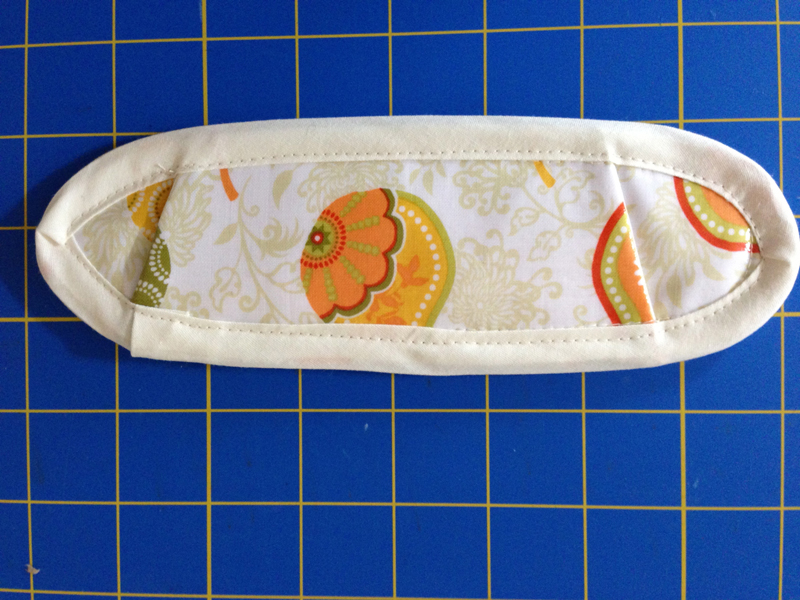
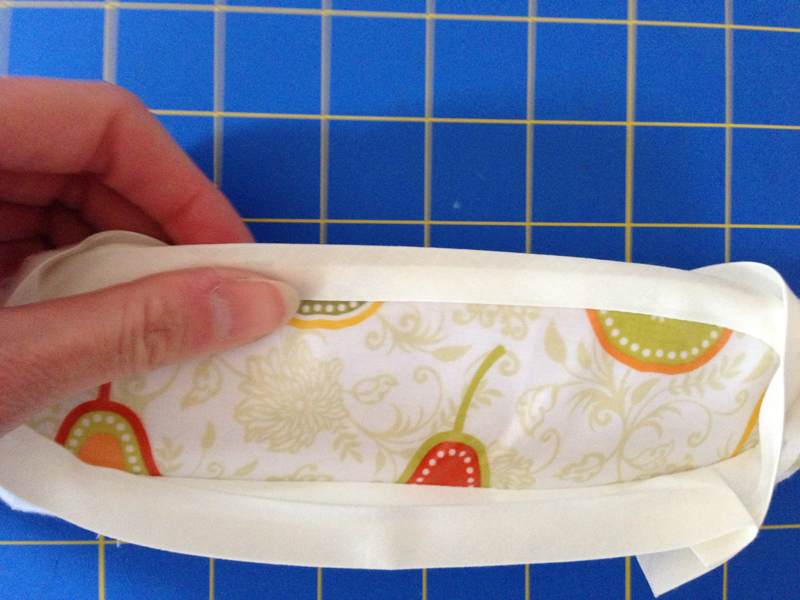
9) Stitch all along the inner edge of the bias binding with a 0,3 cm (1.8") seam allowance.
Congrats! Your shoulder pad is finished!
If you like this tutorial or if you have any suggestions on how to improve it, I would be happy about a comment :)
If you like this tutorial or if you have any suggestions on how to improve it, I would be happy about a comment :)


 RSS Feed


