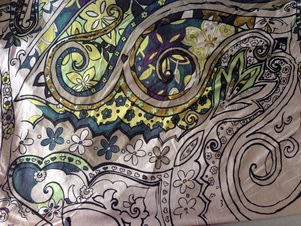
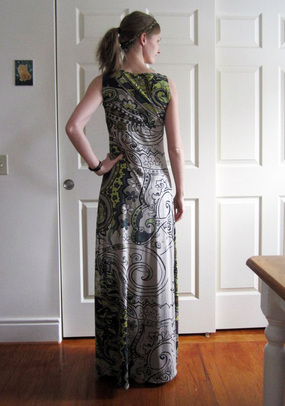
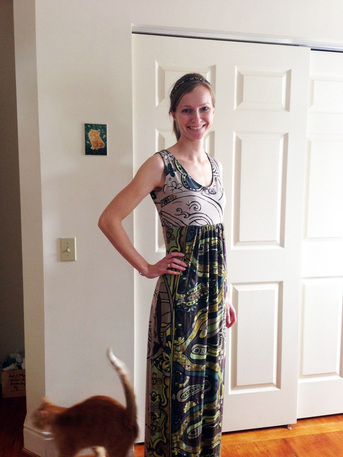
To put me in the right mood I decided to make a dress out of one of the fabrics I got at Mood Fabrics in NYC in December.
I usually don't go too bold with my clothing but I just love love love the print of this knit fabric. I think it's phenomenal (just like the store I bought it from)!
(Read about my trip to Mood here)
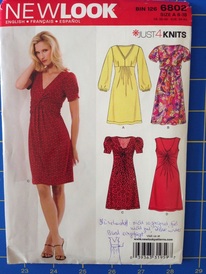
I wanted it to be simple and casual, so I chose a New Look pattern. I made three changes:
1. I got rid of the sleeves
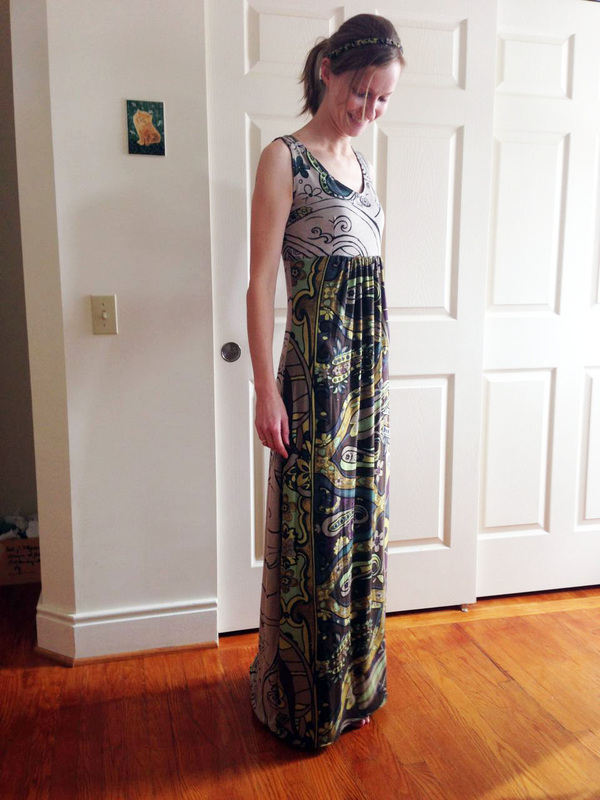
2. I made it a maxidress, reaching all the way to my ankles.
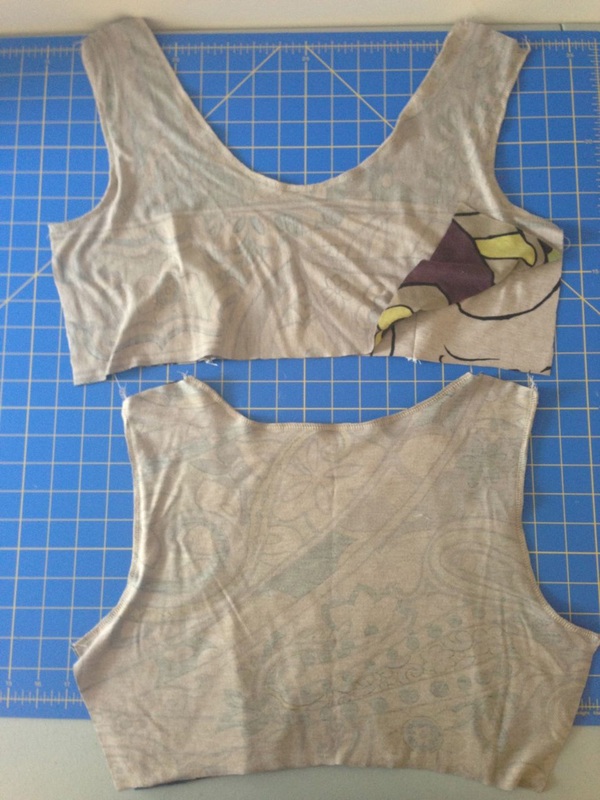
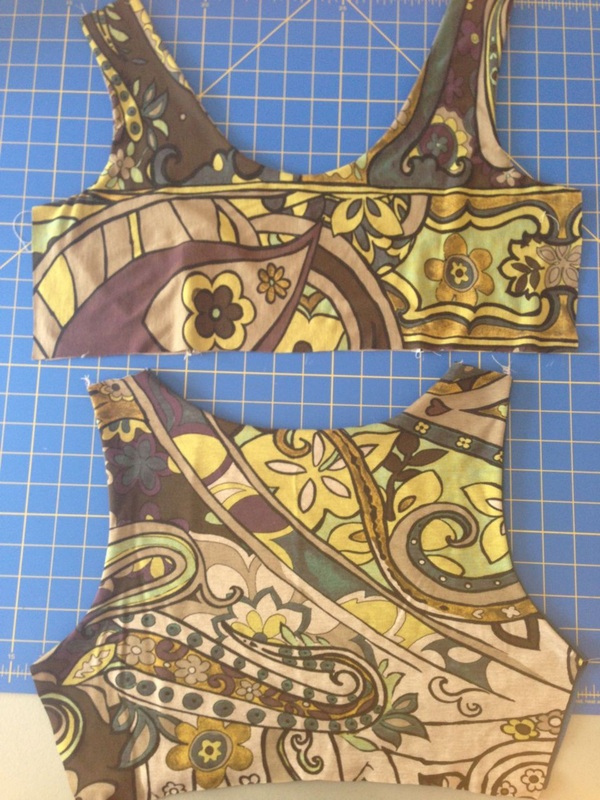
3. I doubled the bodice. I have a store-bought dress with a fully lined bodice and I really like it since it gives it more structure and a neat finished look.
I also couldn't play with the print like I had originally planned. The print ist bold and dark on the left-hand side of the fabric panel and kind of fades out to the right-hand side. If I had had more fabric I would have probably cut both the front and back part kind of in the center of the print. Now my front skirt panel is widely patterned and the back panel is rather plain :) To make a contrast to the colorful front skirt part I decided to use the more plain part of the fabric for the front bodice.
It took me a few moments to figure out how to line the bodice but it is actually pretty easy. I decided to share my technique with you, in case you want to try it out yourself.
How to double the bodice:
Note: for your convenience I am offering this tutorial as a PDF file if you prefer to have everything in one structured document. You may purchase it here for only $2.
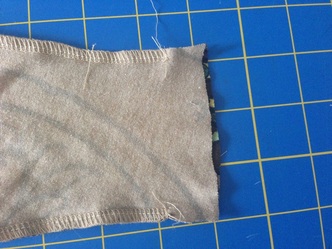
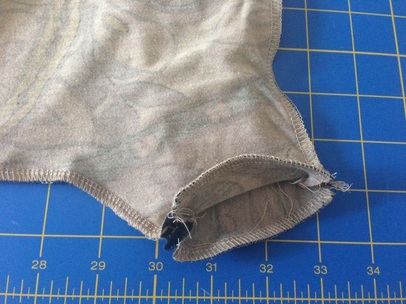
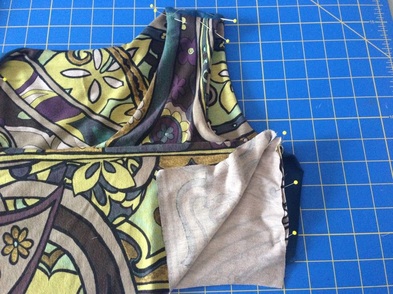
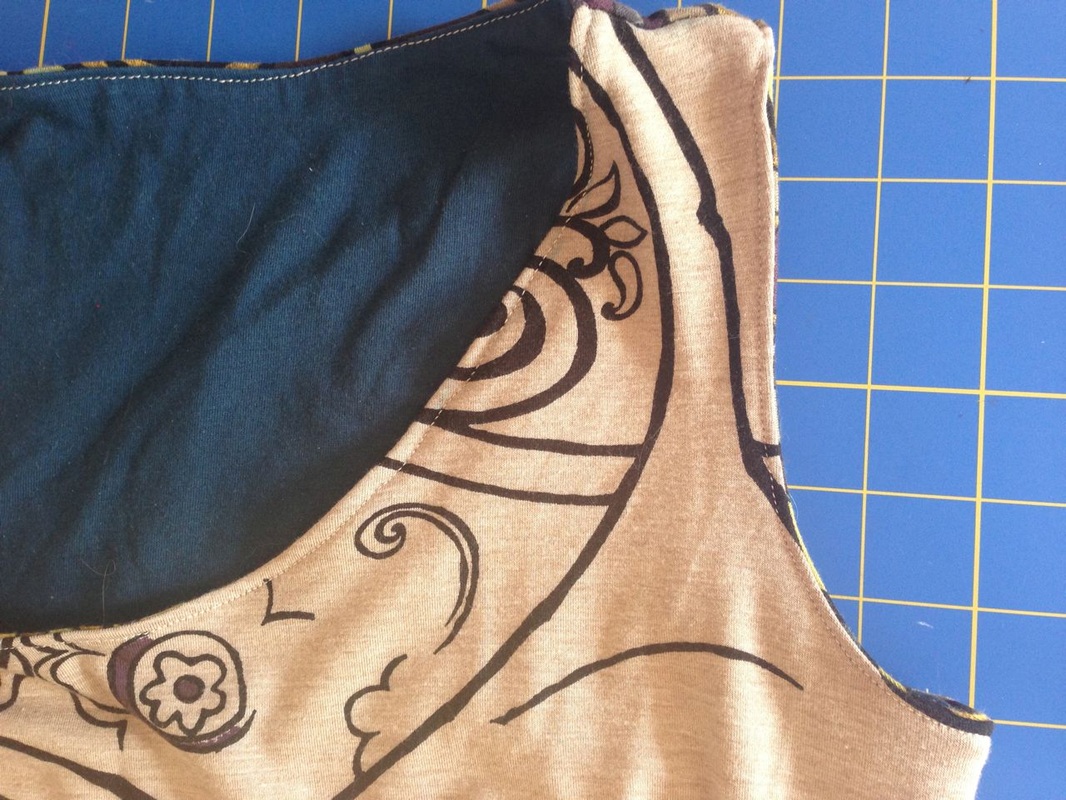
2. Put the two bodice front parts right sides together and pin. Stitch along the neckline and the armholes and make sure to start and stop approx. 2 cm (0.75") from the edges (see picture to the left). You will need this gap later to finish your bodice (I forgot to do it at first and sewed all the way up to the top, like shown on the pictures below. Don't do that!!). Turn right side out.
3. Repeat for the two pieces of the bodice back part.
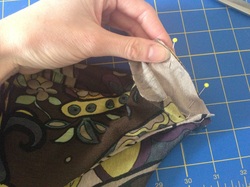
4. Put the outer shoulder parts of the bodice back and front right sides together. Pin in place and stitch.
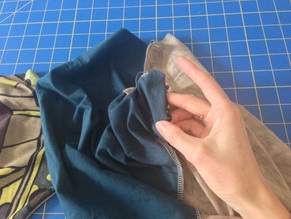
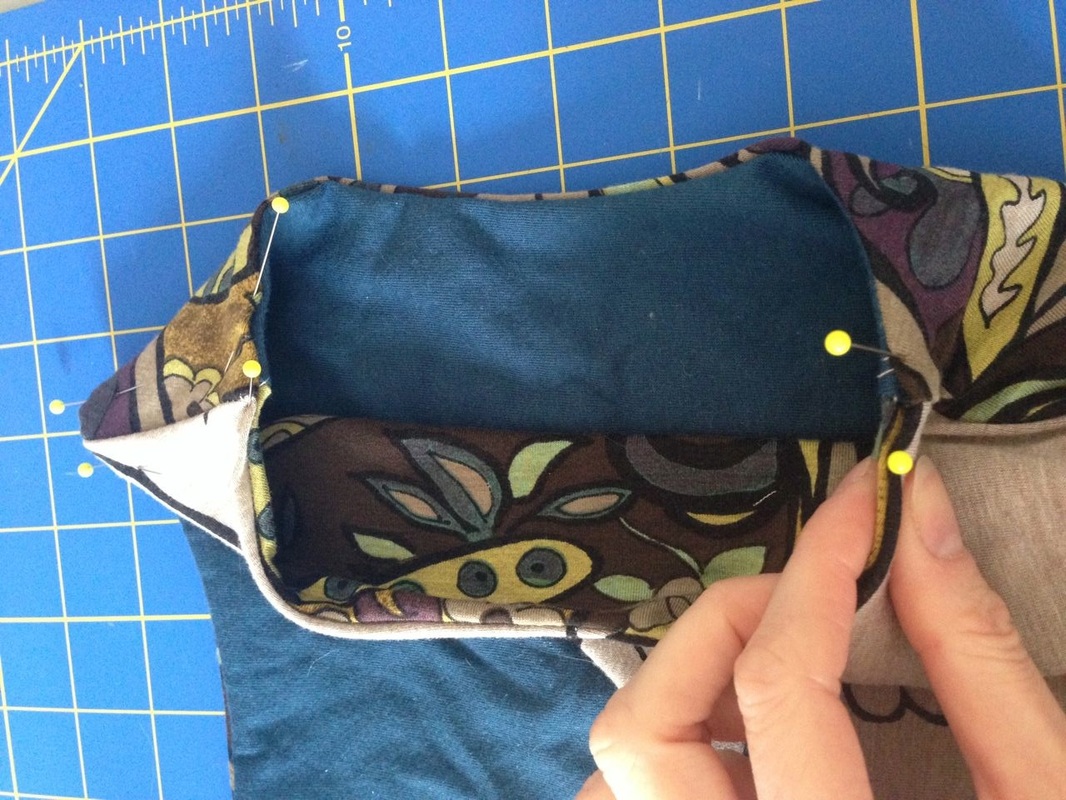
To do the same with the inner shoulder parts of the bodice front and back you will have to pull the two pieces through the bodice. Pin in place and stitch. Your bodice front and back will be connected at the shoulder seams now, with the gaps still open.
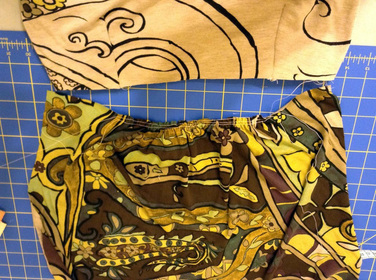 The skirt with the gathered front panel.
 7. For the skirt part of my dress I used the two panels that came with the New Look pattern and added about 15" in length for a maxidress. The front panel is wider than the back (the back has the exact width of the back bodice). It has to be gathered to the right width so that it fits the bodice front part.
Stitch your skirt front and back together before proceeding.
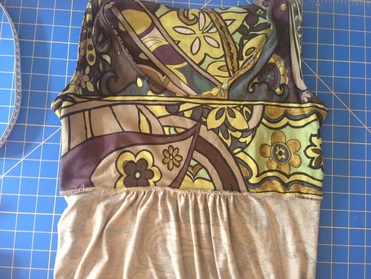 Bodice and skirt attached with the help of my serger.
 8. Attach the doubled bodice to the skirt:
Put the skirt part and the bodice outer parts right sides together and stitch around the whole piece. I used a serger which will finish the edge neatly at the same time. You will be stitching through three layers of fabric: the skirt, the outer bodice and the inner bodice.
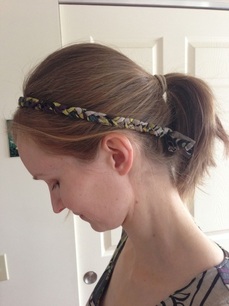
I had just a tiny bit of fabric left and decided to make a headband. I simply cut three strips of fabric and braided them. The strips I cut were about 4 cm (1.5") wide and 45 cm (18 ") long. To make the braid stay in place I stitched right over it at both the top and the bottom ends. Now I only have to tie the two ends together and my headband is ready to go!
Happy sewing everyone and stay warm!




 RSS Feed


