
Today I would like to share my experience with one of Amy Butler’s handbag patterns with you.
It’s the blossom handbag/ shoulder bag from the book “Style Stitches: 12 Easy Ways to 26 Wonderful Bags". I don’t own the book but this particular pattern can be downloaded for free from Sew Mama Sew!
It’s the blossom handbag/ shoulder bag from the book “Style Stitches: 12 Easy Ways to 26 Wonderful Bags". I don’t own the book but this particular pattern can be downloaded for free from Sew Mama Sew!
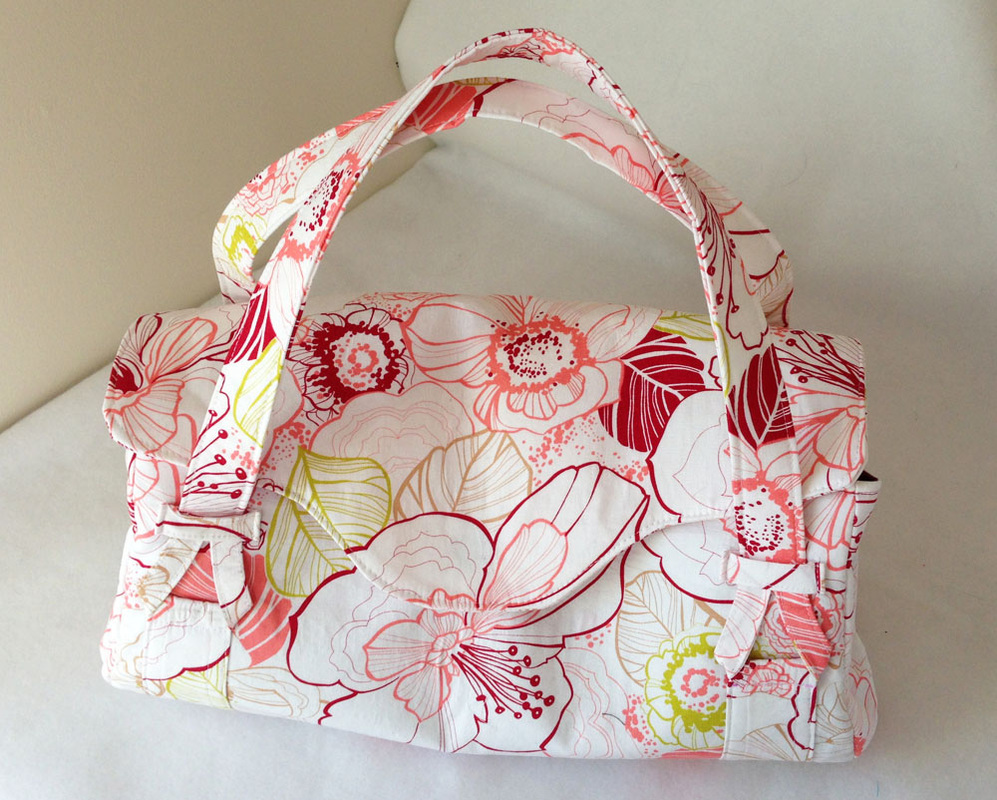
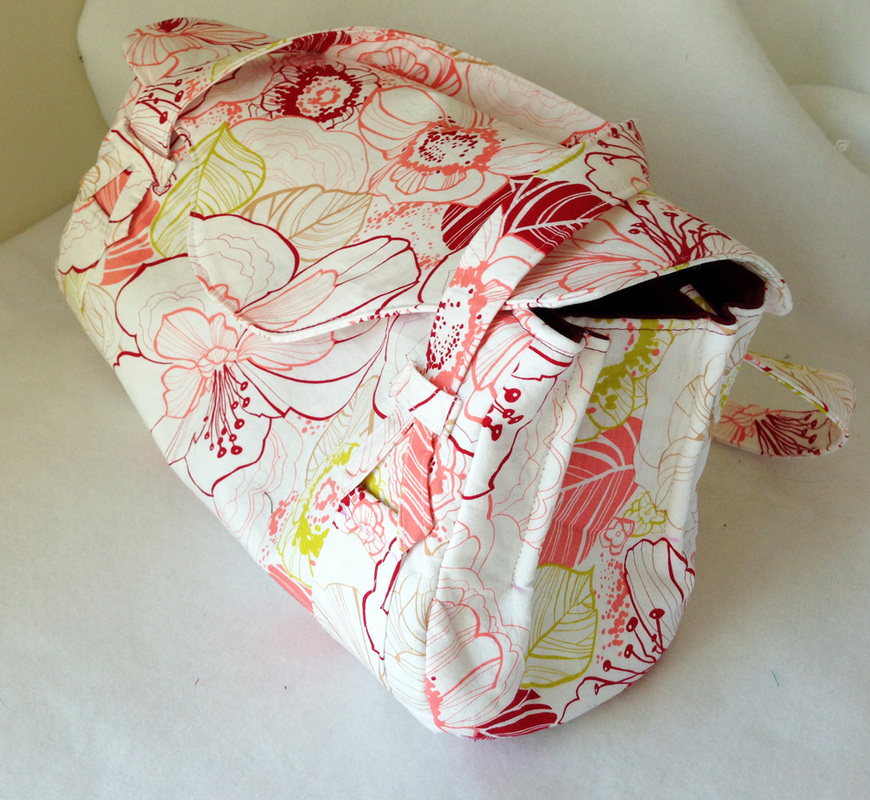
What you see on the picture above is actually the second bag I made with this pattern and the first one really gave me a hard time so this is why I decided to talk a little bit about the pattern and share some tips.
Since there are already a lot of very good reviews on this pattern on the internet (just google “Amy Butler blossom handbag” and you will see) I am not going to show you a detailed step by step instruction of how I assembled my bag but rather focus on the parts that have been a bit tricky to me and give you tips that might be helpful for you if you should try this pattern.
First of all, if you don’t have the book and download the pattern from the above mentioned website you will get the pattern as a pdf. I always mention the following in my own patterns but since this one is not primarily a pdf pattern there was no extra hint, so that I made the first mistake at the very beginning:
When printing the pattern, make sure your printer settings (size options) are set to “actual size” and not to “fit”, otherwise the pattern will NOT have the right size!!
This will get you into a lot of trouble since there are a few rectangular pieces, which you will have to cut out according to the sizes in the instructions. If your printed pattern comes out too small all these other pieces won’t match the pattern anymore and I only noticed that after I had assembled the (slightly work-intensive yet really pretty) handles and attached them onto the bag. As a consequence, my flap wouldn’t fit anymore, so in order to make it fit I had to cut off quite a little bit of fabric of the flap, which slightly altered its distinct shape. Too bad but I had no choice.
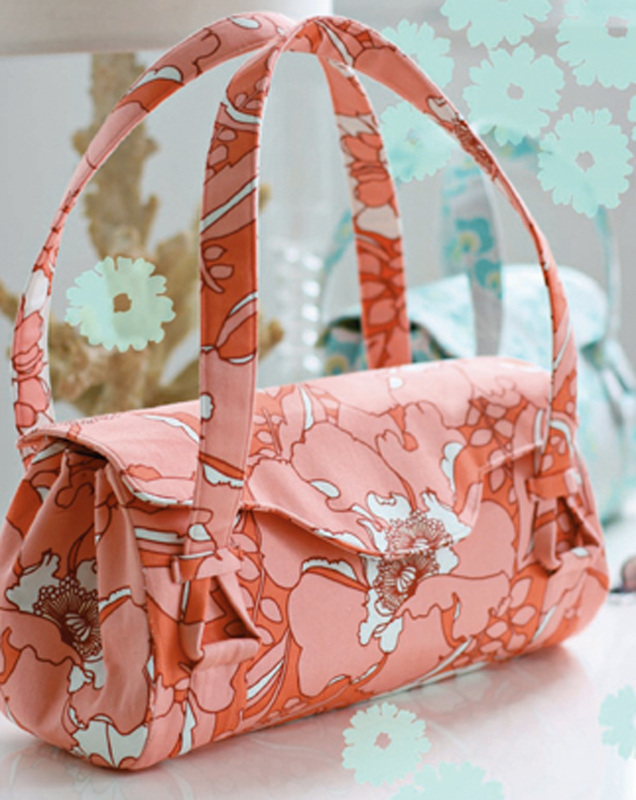 The coverpicture for the blossom bag in Amy Butler's book "Style Stitches" | 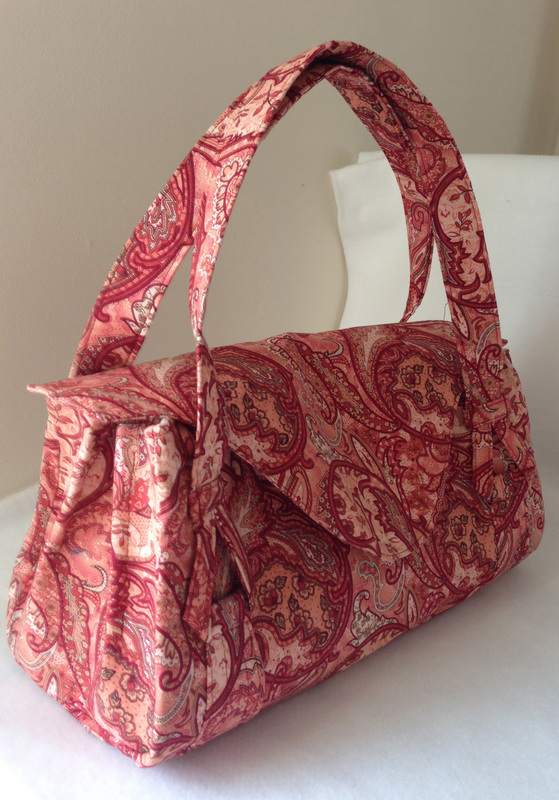 My first handbag made with this pattern with the slightly altered/damaged flap shape... |
The handles are the prettiest part on this handbag and it should be fairly easy to assemble everything. The instructions for the handles don’t come with pictures but only with illustrations, which I think should be no problem since they are very detailed and of good quality. Someone with intermediate sewing skills should be able to rely on the written instructions only, combined with the illustrations for the trickiest parts.
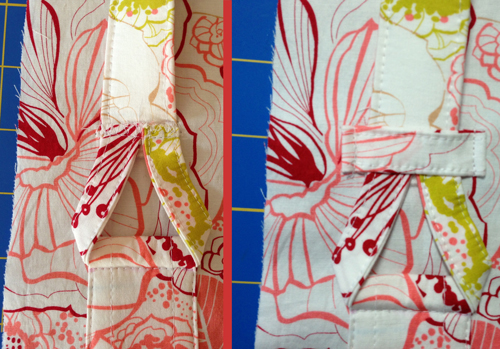
Here you can see how I attached the different parts of the strap: first the brackets with a loop at the top. Pull the tie ends through the loop and fold them upwards. Then stitch the ends of the tie ends onto the ends of the handle. The last step you can see on the right picture: fold down the short ends of the tags, put them on top of the handle ends and topstitch them to the front/back part of the bag
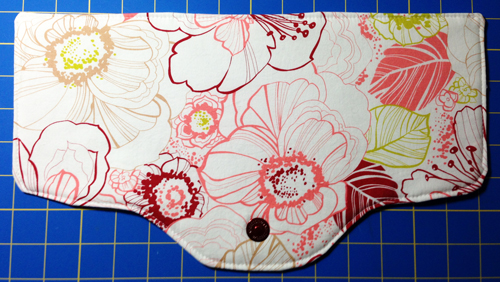
The bag closes with a magnetic snap. I love using magnetic snaps, since they are easy to apply and look really professional. The instructions tell you to insert the male part of the magnetic snap into the flap. I did so, being extra careful to place it centered.
After that you are supposed to insert the female part into the front exterior main panel. This is something that I come across very often with sewing patterns but I find it kind of risky to insert the closure into the single pieces at the very beginning. It means you will have to be extra special careful when sewing together all the different pieces, let alone cutting them out! This is why I always wait with inserting the other part of the closure until I have assembled the “basic structure” of the bag. Specifically, this means you can do so before you close stitch the lining of your bag.
What I recommend is pinning the flap onto the back of the bag, so that you can see where the upper part of the closure (the one on the flap) would go when I close down the flap. I use the measurements in the instructions for help to make sure, the bottom part of the snap doesn’t move too much to the top or the bottom edge of the front part of the bag. After marking the spot with a pen it is now that I insert the female part of the magnetic snap. This method might not be for everyone but for me it always worked out well so far and I never had to get furious because I ended up with the closure parts in the wrong spots, not matching together.
What I recommend is pinning the flap onto the back of the bag, so that you can see where the upper part of the closure (the one on the flap) would go when I close down the flap. I use the measurements in the instructions for help to make sure, the bottom part of the snap doesn’t move too much to the top or the bottom edge of the front part of the bag. After marking the spot with a pen it is now that I insert the female part of the magnetic snap. This method might not be for everyone but for me it always worked out well so far and I never had to get furious because I ended up with the closure parts in the wrong spots, not matching together.
The pattern calls for extra heavy stabilizer like Peltex 70 by Pellon but I am not that big a fan of these kinds of interfacings, so I went with Decovil (a German brand but available online in the US) for the first bag and fusible fleece for the second bag for a slouchy look. I also have to admit, as nice as the structure of the first bag looks thanks to Decovil, sewing extra heavy stabilizer with these kinds of bag patterns is not my favorite thing to do. I would never recommend that for a beginner of sewing since the layers that you will have to sew will get so thick, it’s really a challenge to move it along under the sewing machine, keeping your seam straight at the same time. And try to find the appropriate needles to handle it in the first place! I ended up using a leather needle for the part where you have to stitch the dividers into the bag because others just broke (I think I lost a total of three sewing needles in one evening...). This was one of the reasons I went with fusible fleece for the second bag. The shape is not quite as nice as the first one’s but at least sewing all these layers and around the curves was a real pleasure this time ;-)
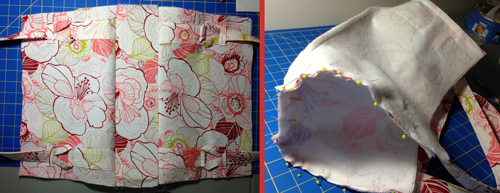
You can see how I assembled the bag: first you are supposed to sew the bottom rectangular piece onto the front and the bag panels of the bag (the ones with the pretty handles attached!). The next thing you do is attach the side panels onto the bottom and front and back part. This is not too complicated but so much easier if you don’t use the sturdy Peltex.
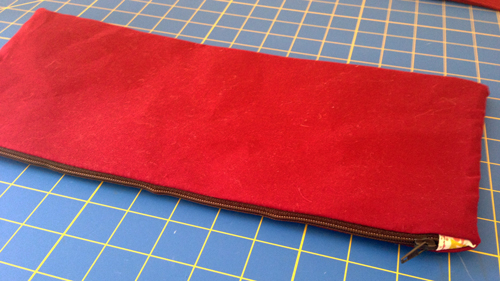
Another part that was a bit confusing to me was making the divider panel with the zip pocket. I think it would have helped to have at least some illustrations or even pictures with the instructions, however, I ended up making a simple “zipper pouch” that I inserted as the divider panel. For those of you who should have similar problems, you can check out my tutorial on an easy zipper pouch” here in my blog and then use it as a divider panel just like I did.
Attaching the dividers is actually the very last step to complete your blossom handbag. This is the part I mentioned above where you will have to be sewing through very thick layers of fabric and interfacing. After finding the right spots for the dividers (as given in the instructions) you are supposed to pinch the top of the side panel around each end of the divider. I didn’t even try to use pins for that step because they would obviously not have survived it :-) This is when I like to use sewing clips to hold everything in place. I found mine in a local fabric store in the quilting notions section.
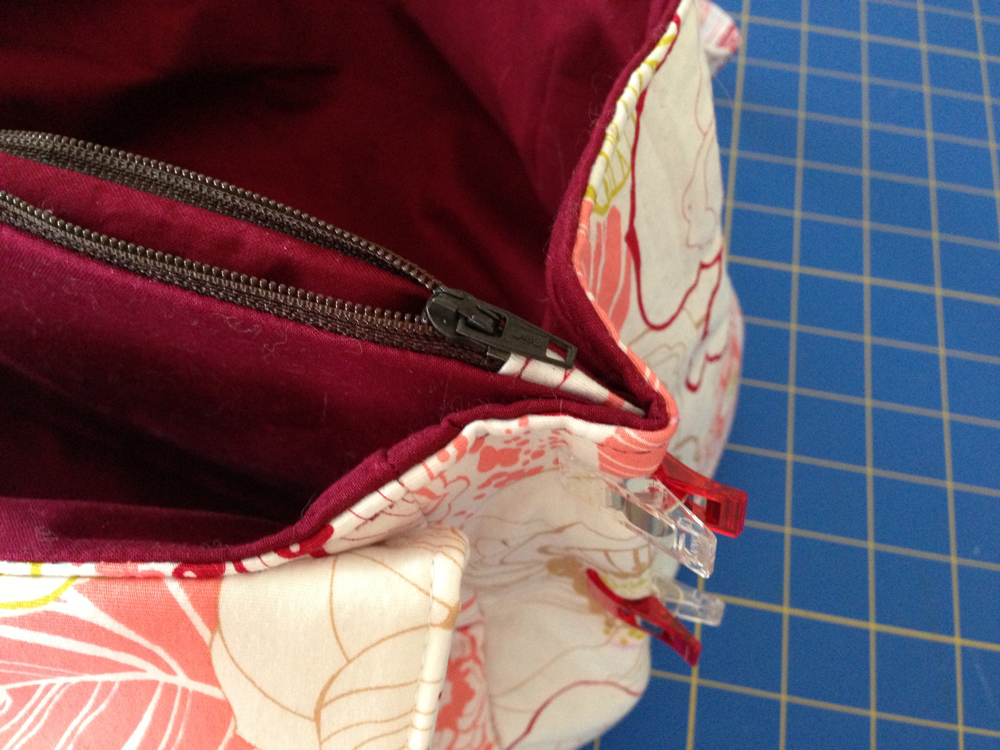

I decided to stitch parallel to the side edge of the divider panels for about 10 cm (4“) in contrast to what the instructions tell you. First of all this holds the dividers better in place (since they are not attached to the bottom of the bag but only to the side panels) and I also felt like this would make them more stable and less likely to tear off.
I am pretty happy with how the second bag turned out. Since I can’t sell it in my shop (there’s a copyright on Amy Butler’s bag patterns) and I already own far too many handbags, I will donate this bag to a local silent auction here in Rochester, NY. I hope it’s going to raise some good money and its future owner will enjoy it!
 The huge flower on the front goes across the front part and the flap. I didn't even aim for that, it was a coincidence but don't you just love it when that happens? ;-) | 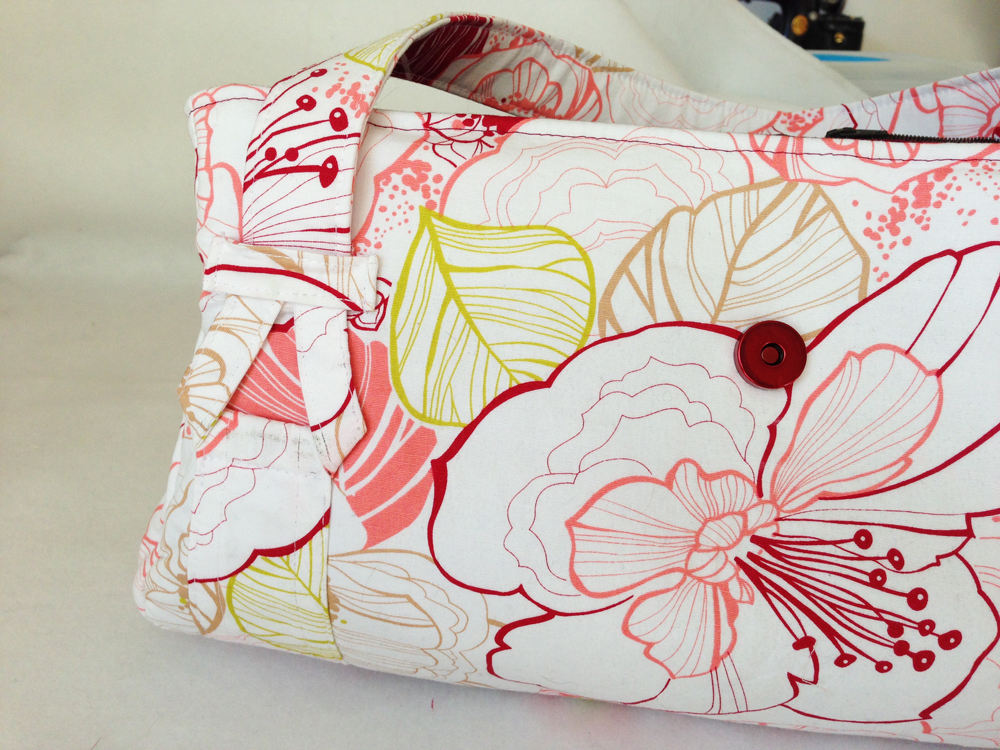 I just love the red magnetic snap. It looks so much nicer than a brass colored one! |


 RSS Feed


