
Hey there everybody!
September is National Sewing Month and today I wanted to post this fun tutorial which I contributed to the Favecrafts Blog of AllFreeSewing last year as a guest poster! I am still using this tote when I go grocery shopping and like it a lot, especially the happy strawberry print! I never posted this on my website so I thought this is the perfect time to do it. So here we go, please find the original post below. And while your at it, do go check out all the awesome posts on Seams and Scissors for National Sewing Month this year (that's the new blog of AllFreeSewing). Hint: I will have a free bag making tutorial coming up there very soon!!
September is National Sewing Month and today I wanted to post this fun tutorial which I contributed to the Favecrafts Blog of AllFreeSewing last year as a guest poster! I am still using this tote when I go grocery shopping and like it a lot, especially the happy strawberry print! I never posted this on my website so I thought this is the perfect time to do it. So here we go, please find the original post below. And while your at it, do go check out all the awesome posts on Seams and Scissors for National Sewing Month this year (that's the new blog of AllFreeSewing). Hint: I will have a free bag making tutorial coming up there very soon!!
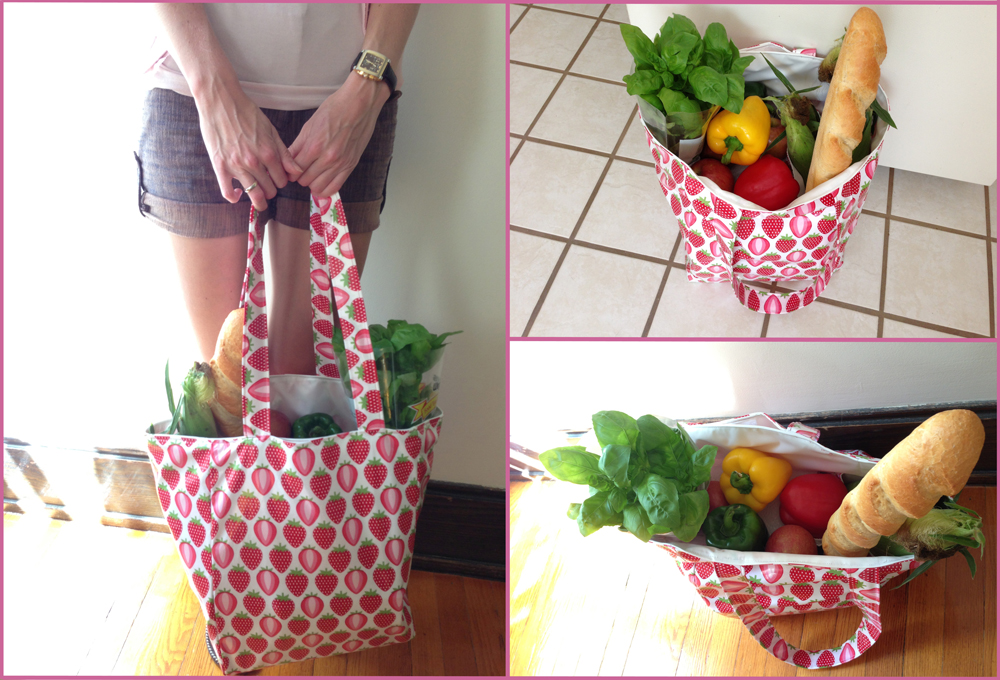
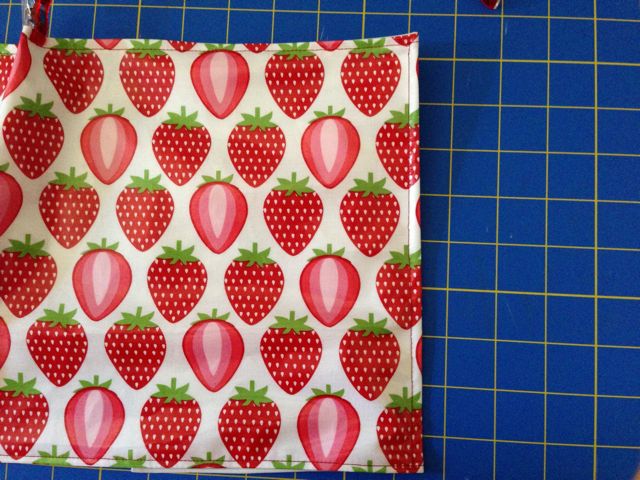
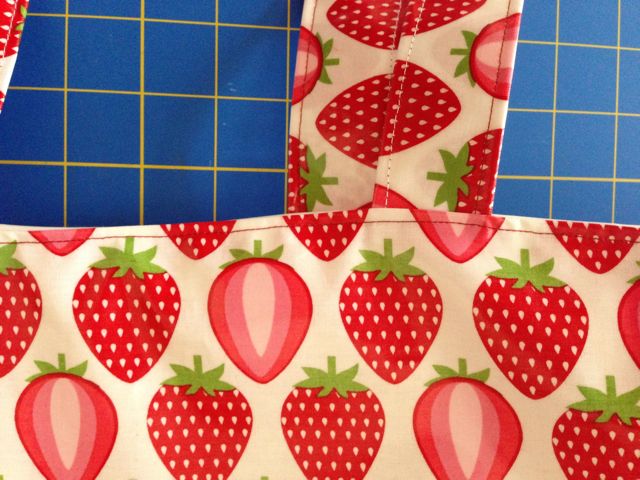
Go shopping at the farmers market in style! This bag holds all the groceries you can carry. There is a divider inside the bag to keep everything organized. The hidden slip pocket on the front side of the bag is perfect to fit in your wallet, phone and keys.
This bag is great for laminated cotton or oilcloth, but you could also use home decor fabric or just simply lightweight quilting fabric. If you do, I recommend interfacing the exterior fabric pieces as stated below in the instructions.
All seam allowances are ½” unless otherwise stated. All measurements given are height x width. Please read all instructions before you begin.
You need:
- Exterior fabric: 1 1/8 yd (44" width)
- Lining fabric: 1 yd (44" width)
- 1 piece of hook and loop tape (self-adhesive or sew-on): 1”
Helpful hints:
- I made this tote completely out of laminated cotton. If you decide to do so too, please be careful when ironing parts of your fabric while sewing. I usually place a kitchen towel on top of the fabric, which is folded twice. I like to sprinkle the towel a little bit with water and used less steam than usual. I also don't use the highest setting of the iron and I don't press too long at the same spot.
- I also recommend using sewing clips instead of pins as they won’t leave holes in your laminated cotton or oilcloth.
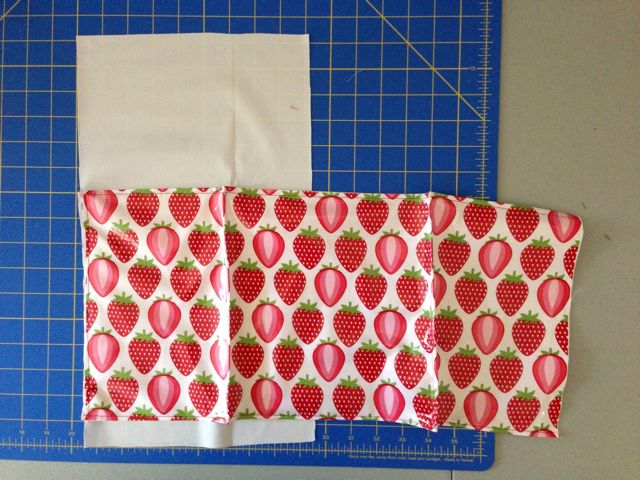
Cut from:
Exterior fabric:
- (2x) 16" x 12.75” – main body
- (2x) 16" x 9” – side panel
- (1x) 9" x 12.75” – bottom panel
- (1x) 10" x 21” – interior divider
- (2x) 29" x 5.5” – strap
Lining fabric:
- (2x) 16" x 12.75” – main body
- (2x) 16" x 9” – side panel
- (1x) 9" x 12.75” – bottom panel
- (1x) 10" x 21” – interior divider
- (2x) 8" x 9” – slip pocket
I didn’t use any interfacing on this tote since I used laminated cotton throughout and intended a slouchy look. If you use lightweight cotton fabric you might want to interface parts of your tote. In this case, cut the following pieces from fusible interfacing:
- (2x) 16" x 12.75” – main body
- (2x) 16" x 9” – side panel
- (1x) 9" x 12.75” – bottom panel
If you don't need to fold your tote when not using it, you may also think about interfacing the interior divider with heavy stabilizer. In this case cut the following piece from heavy stabilizer:
- (1x) 10" x 21” - interior divider
Interface the wrong sides of the exterior parts of your tote.
Instructions
a) Make the straps
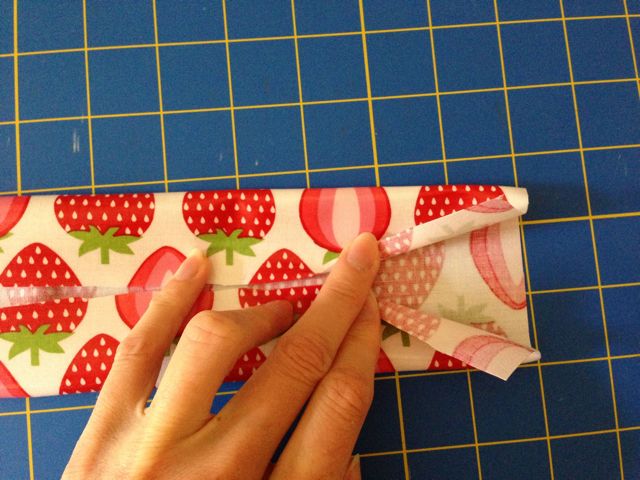
- Fold one of your strap fabric pieces in half lengthwise, with the wrong sides together and press. Open up again and fold both long edges towards the middle crease and press again.
This bag is great for laminated cotton or oilcloth, but you could also use home decor fabric or just simply lightweight quilting fabric. If you do, I recommend interfacing the exterior fabric pieces as stated below in the instructions.
All seam allowances are ½” unless otherwise stated. All measurements given are height x width. Please read all instructions before you begin.
You need:
- Exterior fabric: 1 1/8 yd (44" width)
- Lining fabric: 1 yd (44" width)
- 1 piece of hook and loop tape (self-adhesive or sew-on): 1”
Helpful hints:
- I made this tote completely out of laminated cotton. If you decide to do so too, please be careful when ironing parts of your fabric while sewing. I usually place a kitchen towel on top of the fabric, which is folded twice. I like to sprinkle the towel a little bit with water and used less steam than usual. I also don't use the highest setting of the iron and I don't press too long at the same spot.
- I also recommend using sewing clips instead of pins as they won’t leave holes in your laminated cotton or oilcloth.
Cut from:
Exterior fabric:
- (2x) 16" x 12.75” – main body
- (2x) 16" x 9” – side panel
- (1x) 9" x 12.75” – bottom panel
- (1x) 10" x 21” – interior divider
- (2x) 29" x 5.5” – strap
Lining fabric:
- (2x) 16" x 12.75” – main body
- (2x) 16" x 9” – side panel
- (1x) 9" x 12.75” – bottom panel
- (1x) 10" x 21” – interior divider
- (2x) 8" x 9” – slip pocket
I didn’t use any interfacing on this tote since I used laminated cotton throughout and intended a slouchy look. If you use lightweight cotton fabric you might want to interface parts of your tote. In this case, cut the following pieces from fusible interfacing:
- (2x) 16" x 12.75” – main body
- (2x) 16" x 9” – side panel
- (1x) 9" x 12.75” – bottom panel
If you don't need to fold your tote when not using it, you may also think about interfacing the interior divider with heavy stabilizer. In this case cut the following piece from heavy stabilizer:
- (1x) 10" x 21” - interior divider
Interface the wrong sides of the exterior parts of your tote.
Instructions
a) Make the straps
- Fold one of your strap fabric pieces in half lengthwise, with the wrong sides together and press. Open up again and fold both long edges towards the middle crease and press again.
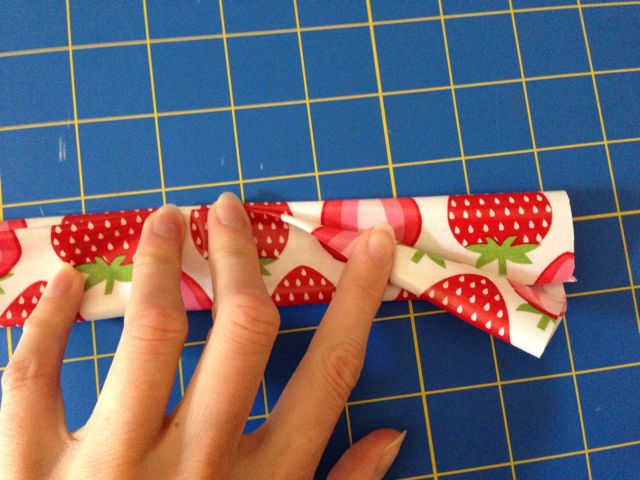
Repeat the folding and stitching with the second strap fabric piece.
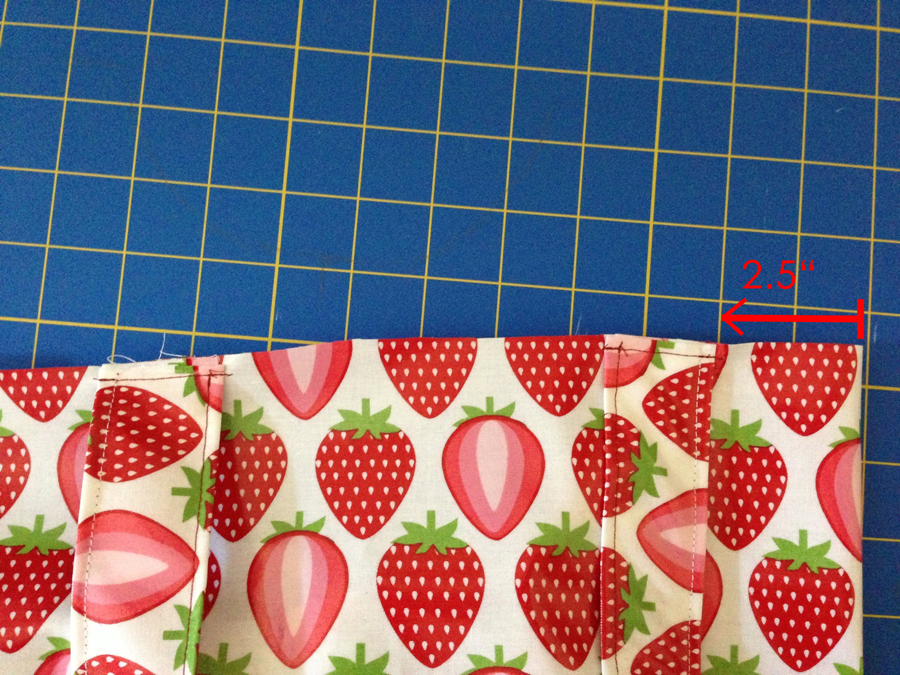
- Place one of the straps onto one of the exterior main body panels. The outer edges of the strap should be placed 2.5” in from the side edges of the bag. The loop of the strap should face to the bottom and the raw edges of both main body panel and straps should be aligned. Pin in place and baste the strap end to the main body using a ¼” seam allowance.
- Repeat for the other strap and the other main body panel.
b) Prepare the slip pocket
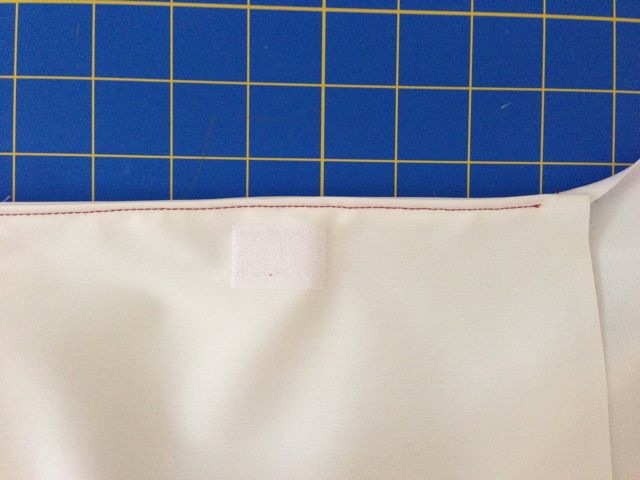
- Place the hook part of your piece of hook and loop tape onto the right side of one of the slip pocket pieces. It should be positioned centered and 1” down from the top edge. Tape it down or sew it onto the fabric (depending on what kind of hook and loop tape you are using).
- Repeat with the loop part of the hook and loop tape and the other slip pocket piece.

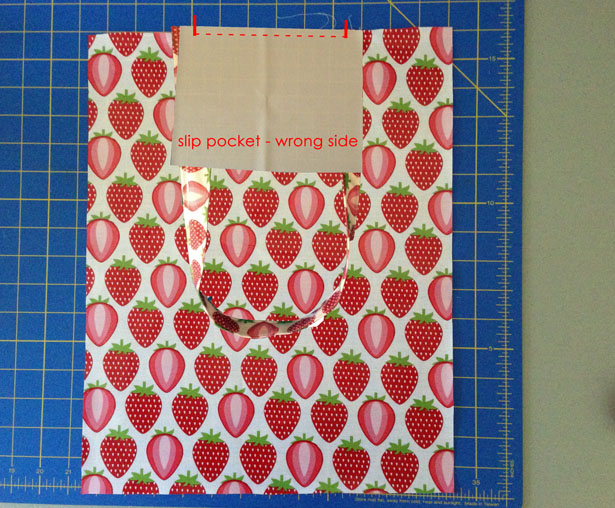
- Take one of the slip pocket pieces and put it onto one of the exterior main body panels, right sides together. It should be positioned centered on the main body panel and the top edges of both fabric pieces should be aligned. (Since you already attached the straps to the exterior main body fabric panels, your slip pocket will partially cover the straps).
- Pin in place and stitch along the top edge using a 1/4” seam allowance, starting and stopping 1/2” from the outer edges of the slip pocket fabric piece.
- Repeat the previous step with the second slip pocket fabric piece and one of the lining main body panels.
- Set both main body panels aside.
- Pin in place and stitch along the top edge using a 1/4” seam allowance, starting and stopping 1/2” from the outer edges of the slip pocket fabric piece.
- Repeat the previous step with the second slip pocket fabric piece and one of the lining main body panels.
- Set both main body panels aside.
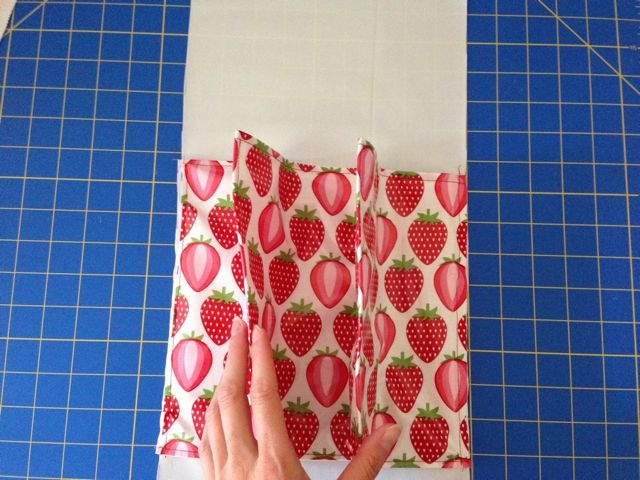
c) Make the interior divider
- Take both of your interior divider pieces and put them right sides together. Pin in place and stitch along both long edges.
- Take both of your interior divider pieces and put them right sides together. Pin in place and stitch along both long edges.
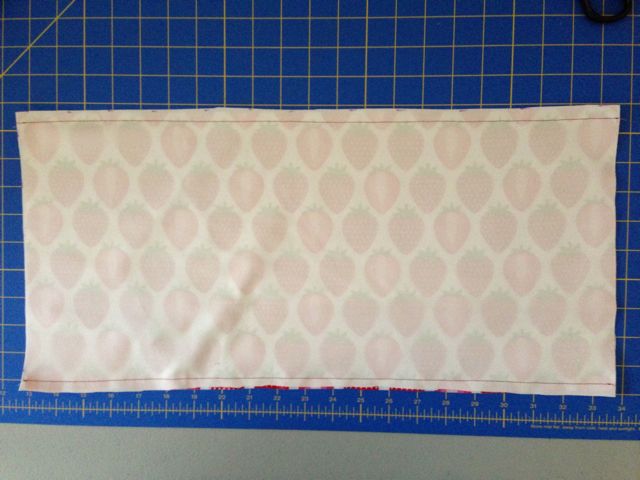
- Turn right side out and press. Topstitch along both long edges using a 1/4” seam allowance.
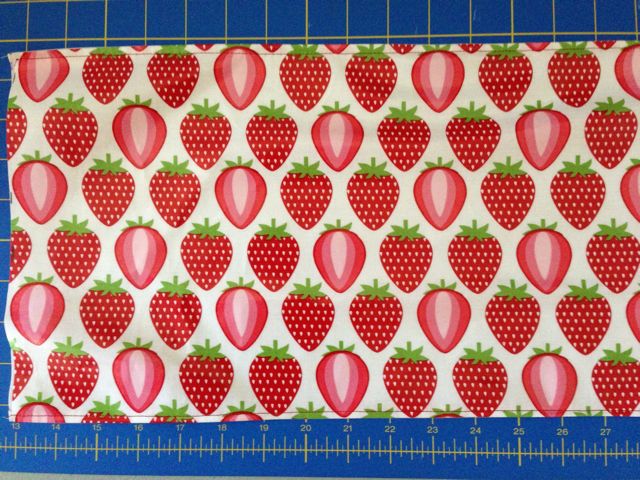
- On both the top and the bottom edge, measure and mark 6” in from the side edges. Fold the divider towards what will be the wrong (= inner) side of the divider.
- Topstitch along the folded edge using a 1/4” seam allowance.
- Repeat the 6” markings, folding and topstitching on the other side of the divider.
- Repeat the 6” markings, folding and topstitching on the other side of the divider.
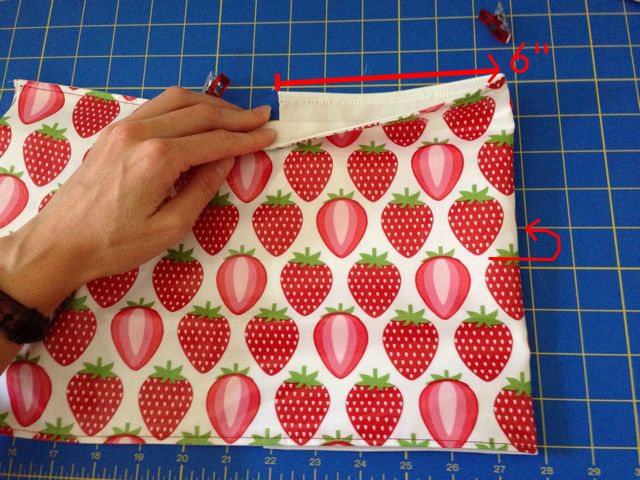
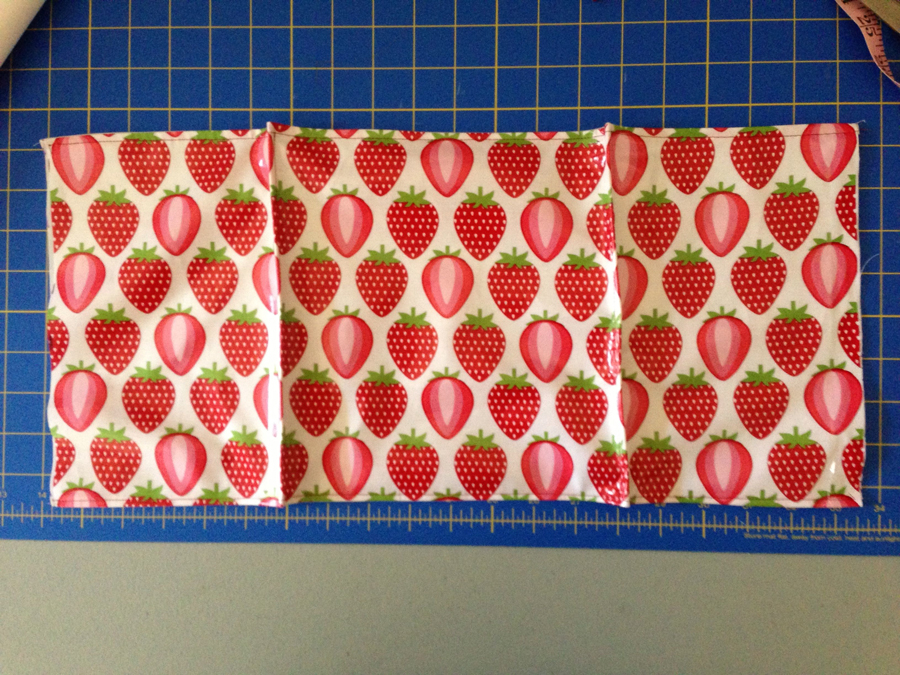
This is what you should have after folding and topstitching along both folds:
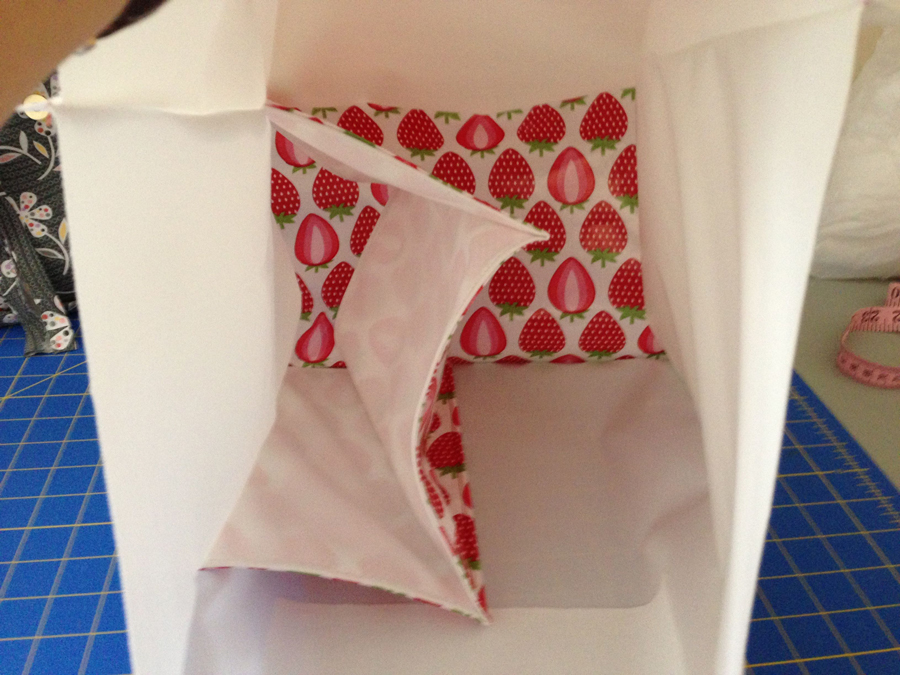
- Take one of the lining main body side panels and place it right side up. Put your divider right (= outer) side up onto the side panel. Match the side edges of both fabric pieces and position the divider approx. 1” up from the bottom edge of the lining side panel. Pin the divider in place and stitch along the side edges using a 1/4” seam allowance.
This is what you should have after stitching both side seams of the divider to the lining side panel:
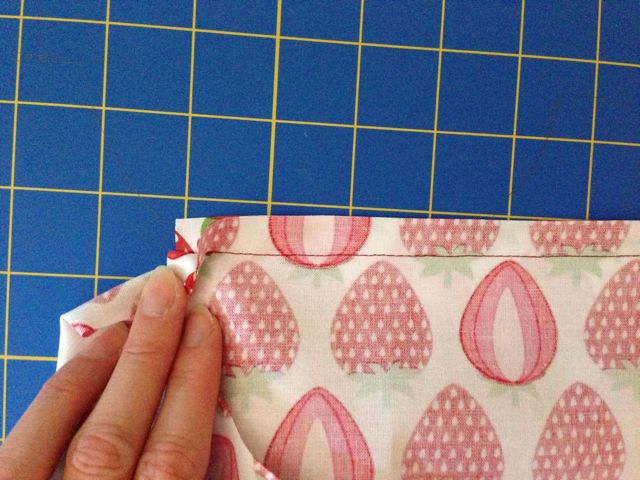
- On the lining main body panel with the slip pocket piece attached, fold the slip pocket over so that the wrong sides of both slip pocket and main body panel are now touching. Topstitch along the upper edge of the slip pocket, starting and stopping 1/2" from the outer edges.
- Repeat the previous step with the other slip pocket piece on the exterior main body panel.
- Repeat the previous step with the other slip pocket piece on the exterior main body panel.
d) Assemble the bag lining:
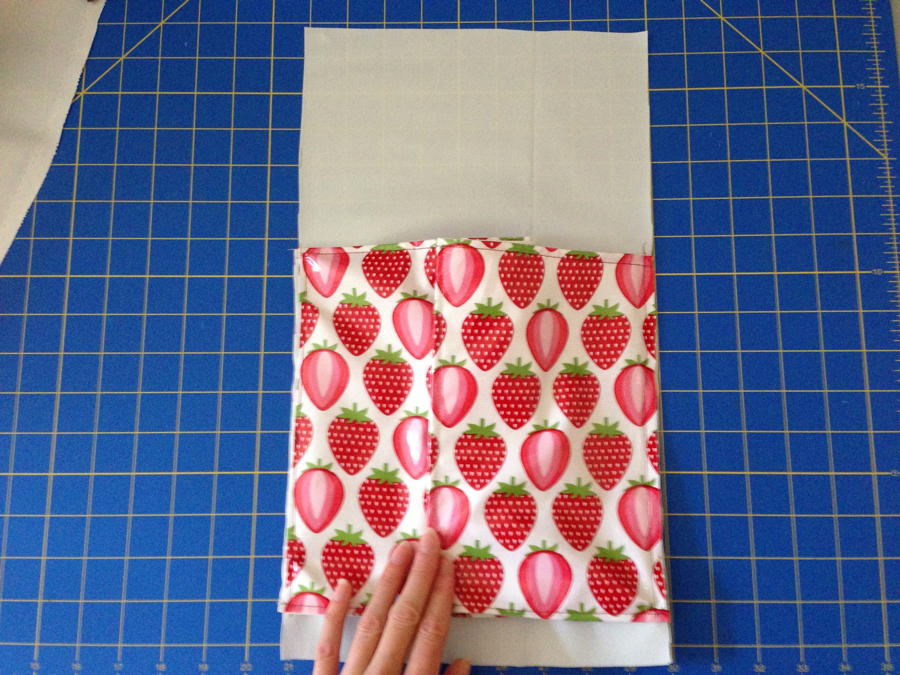
Take one of the lining main body panels and place it right side up. Take one of your lining side panels and put it on one of the side edges of the main body panel, right sides together, the edges of both pieces should be aligned. Pin in place and stitch along the edge, but stop 1/2" up from the bottom end (this 1/2" is important later, when you are going to sew the bottom panel onto the bag).
- Repeat with the second side panel and the other edge of the main panel (when stitching the side panel with the divider attached, make sure to fold the divider together so it won't get caught in the stitching).
- Take your second main panel and repeat the previous steps.
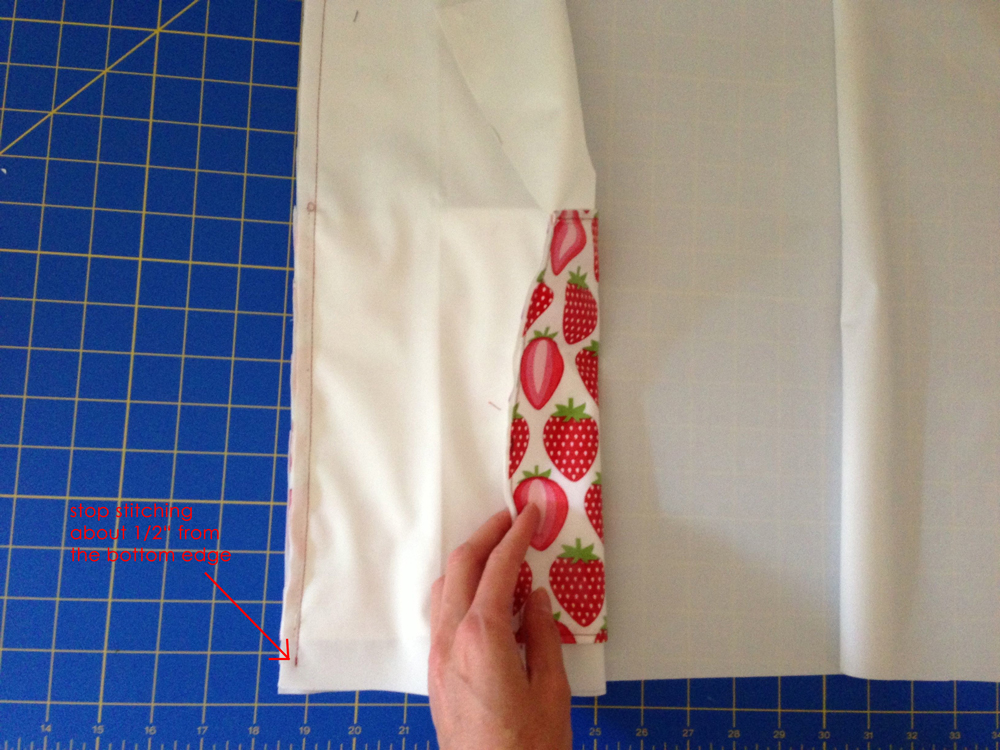
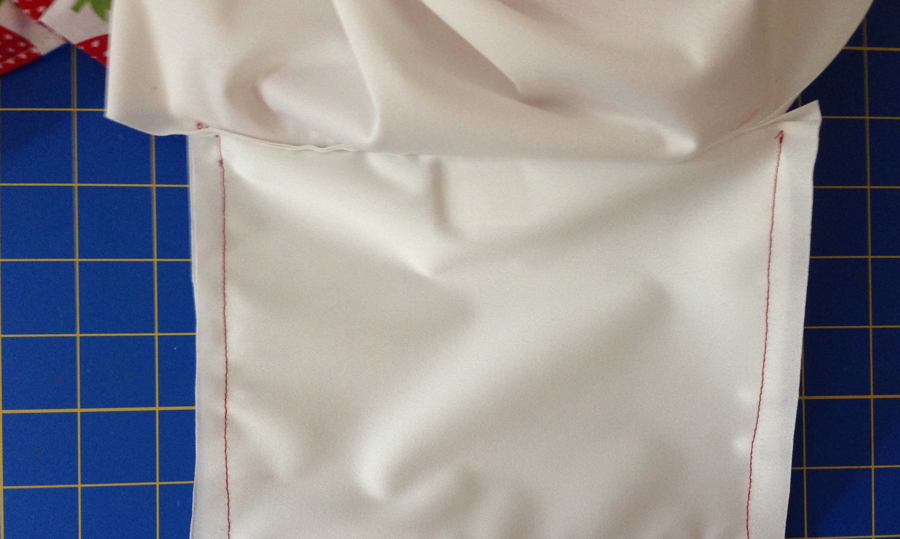
On the picture above you can see one of the lining main body panels with the two lining side panels (one of them includes the interior divider) already attached. You can also see how the side seam stops about 1/2" from the bottom edge.
- Place the bottom panel with its four edges onto the bottom edges of the bag, right sides together. Pin in place and stitch along the first edge, starting and stopping 1/2” from the edge. Since you left the seam open by 1/2" when sewing the side panels to the main body panels, you should be able to have your bottom panel seams start and stop exactly at the end of these seams (see on the next picture - note that I chose exterior fabric for the bottom panel of my bag lining).
This is what your bag lining should look like on the inside after stitching all the pieces together:
e) Make the bag exterior:
- Repeat step d) to assemble the bag exterior.
- Repeat step d) to assemble the bag exterior.
f) Finish the slip pocket:
- Place your two slip pocket fabric pieces right sides together (since they are already attached to the exterior and lining main body you will have to bend those parts out of the way for this step). Pin in place and stitch around the three edges of the slip pocket. Make sure to start and stop the stitching right beneath the topstitching of the top edge of the slip pocket pieces.
- Place your two slip pocket fabric pieces right sides together (since they are already attached to the exterior and lining main body you will have to bend those parts out of the way for this step). Pin in place and stitch around the three edges of the slip pocket. Make sure to start and stop the stitching right beneath the topstitching of the top edge of the slip pocket pieces.

g) Assemble the bag:
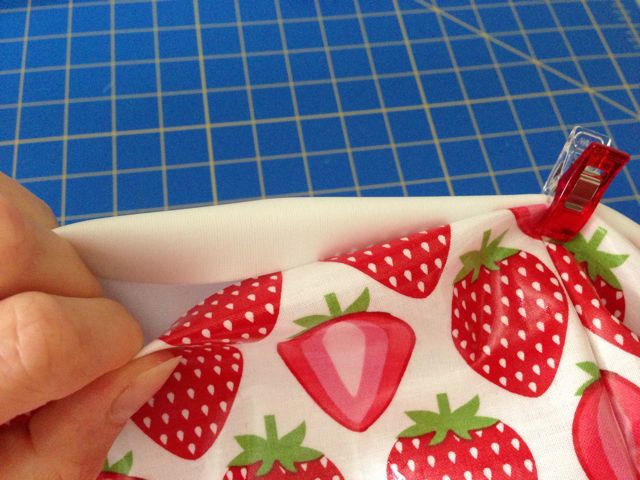
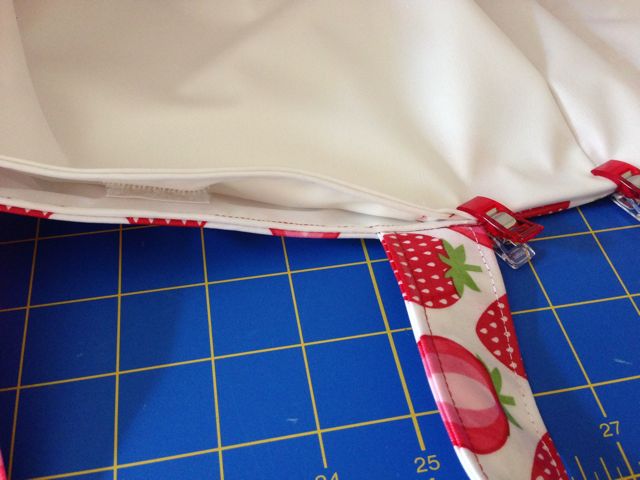
- Due to the finished slip pocket, the bag exterior and the bag lining are already attached to each other. The bag exterior should be right side out, the bag lining wrong side out. Put the bag lining into the exterior. The slip pocket will be hidden between the layers. Make sure to fit the lining correctly into the exterior. Match the side seams and flatten the bottom panels, so that the lining sits snug inside the bag.
- Fold down the seam allowance of the top edges of both exterior and lining towards the inside. Pin in place and stitch along the top edge using a 1/4” seam allowance. Start and stop right before you reach the slip pocket.
Congratulations, your farmers' market tote is finished!


 RSS Feed


