
--- UPDATE 12/3/13: I made another dress with embellished sleeves and a belt, and lengthened it with cotton fabric. You can find this blog post here.
For your convenience I decided to offer the complete tutorial as a PDF for download for only $2, if you prefer to have everything in one structured document ---
For your convenience I decided to offer the complete tutorial as a PDF for download for only $2, if you prefer to have everything in one structured document ---
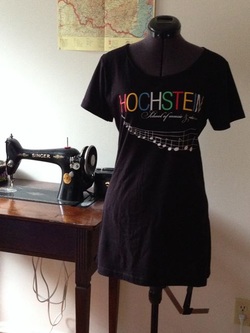
Another one of my sewing projects is done! A friend of mine had this really big t-shirt and she asked me if I could turn it into a dress for her. This was a really nice opportunity to use my serger again and was easier than I thought.
I had my friend give me one of her knit dresses that fit her well so that I would have some reference for measuremens. I put the xxl-shirt flat onto my sewing table and her dress above, so I could see where her shoulder seams and side seam would have to be. Then I marked everything with a fabric marker. You can see how I folded the sleeve to the side so that I could trace it exactly. The nice thing about knit fabrics is you don't even need to put in darts or pleats to make it fit. Simply let it slightly taper down to the waist.
I only did the tracing on one side of the shirt.
I only did the tracing on one side of the shirt.
 |  |
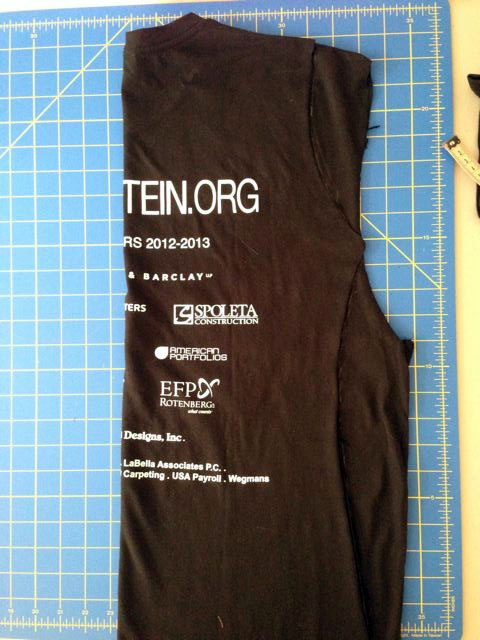
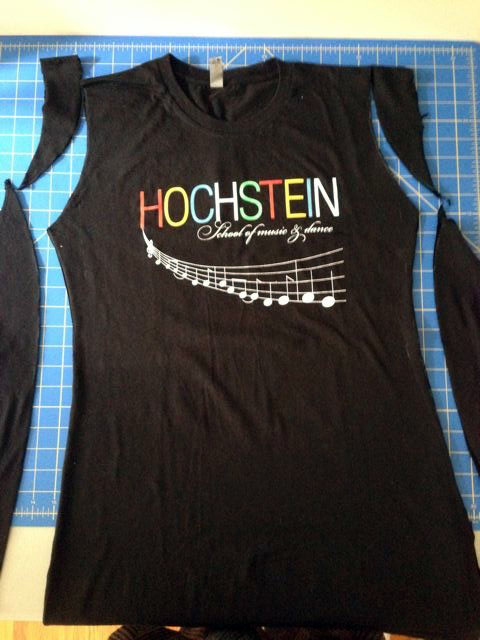
(Before proceeding I already cut the sleeves of. These will have to be adjusted in size later. )
Then it was time to cut off the additional fabric on that side. This is always the part the makes me a little most. After all, this is not my own shirt. Don't want to mess up now.
I simply folded the shirt in half and traced the other side with a fabric marker as well. This way I made sure both sides are even.
 |  |
Using your serger (if you have a regular sewing machine you can use a stretch stitch) sew both side edges together again, right sides together.
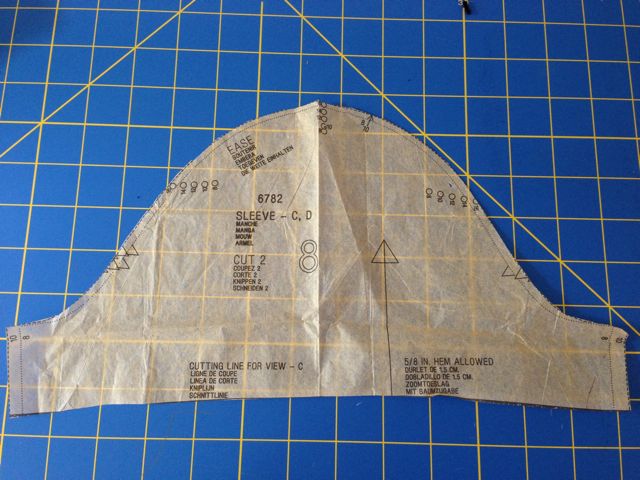
For the new sleeves I actually looked through my paper patterns and took a sleeve pattern piece from a knit dress that seemed to be perfect to be used for the new sleeves. If you want to make sure the sleeve fits exactly into the armhole, measure the width of the armhole and adjust the width of the sleeve before cutting.
You can also go with a wider sleeve and gather it a little at the rounded top edge like you normally do, especially when sewing with cotton fabrics (e. g. a blouse). The only thing you want to avoid is having the width of the sleeve be smaller then the width of the armhole.
I took one of the shirt sleeves that I had cut off, folded my paper pattern piece in half and put it on top, the opening of both pieces matching. Then I traced around the paper sleeve and cut along this line.
 |  |
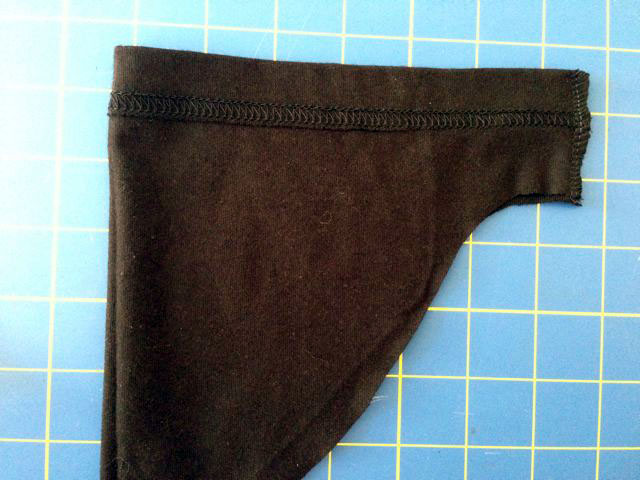
With your serger or using a stretch stitch on your regular sewing machine, sew the sleeve together again at its short bottom edges. Repeat for the second sleeve.
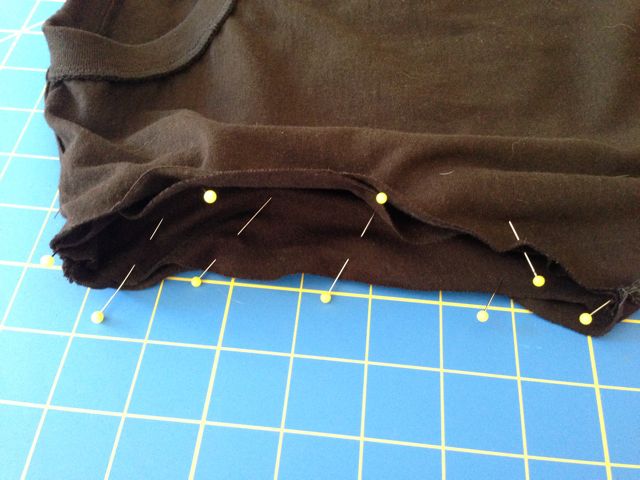
Put the first sleeve into one of the armholes, right sides together. Both seams of sleeve and shirt should match. Use a lot of pins to keep the sleeve in place. I measured mine to fit exactly into the opening without having to gather the sleeve fabric.
Then stitch around the sleeve.
Then stitch around the sleeve.
 Repeat for the second sleeve and the other side of the shirt. | 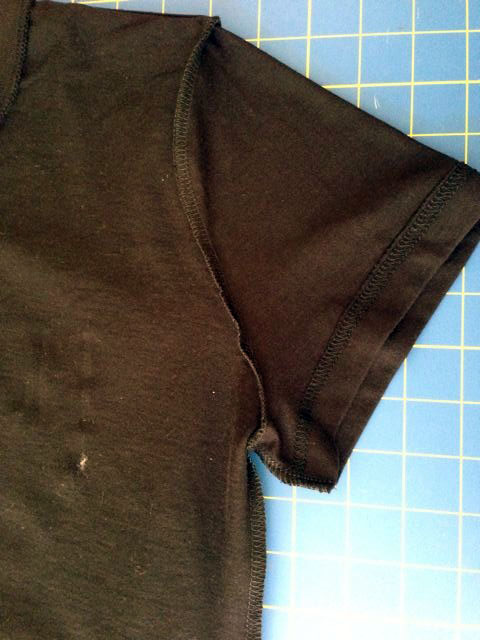 |
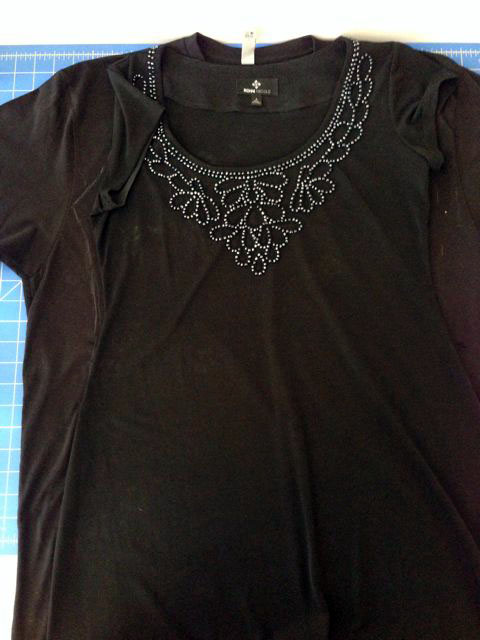
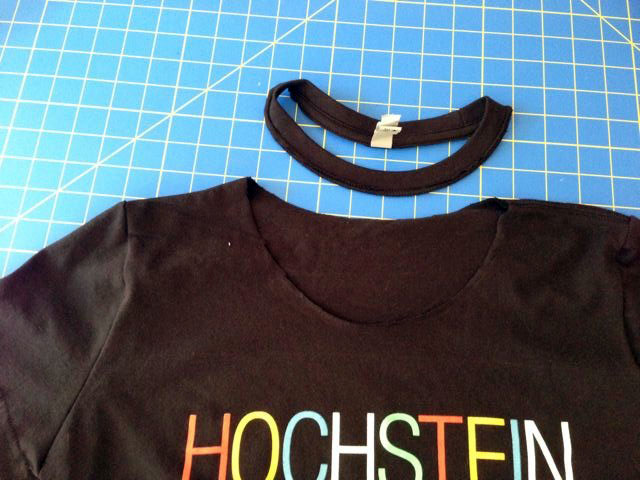
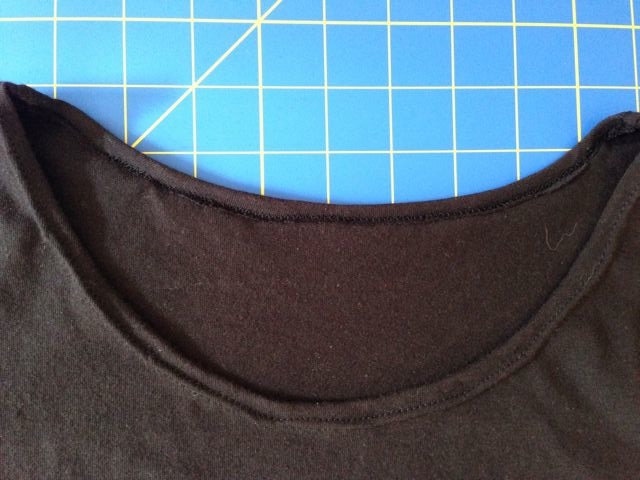
Almost done, the only thing I wanted to alter as well was the neckline. It was very small and wouldn't really look good on this dress.
I cut off the neck trim to make the neckline bigger, then simply folded it down to the wrong side by approx. 1 cm (3/8") and used lots of pins to hold everything in place. Using my regular sewing machine and a twin needle I stitch all along the neckline.
I cut off the neck trim to make the neckline bigger, then simply folded it down to the wrong side by approx. 1 cm (3/8") and used lots of pins to hold everything in place. Using my regular sewing machine and a twin needle I stitch all along the neckline.
 |  |
And that is it already! I hope my friend will enjoy her new dress. I have to say I liked her idea so much that I am thinking about making a dress like this for myself as well. I even have an idea of what shirt to use...
I hope you enjoyed this tutorial. If you have any questions feel free to leave me a comment. Have you made a similar project? I would love to know :)
I hope you enjoyed this tutorial. If you have any questions feel free to leave me a comment. Have you made a similar project? I would love to know :)


 RSS Feed


