
One of my October weekends was devoted to a project I like to call "Now-that-it's-getting-winter-get-rid-of-the-freaking-drafts-in-your-house". Seriously, weather-wise I just live in the wrong state. I hate freezing, but I freeze all the time as soon as temperatures drop below 60 degrees (mind you USA, that is 15 degrees on the Celsius scale. Sounds pretty bad, huh?!). Our house here is old, built in the 1930s and while they installed new windows before we moved in, the wooden window frames have cracks and holes, if I hold my hand close to them I can feel the wind. No joke. This is not what you want when you live upstate NY where it usually stays cold from November to April. So this year I decided to finally do something about it and so I gathered as much information about how to weatherize windows when you don't have a clue about home improvement whatsoever.

Before you fall asleep over this blog post that was orininally designed to show you how to easily sew a draft stopper for your door, let me just tell you this: rope caulk is awesome! It is a putty-like substance that comes as a rope (duh...) with different strands and you can simply "unwind" as much as you need, in the thickness that you need to fill cracks or gaps and then simply seal them with it. It is amazing! I spent an entire Sunday filling all the drafty cracks in our house and I used up two of these packages. So if you are looking for a simple way to make your home more cozy, go get rope caulk!
So back to the title of this post. We have a backdoor in our kitchen, that leads into a very cold staircase and the basement. There is a really big gap under the door which I decided had to go as well. I mean, what's the use in fixing your windows if the cold still has this very convenient way to get into your house, right? I thought about making a simple draft stopper, you know, the ones that are made of fabric, stuffed with batting which you simply push in front of the door. I didn't like the idea very much since they always have to be put back in place after using the door. And the gap would be open if I leave the house through that door, so that was no option.
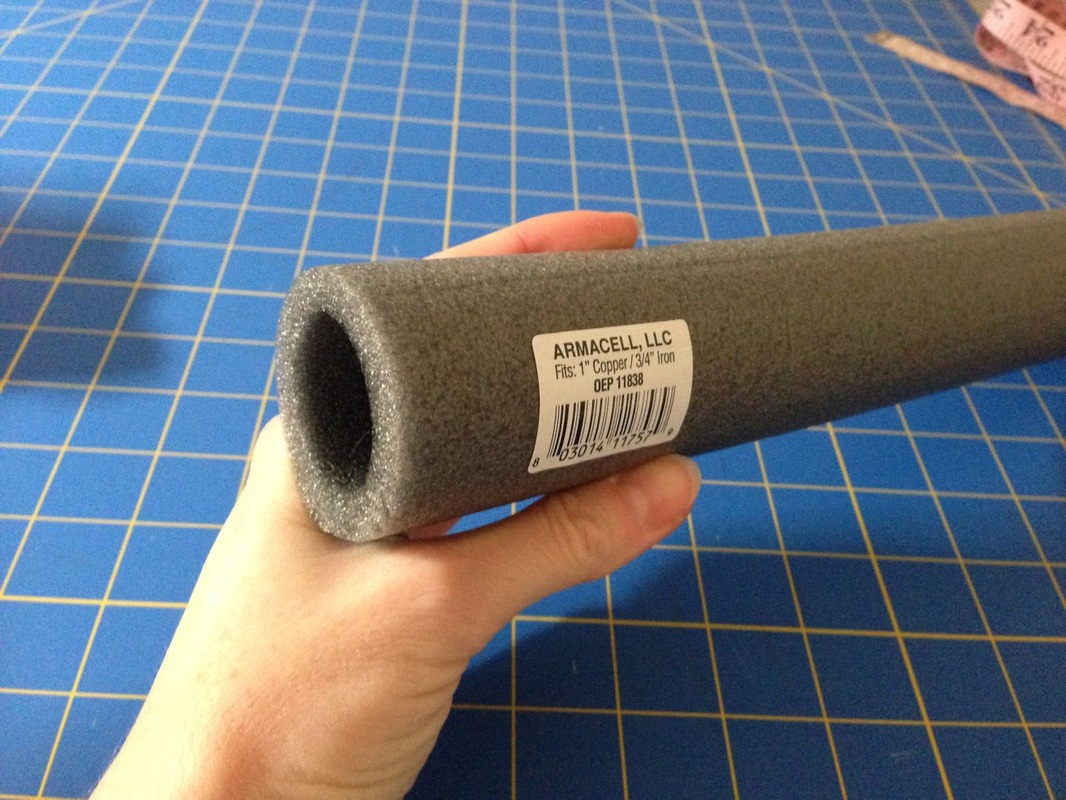
I found a very cool idea over at this website. They used foam tubes (originally designed for pipe insulation, you will find them at your hardware store as well) as a filler, what an awesome idea! I bought a 6' long foam tube that has a 1.75" inch diameter and started designing my own draft stopper. If you have read so far, congratulations and thank you, I really appreciate it :)
If you are interested in my "stylish" draft stopper, here is what I made:
(This tutorial is free but if you would rather prefer to download this complete tutorial as a pdf file you may purchase it here for only $2.)
If you are interested in my "stylish" draft stopper, here is what I made:
(This tutorial is free but if you would rather prefer to download this complete tutorial as a pdf file you may purchase it here for only $2.)
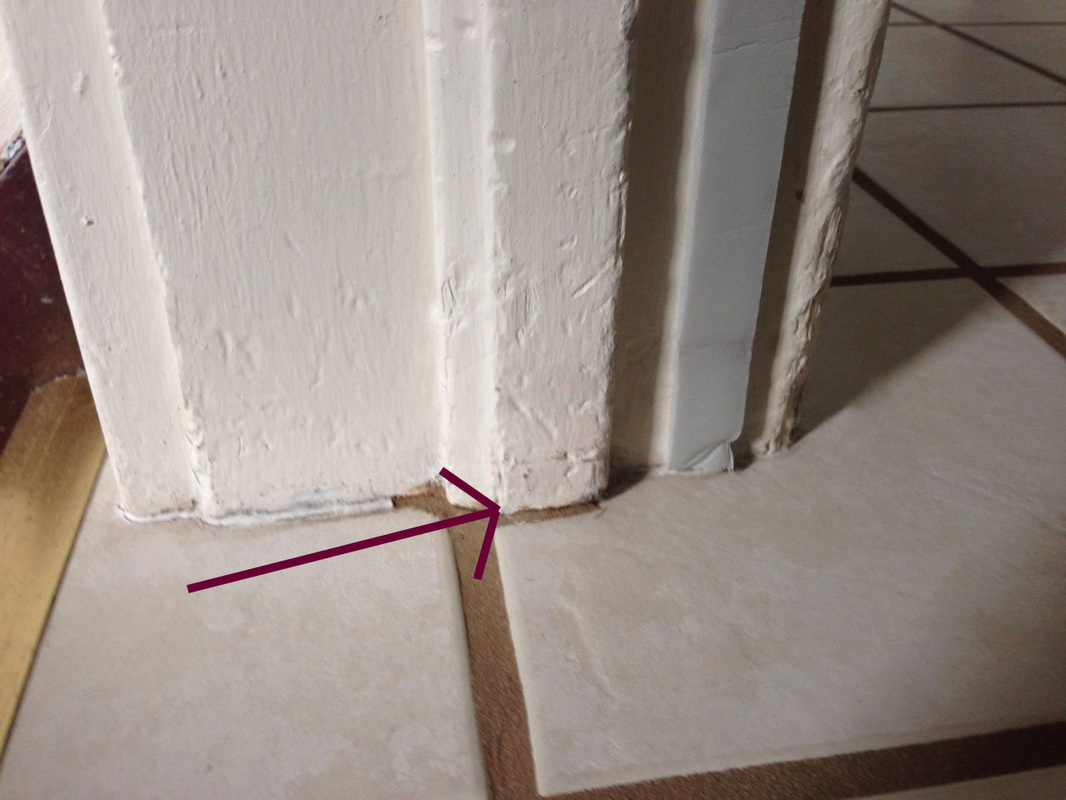
First you will have to measure the width of your door, so you will know to what length to cut your foam tubes. When measuring, watch out for protruding parts (see first picture below) and take these into account so you will be able to close your door later with the draft stopper attached.
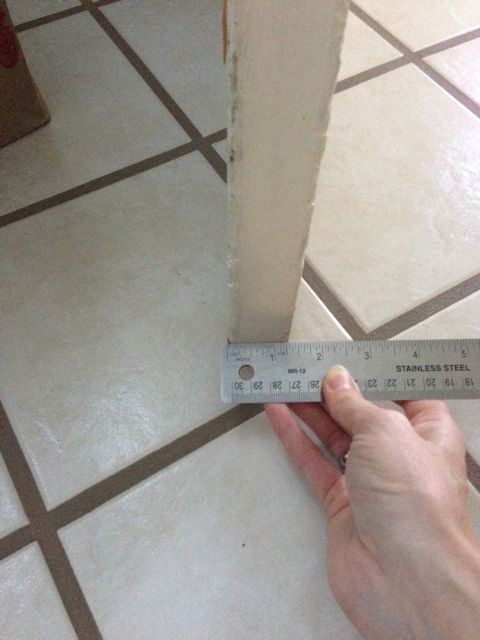
Also measure the depth of your door. You don't have to be too exact. I noted down 1 1/2" for mine.
Also measure the depth of your door. You don't have to be too exact. I noted down 1 1/2" for mine.
 |  |
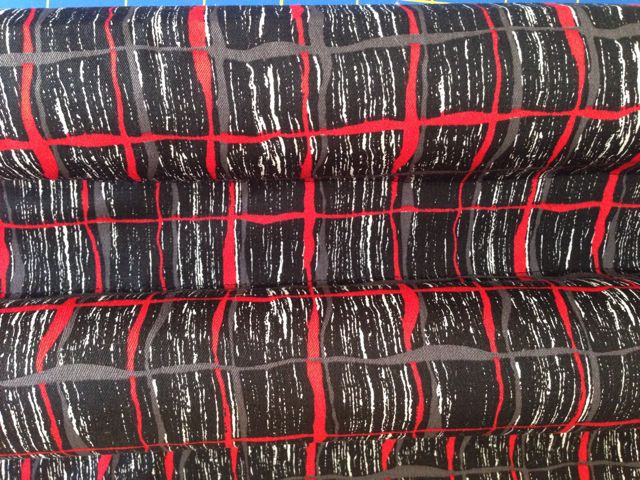
Get some fabric. I actually had a Polyester fabric lying around in my stash (God knows why I bought this one…) which was perfect for this project. You most certainly don't want to use your best lightweight quilting cotton and you also might want to use darker colors, since the thing is going to be dragged over the ground fairly often.
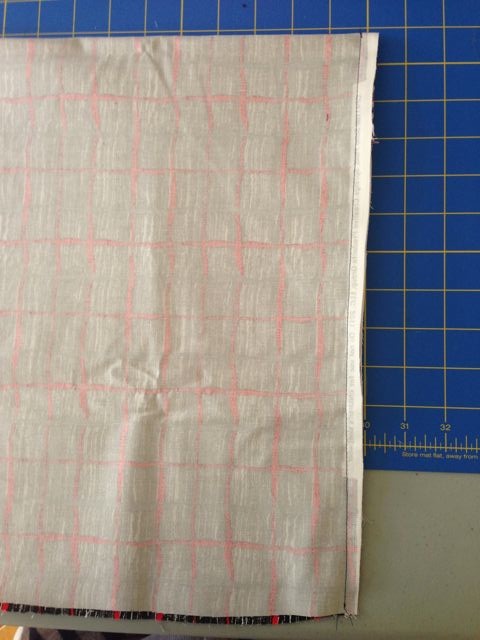
Measurements: (seam allowance 1/2" included)
The width of your fabric piece should be: the width of your tube (i. e. the width of your door) plus about 3 extra inches.
The height of your fabric piece should be approx. 26 inches (if you use tubes with a diameter of 1.75 inches. Allow more fabric if you use tubes bigger in diameter). My piece of fabric was much too long as you will see in the pictures, don't let that confuse you :)
Fold the fabric in half horizontally (that means, after folding your fabric will still have the same width but will only be half as high as before), right sides together. Sew along the two short edges. Leave the long edge open.
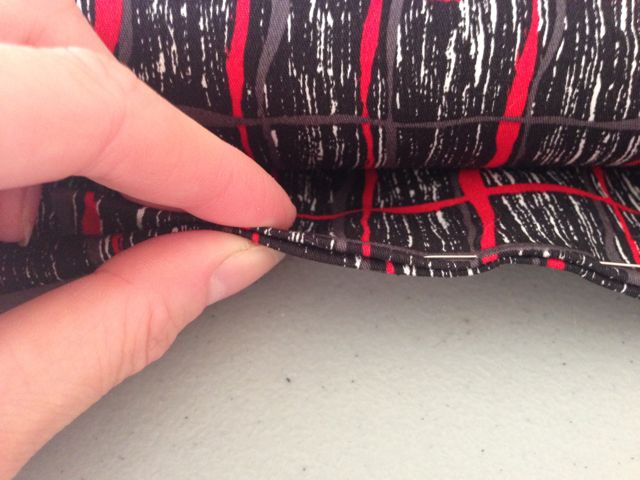
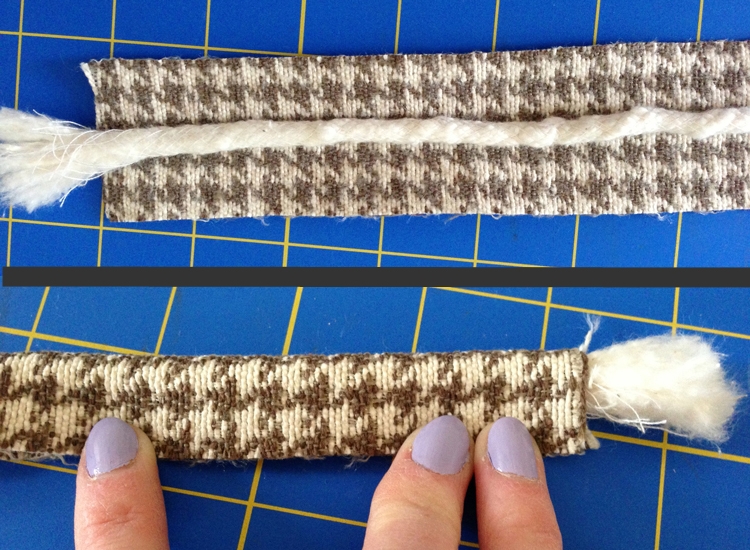
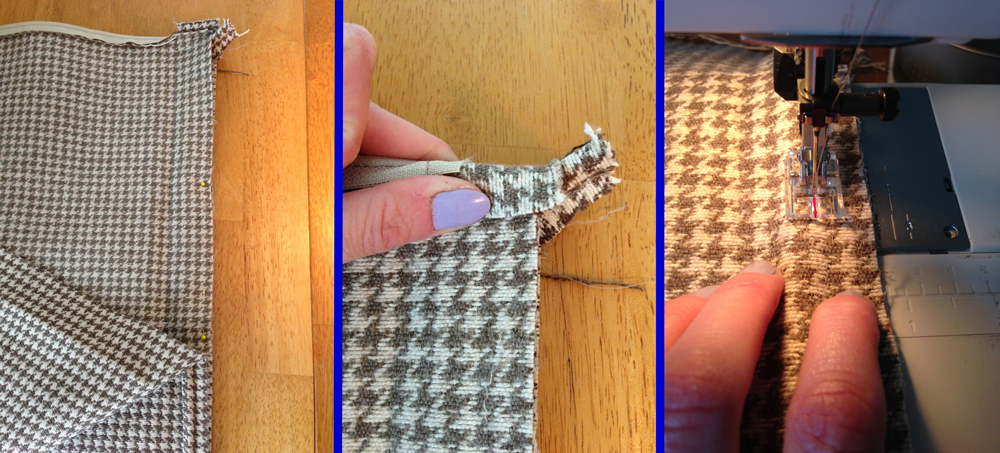
Turn right side out. Put one of your foam tubes into the fabric and push it right into the upper corner, making sure it is centered. Pin it in place by closing the fabric, so that the tube is entirely covered by fabric. Pin as close to the tube as possible, as indicated by the white dashes in the picture below.
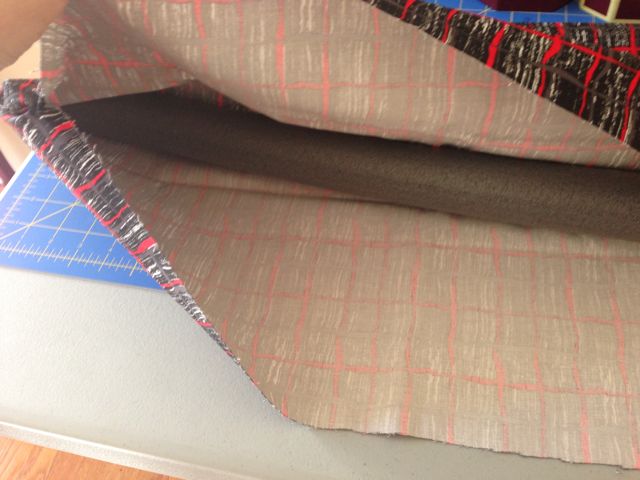 |  |
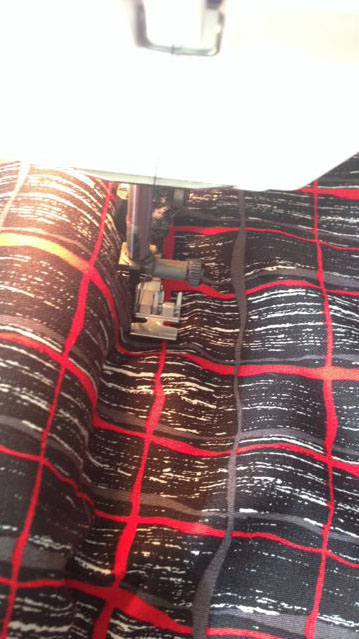
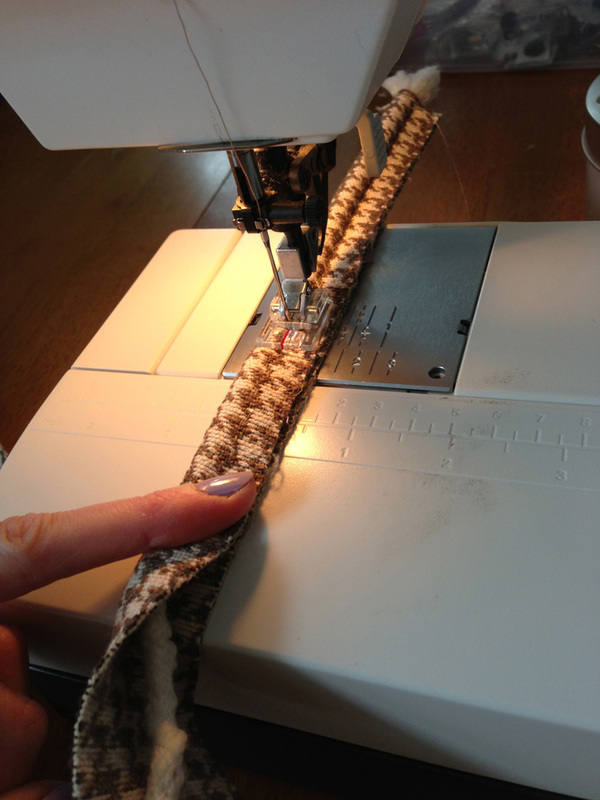
With the zipper foot of your sewing machine, sew along the tube, closing the fabric and trapping the tube inside.
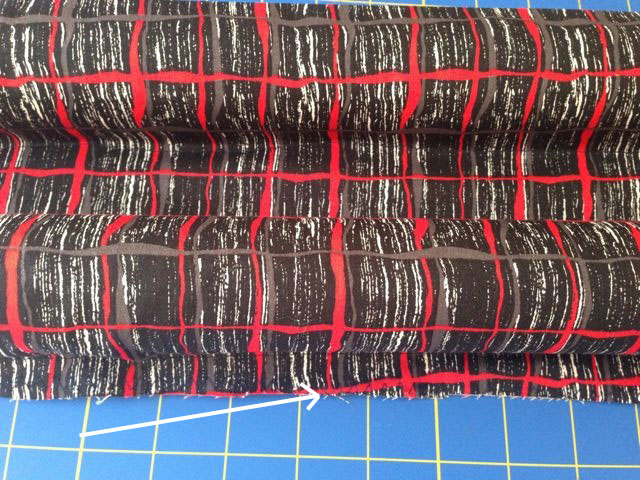
Now measure from the seam you just made: the depth of your door, in my case 1 1/2". You can also put the unfinished draft stopper under your door to get the perfect measurements (see pictures below). Use a fabric marker to mark a line parallel to the seam you just stitched. I also recommend pinning the two fabric layers together, so nothing will slip while sewing. Stitch along the line you marked.
 |  |
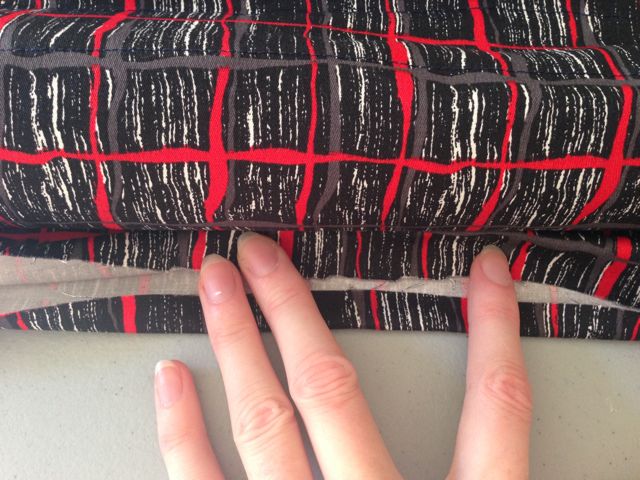
Take the second foam tube and put it into the fabric. Slide it inside, all the way to the seam you just made. Using pins, close down the fabric on the other side of the tube, again trapping the tube inside.
 You can see both tubes trapped in the fabric and the gap for the door in between. | 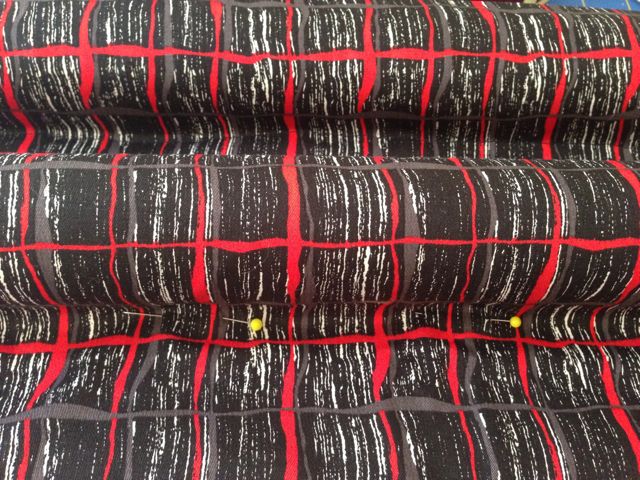 |
Using the zipper foot of your sewing machine, stitch along the tube again, closing the channel. Trim the rest of the fabric to the appropiate size: since this end of my draft stopper is going to be in the staircase and hence out of my view most of the time, I simply trimmed the fabric down to approx. 3/4" (measured from the stitching next to the tube) and did a zig zag stitch to prevent the edges from fraying. I agree this may not be the cleanest solution but I am not going to try winning Project Runway with this thing after all :-)
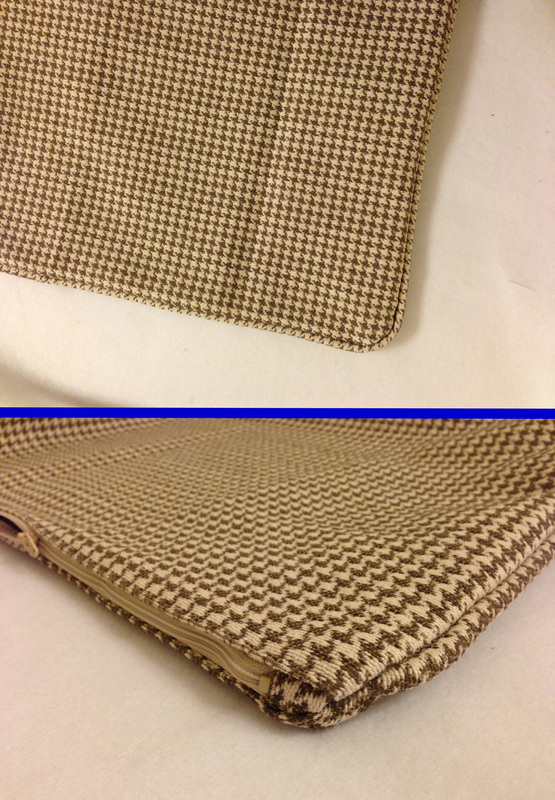
Trim the fabric and sew along the edge with a zig zag stitch, at the same time closing the open edge.
If you want your edge to be neat, trim down the fabric to a length of 1 1/4" (again measured from the stitching next to the tube) and then bend the fabric of both edges down towards the inside by approx. 1/2". Pin in place and stitch along the edge using a 1/4" seam allowance.
 |  |
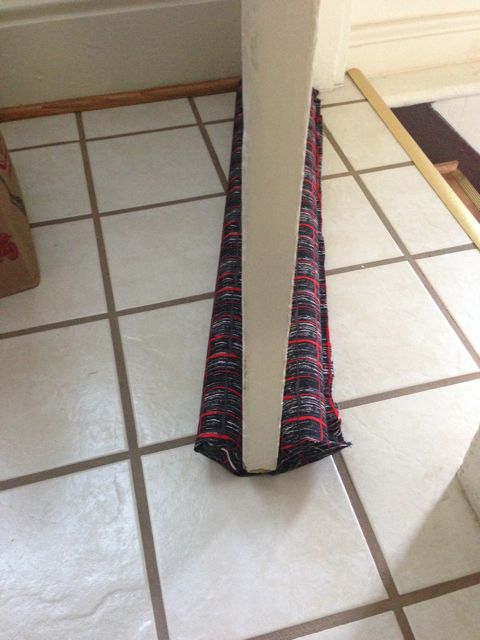
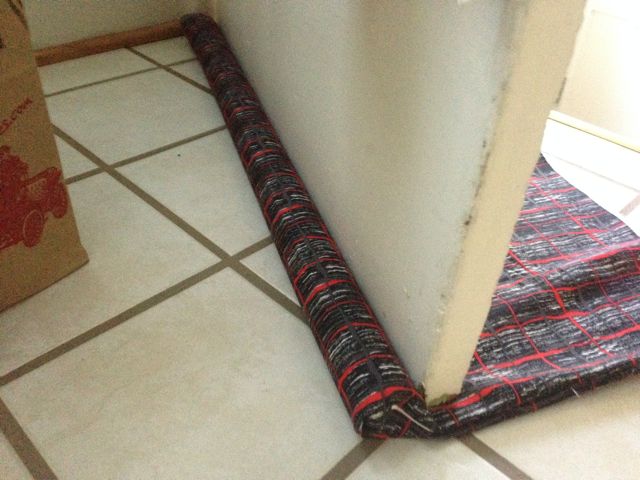
And that is it! Your draft stopper is finished. Slide it underneath your door and enjoy! No more drafts and it looks kinda stylish too. That fabric isn't even as hideous as I thought.
If you live in a cold area, you will have lots of fun with this. We had our first snow last night and I am not too happy about it... On the other hand I realized I really enjoy the sound of snow falling. Seems like I can't really make up my mind about it :) Do you like winter? Or are you one of those happy folks living in a warmer climate?
Happy sewing and stay warm :)


 RSS Feed


